No-Knead Olive Artisan Bread
Published: December 11, 2020 | Updated: April 17, 2024.
This post may contain affiliate links, please see our privacy policy for details.
NOTE: This recipe has been updated to include an additional step in which the dough is cold proofed in the refrigerator prior to baking.
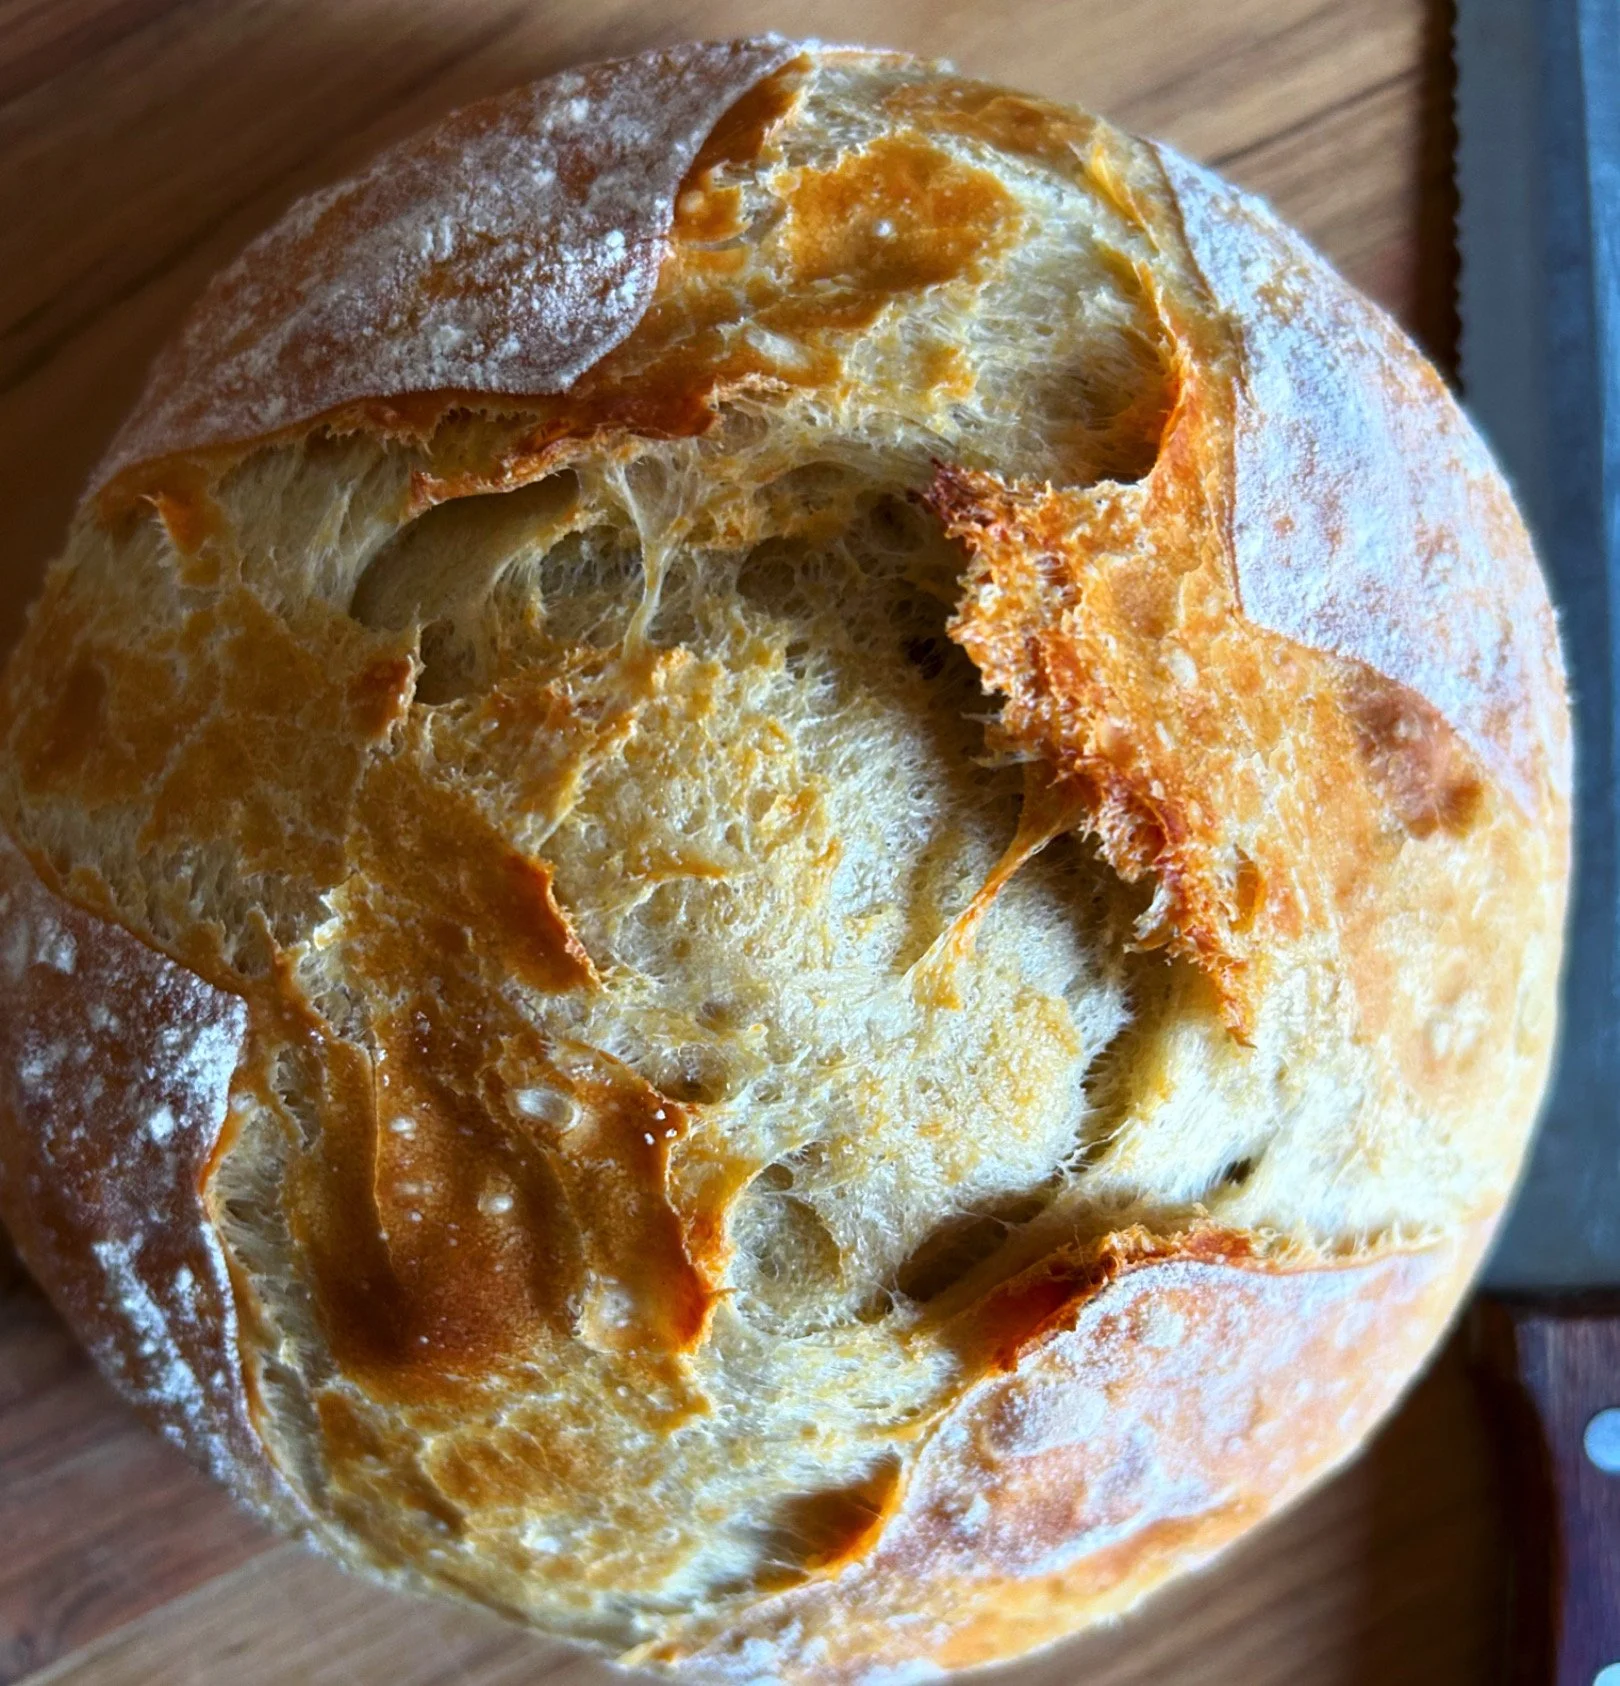
With a dreamy soft crumb and crispy crust, this No-Knead Olive Artisan Bread is made with briny, salty olives and deliciously seasoned with oregano. It’s super simple to make and pairs perfectly with rich, tomato-based pastas and hearty soups and stews!
Is there anything that feels more like home than the smell of fresh bread baking in the oven? I just love a good savoury loaf to accompany a weekend lunch or dinner and this no-knead olive artisan bread is one of my favourites.
This recipe builds on my simple 4-ingredient, no-knead Everyday Artisan Bread. It’s so delicious dipped into good quality olive oil and/or balsamic vinegar while it’s still warm. And served with tomato pastas and savoury soups? A dream team!
Like my other artisan bread recipes, this overnight olive loaf is straightforward to make and requires just a handful of extra ingredients.
How to Make No-Knead Olive Artisan Bread in 5 steps
Mix the dough.
Cover and let it rise until it has doubled in size.
Shape your dough and dust with flour.
Cover and proof the dough in the fridge for 1 hour or as long as 24 hours.
Turn dough out onto parchment, score and bake.

Baking Schedule
Making this olive artisan bread is a two-day process where the bread is mixed and prepared on day one, cold proofed in the fridge overnight, then baked on day two.
This is what it looks like:
Friday morning: Mix dough, cover and let rise.
Friday afternoon or evening: Shape dough, cover and put it in the fridge.
Saturday morning, afternoon or evening: Remove dough from the fridge, turn it out, score it and bake!
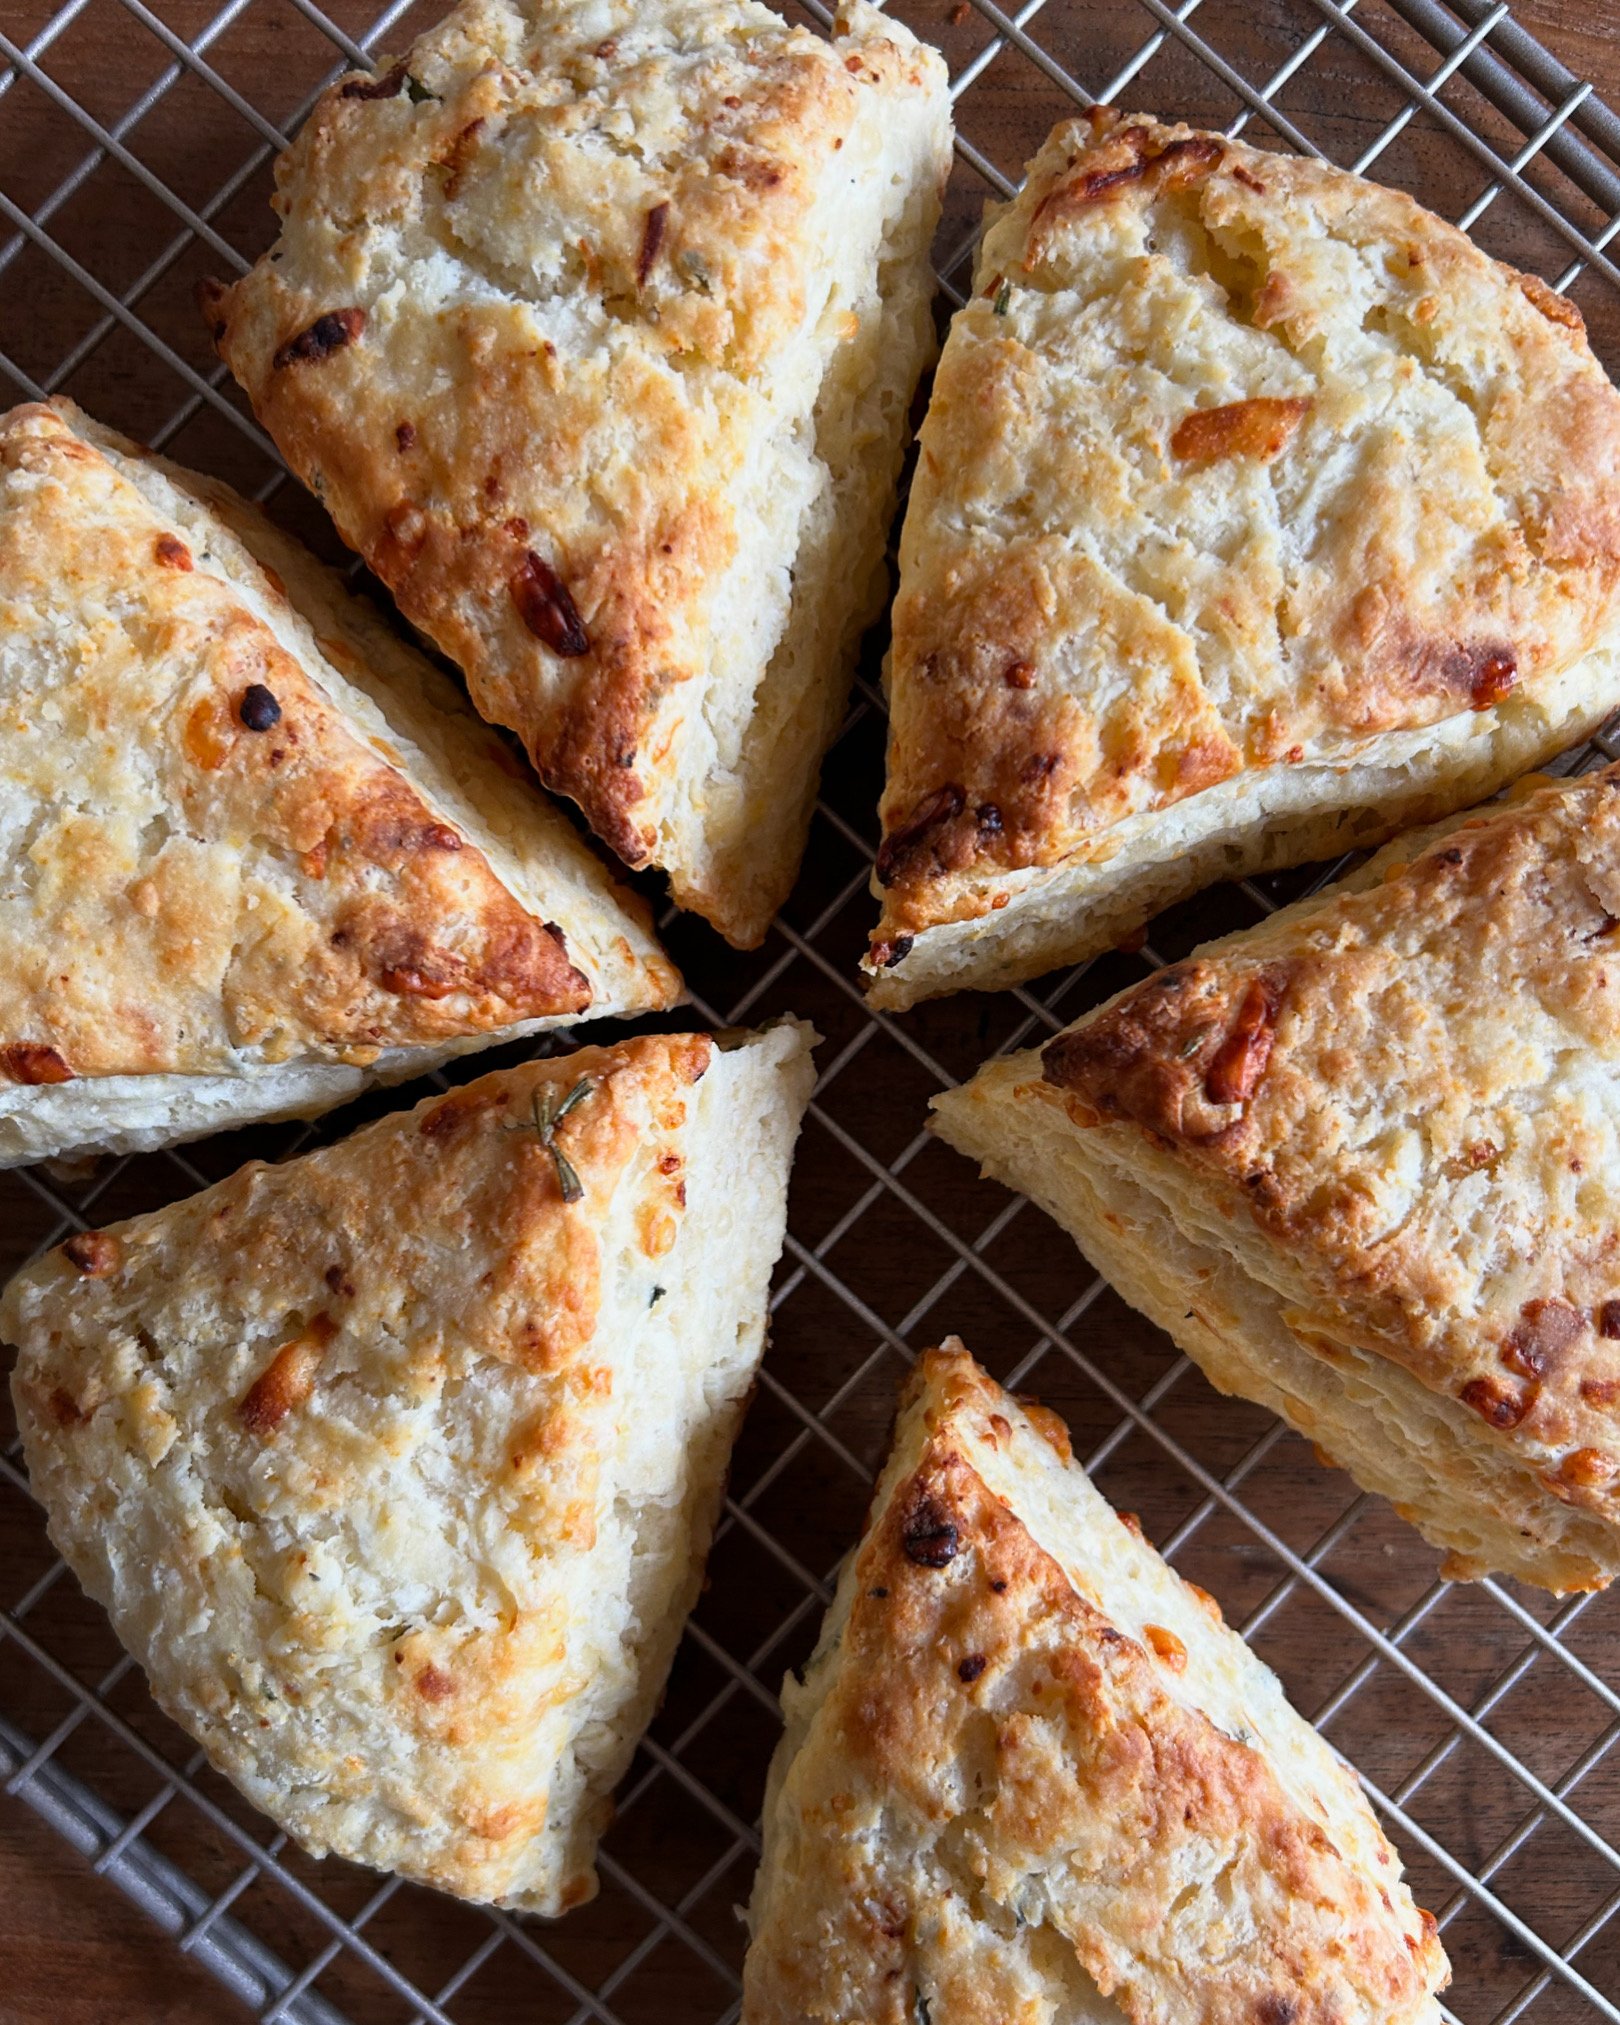
5 More Reader Favourite Artisan Bread Recipes
Green Olive & Rosemary Artisan Bread
Rosemary Parmesan Artisan Bread
Cheddar Jalapeño Artisan Bread
Rosemary & Roasted Garlic Artisan Bread
My best advice? Try it toasted, slathered with mayo then topped with sliced tomatoes, a good drizzle of olive oil, lots of flaky salt and crushed black pepper the next time you’re craving tomato toast!
No-Knead Olive Artisan Bread
Makes 1 loaf; prep time 18 hours.
You can find additional notes on steps, baking tools and tips for beginners here.
Ingredients:
1½ cups water (360 grams), room temperature (at or near 70°F/21°C)
1 teaspoon (3 grams) active dry yeast
3 cups (390 grams) bread or all-purpose flour, plus more for dusting
1 teaspoon (3 grams) kosher or fine sea salt
1 teaspoon (1 gram) dried oregano
1 cup (180 grams) olives, pitted, dried and roughly chopped
2 teaspoons (9 grams) extra-virgin olive oil
Instructions:
Add the yeast to the water and let it sit for 10-15 minutes. While the yeast is activating, whisk together flour, salt and oregano in a large mixing bowl.
Add yeast mixture, olives and olive oil to the bowl and mix just until combined. The dough should look a little sticky and stringy and there should still be a little flour around the edges of the bowl.
Cover and let rise somewhere warm (see note below) until it has doubled in size, about 8-10 hours.
Once the dough has doubled in volume, use your hands (or a dough scraper if you have one) to pull the dough out onto a floured surface. With floured hands, gently fold the dough into itself several times until a soft, flour-covered ball is formed. Seam side up, lift and place it into a flour dusted proofing bowl like this one. Dust with flour, cover and refrigerate for a minimum of 1 hour or as long as 24 hours. You can even leave it for as long as 48 hours at this point if you’re not able to bake it right away.
When you're ready to bake your bread, preheat oven to 450ºF (232ºC) with a Dutch oven or covered baking vessel inside the oven.
Uncover then invert the bowl to turn the dough out onto parchment paper seam side down. If needed, gently turn it with your hands and nudge it into the shape of a loaf. Score the top with a razor blade or the tip of a sharp knife with a design of your choosing. This will allow steam to escape while it’s baking.
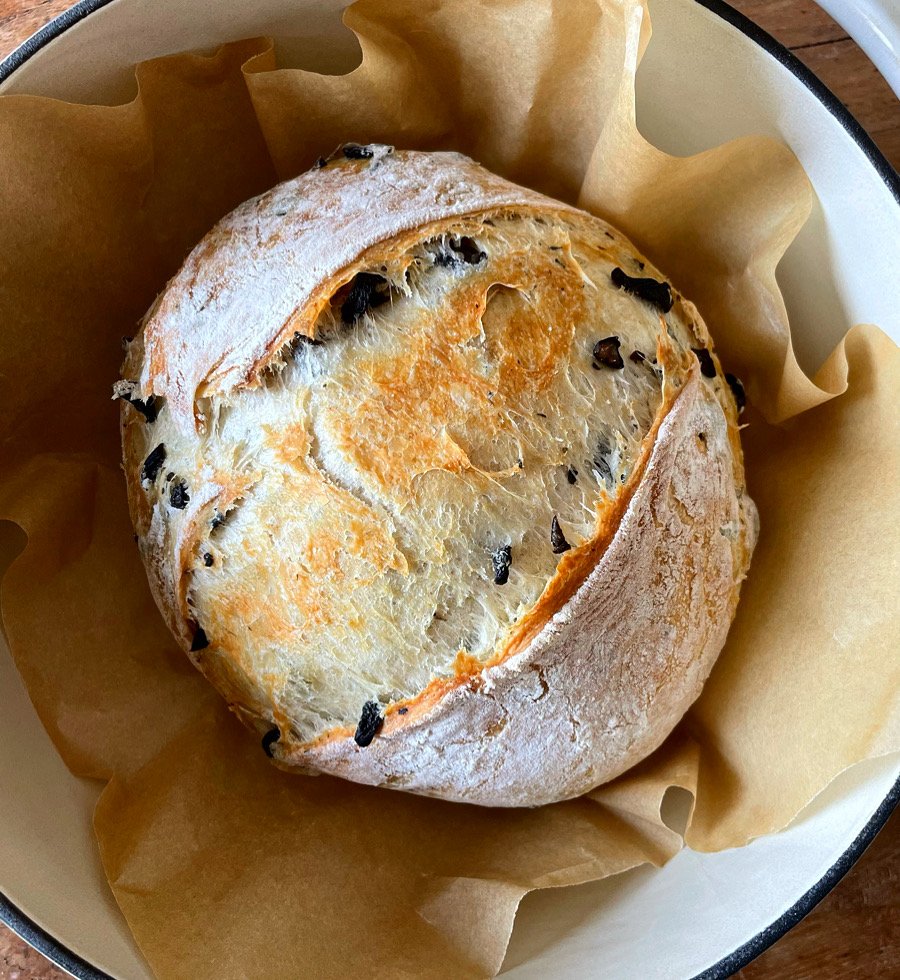
Once the oven is preheated, remove the Dutch oven from the oven and transfer the dough, still on the parchment, into the Dutch oven. Cover and bake for 30 minutes, then remove the cover and bake for 15-20 minutes more. Your bread will be done once the top is browned, and it sounds hollow when you tap the top.
Using parchment edges, lift bread from Dutch oven and transfer it to a wire cooling rack to let cool for up to an hour before slicing.
Notes:
Olives: Don’t skip drying the olives! This is easily done by laying them out between two paper towels or wrapped in a dry kitchen towel.
Rise time and temperature: An ambient rise temperature somewhere between ~70º-75º/20º-23ºC is ideal but even high 60's/18º-19ºC should work if the dough is kept away from drafts. Note that rise times can vary based on temperature, environment and ingredients used. You will know your loaf is ready to bake when it has doubled in size, and this can take a minimum of 2-3 hours or as long as a full day. With a little experimentation, you will find the time frame that works best for you.
Storage: This bread will keep well on the counter for up to 3 days and in the refrigerator for up to a week. Sliced bread will freeze well for up to 3 months.