Easy No-Knead Dill Gouda Artisan Bread
Last updated on June 27th, 2026
*This post has been revised and updated since first published March 25, 2022.
This beginner-friendly No-Knead Dill Gouda Artisan Bread is packed with fresh flavours, making it ideal for warmer spring and summer temperatures.
Made with nutty, buttery gouda, citrusy dill and freshly cracked pepper, this recipe builds on my simple 4-ingredient, no-knead Everyday Artisan Bread. It’s still super easy to make and requires just a handful of extra ingredients.
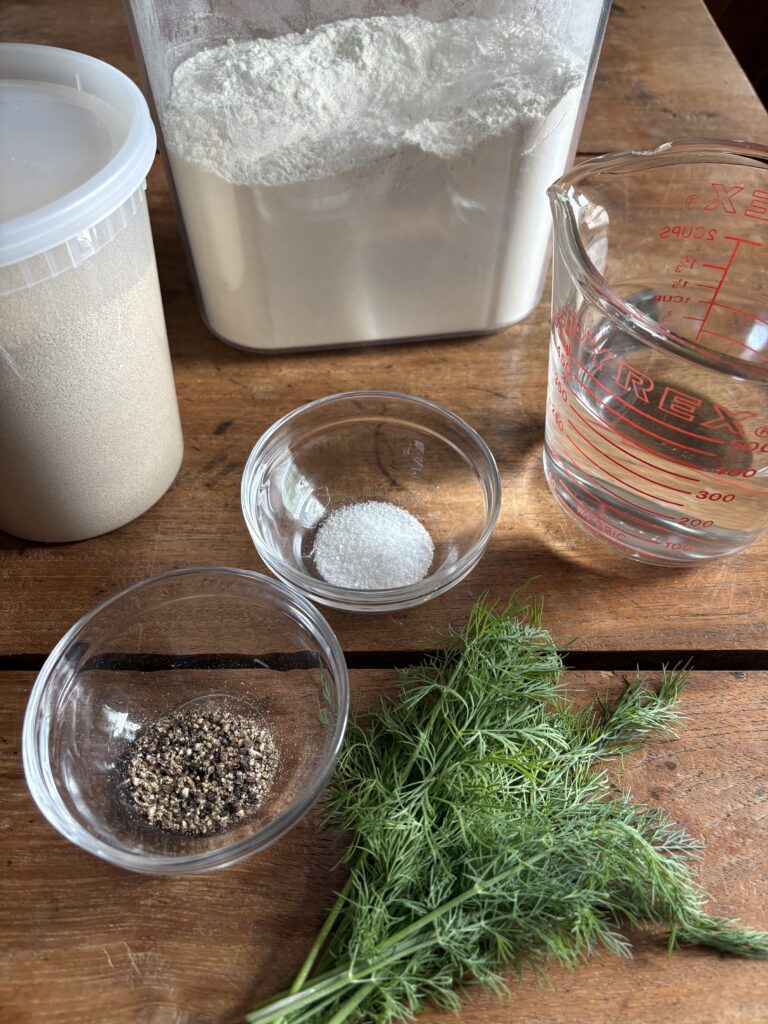
Here’s everything you’ll need to make this Easy No-Knead Dill Gouda Artisan Bread
- Water
- Active dry yeast
- Bread flour
- Kosher or fine sea salt
- Freshly ground black pepper
- Fresh dill
- Gouda cheese (see note below if baking with alternative flours)
Ideally, you will also have:
- Digital scale
- Dough scraper
- Parchment paper
- Razor blade or very sharp knife
- Dutch oven such as this one or this one
New to working with yeast? Reference my Baking with Active Dry Yeast guide for answers to common FAQ’s.
You can read more about why you will achieve your best results using a Dutch oven here.
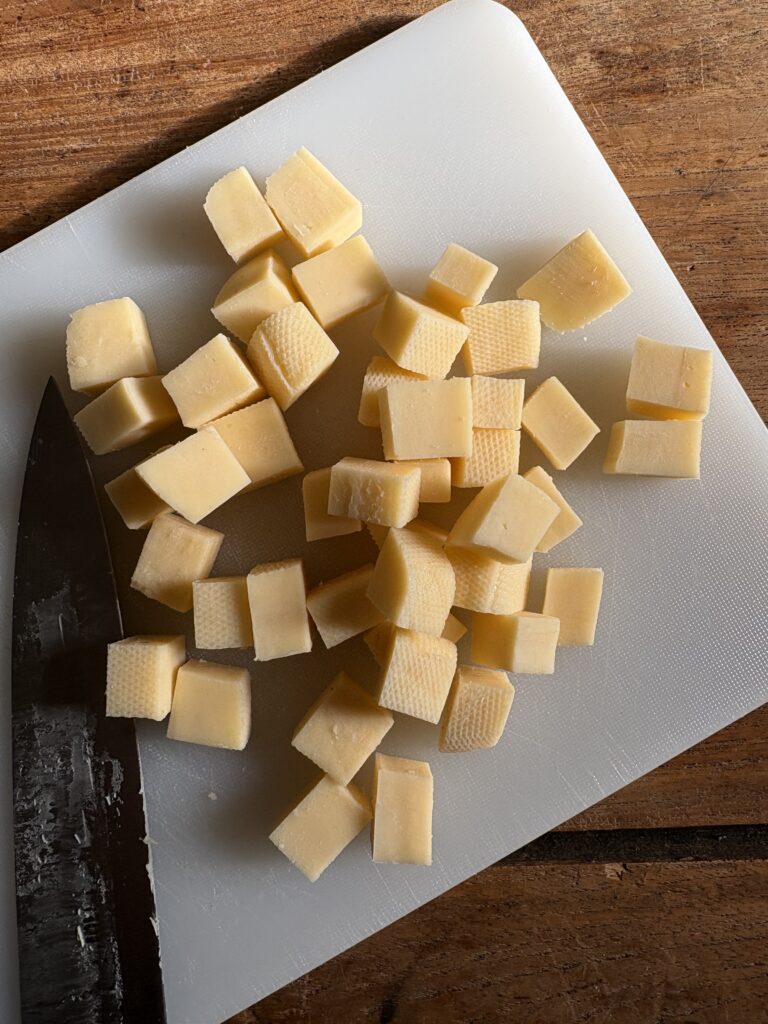
🧀 The lamination secret
The cubed Gouda is folded in using a lamination method, which helps distribute it evenly throughout the baked loaf.
This step calls for spreading the dough into a thin rectangle, scattering the inclusions over the top, then rolling it up and folding under the ends to create layers.
Completed during shaping just prior to the cold proof, it creates the most deliciously melty, cheesy pockets.
How to make Easy No-Knead Dill Gouda Artisan Bread in 5 steps
- Mix the dough.
- Cover and let it rise until it has doubled in size.
- Add cheese, shape your dough and dust with flour.
- Cover and proof the dough in the fridge overnight.
- Turn dough out onto a floured surface, re-shape if needed, score it and bake.
This is what it looks like
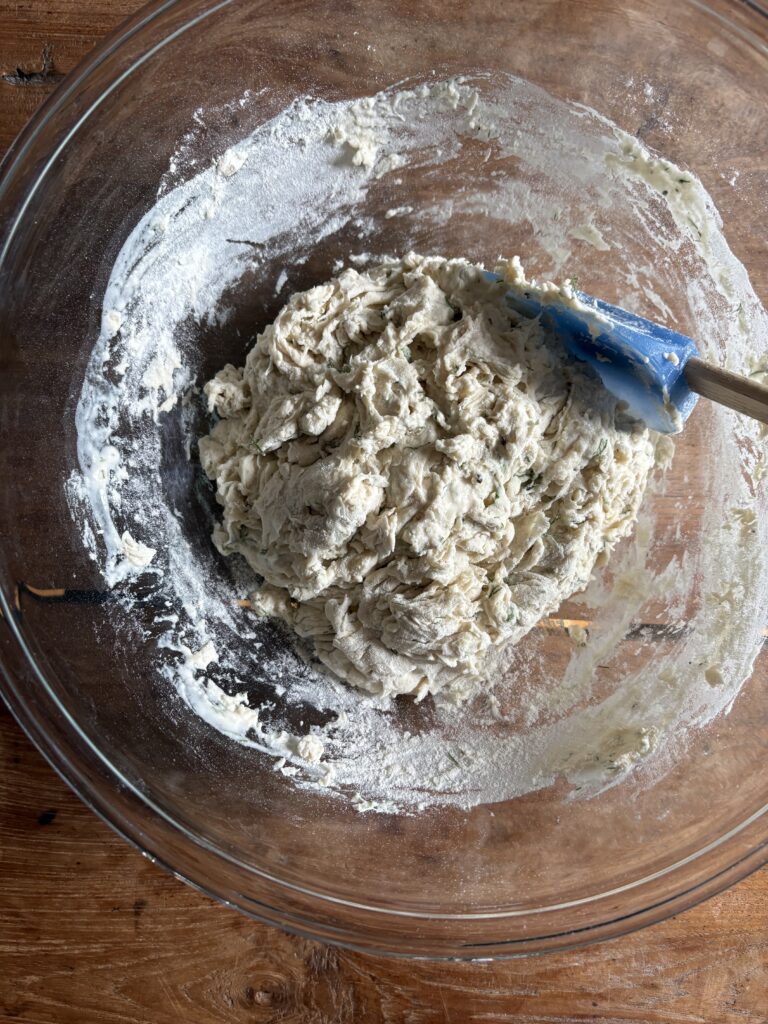
Once you’ve prepped your ingredients in step 1, add the yeast mixture to the whisked dry ingredients.
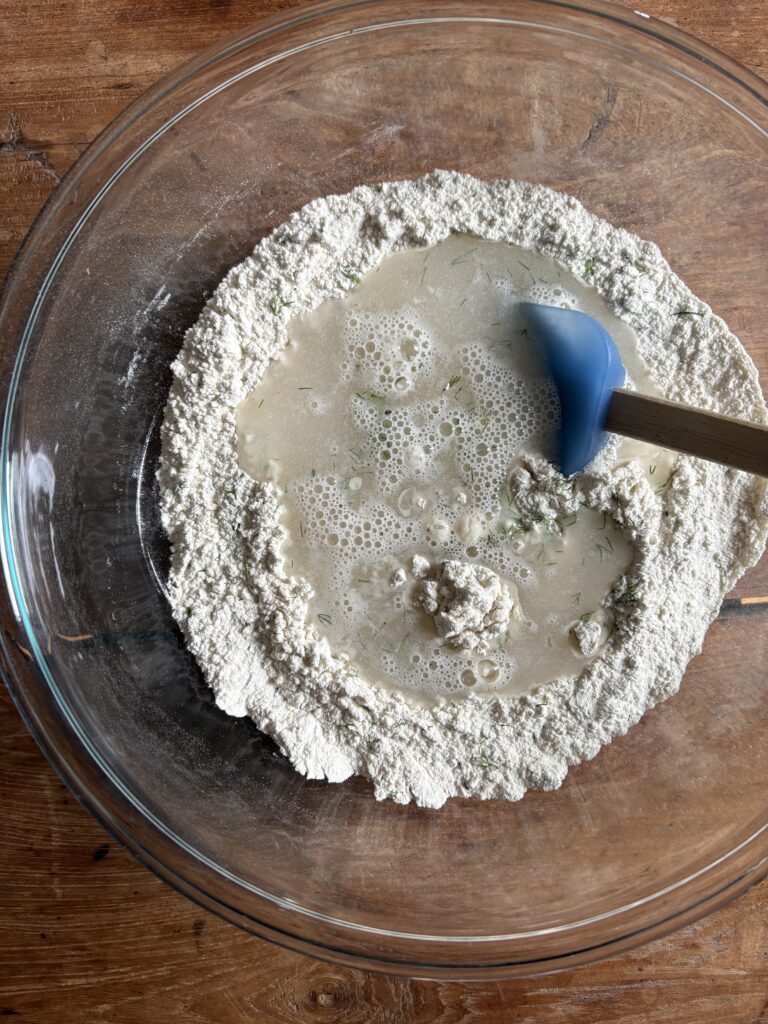
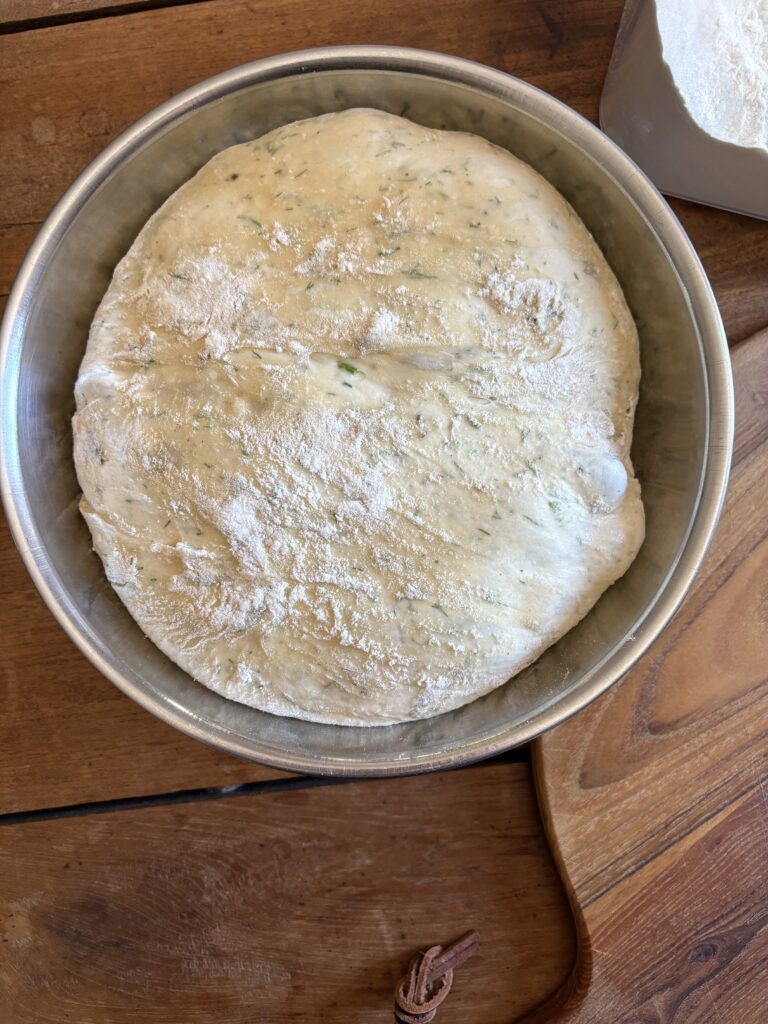
When the dough look like this, cover and let it rise.
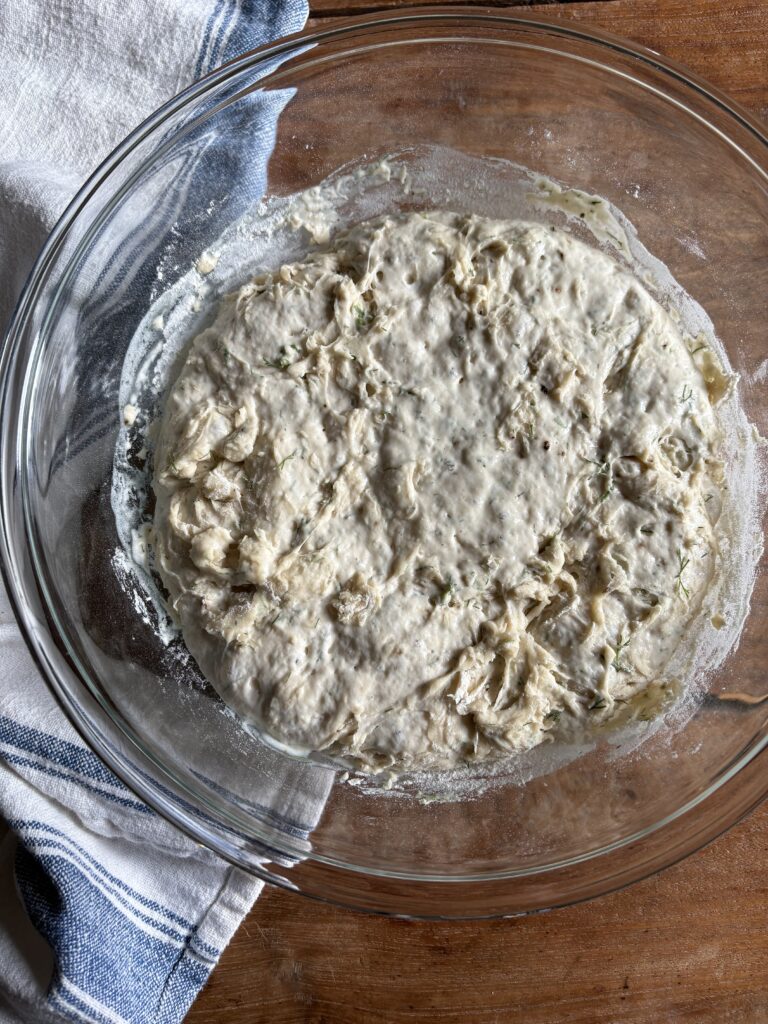
Once the dough has doubled in volume, it will look like this.
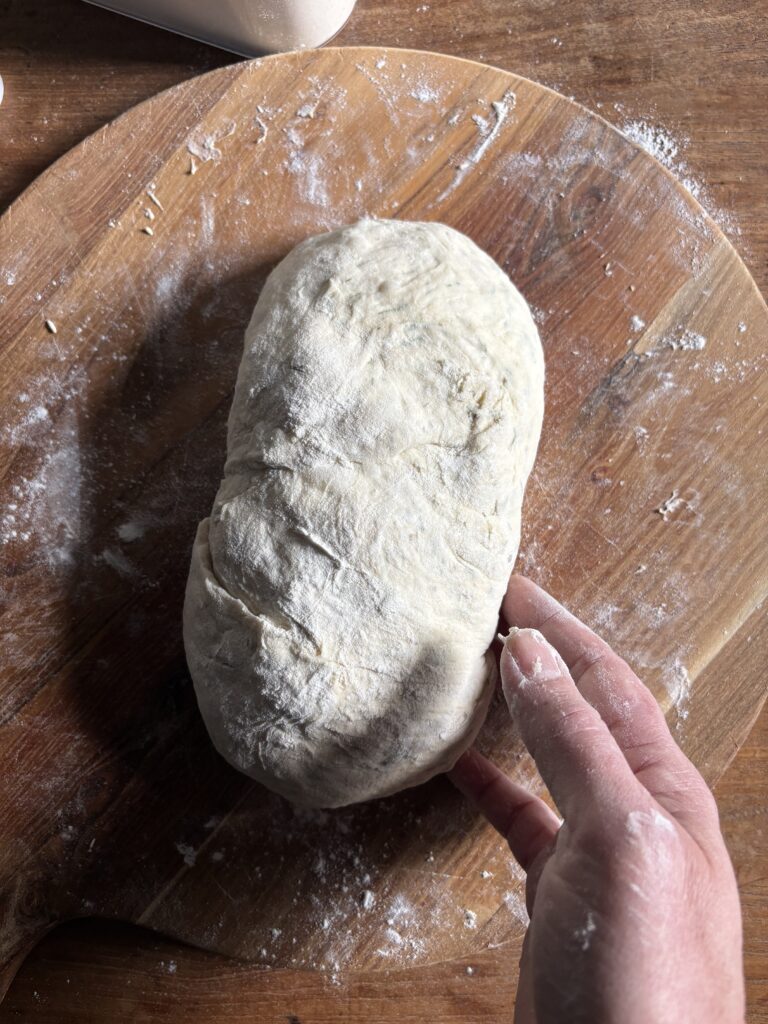
Using floured hands (or a flexible dough scraper if you have one) pull the dough out onto a floured surface.
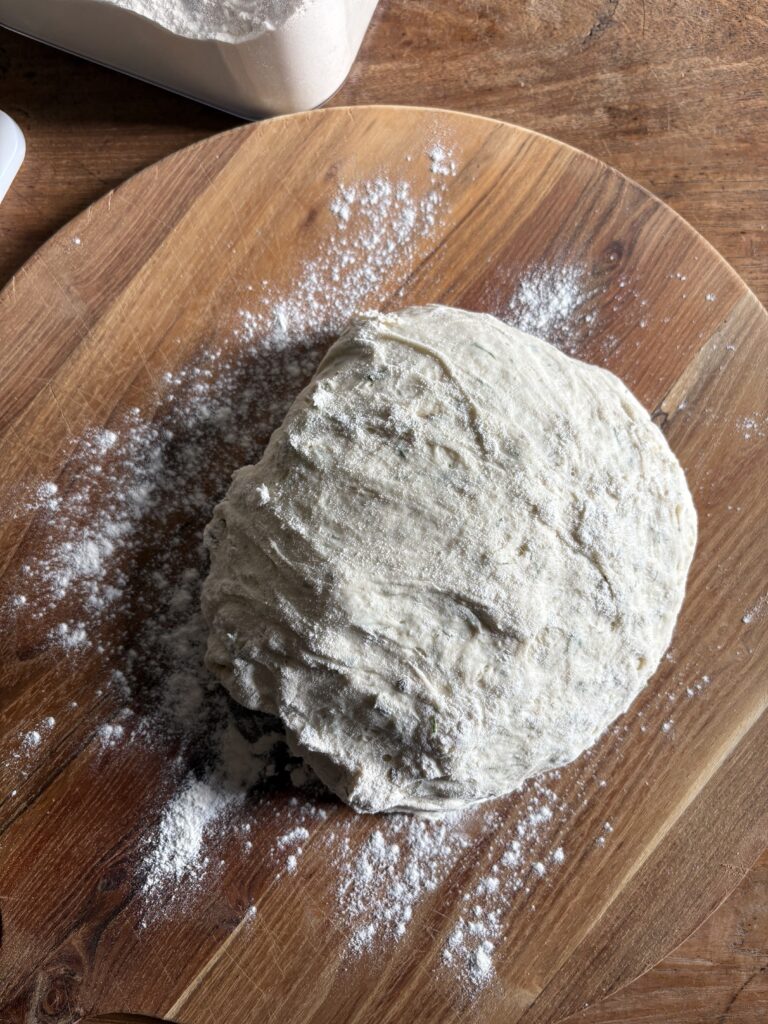
Fold it into itself a couple of times just until it holds together, then stretch it out into a rectangle and top with cubed Gouda.
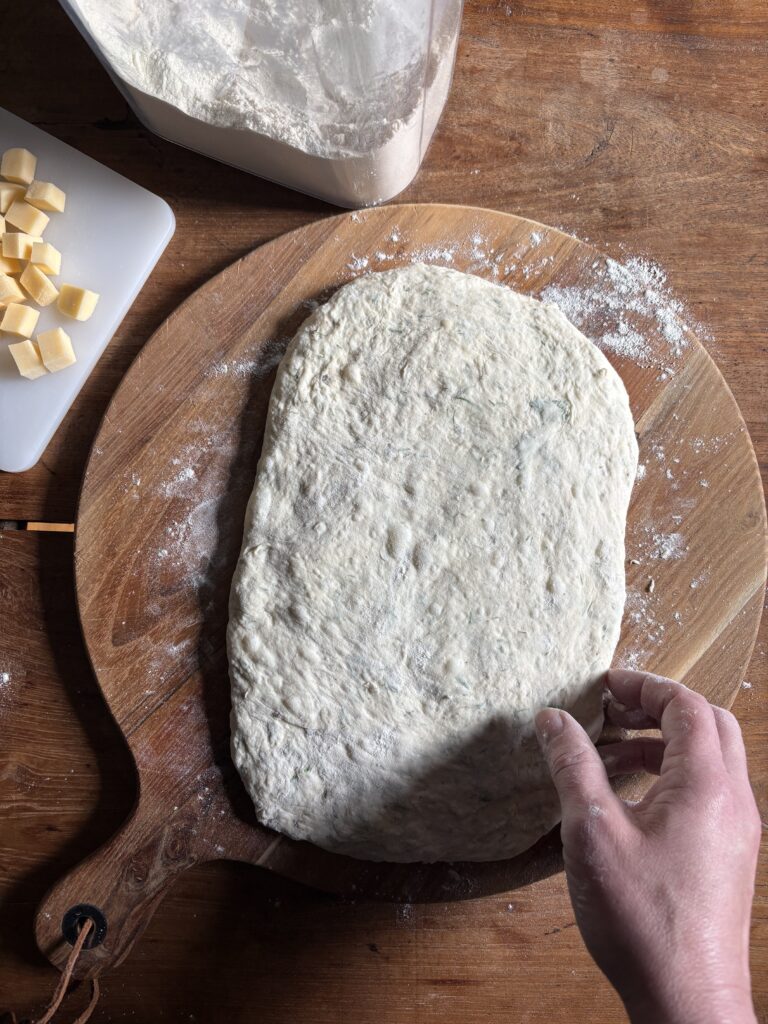

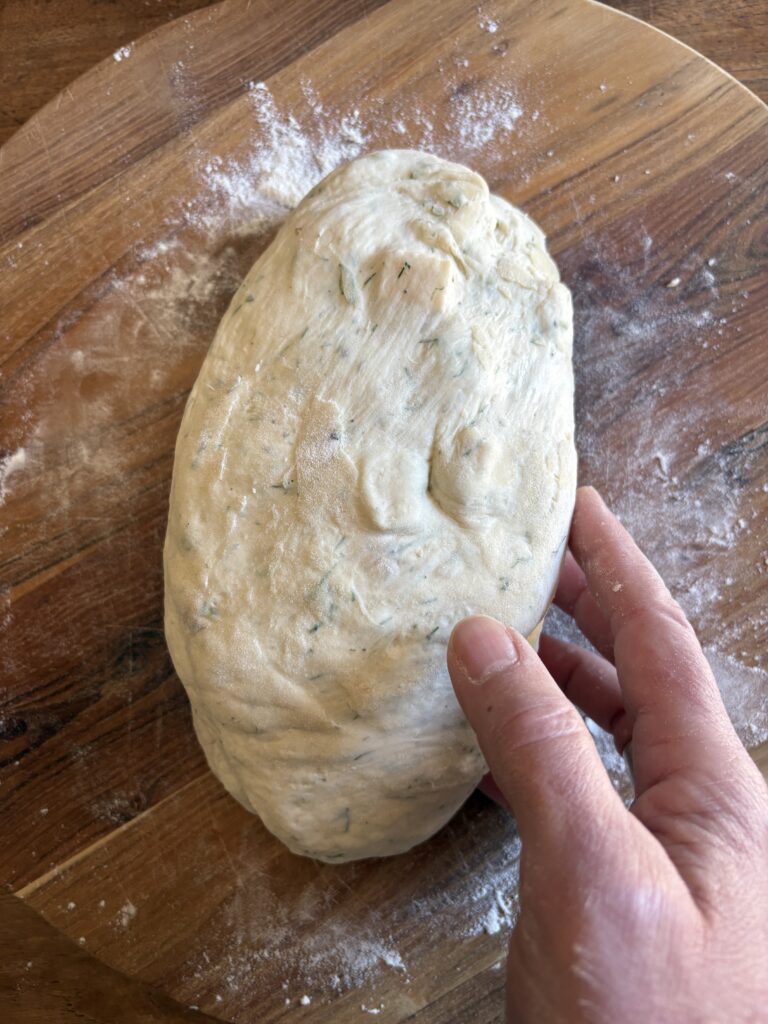
Next, roll it up into a log, fold under the ends and turn it, using your hands to gently shape it into a loaf.
Place the loaf into a flour dusted bowl, cover and refrigerate overnight. This is what it will look like after a 14-hour cold proof.
You can learn more about the benefits of cold proofing no-knead doughs in this post Artisan Bread Basics: How Cold Proofing Changes the Game + Answers to FAQ’s.
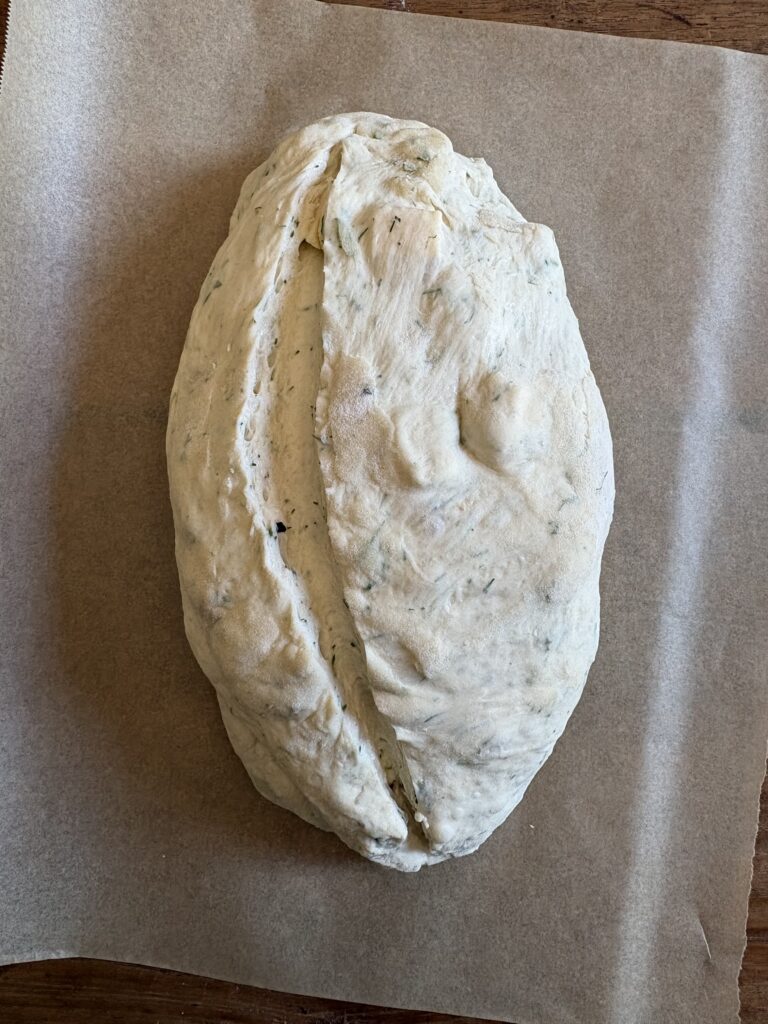
Once your oven is preheated, pull the dough out onto a lightly floured surface, reshape it again if needed, score it and bake.
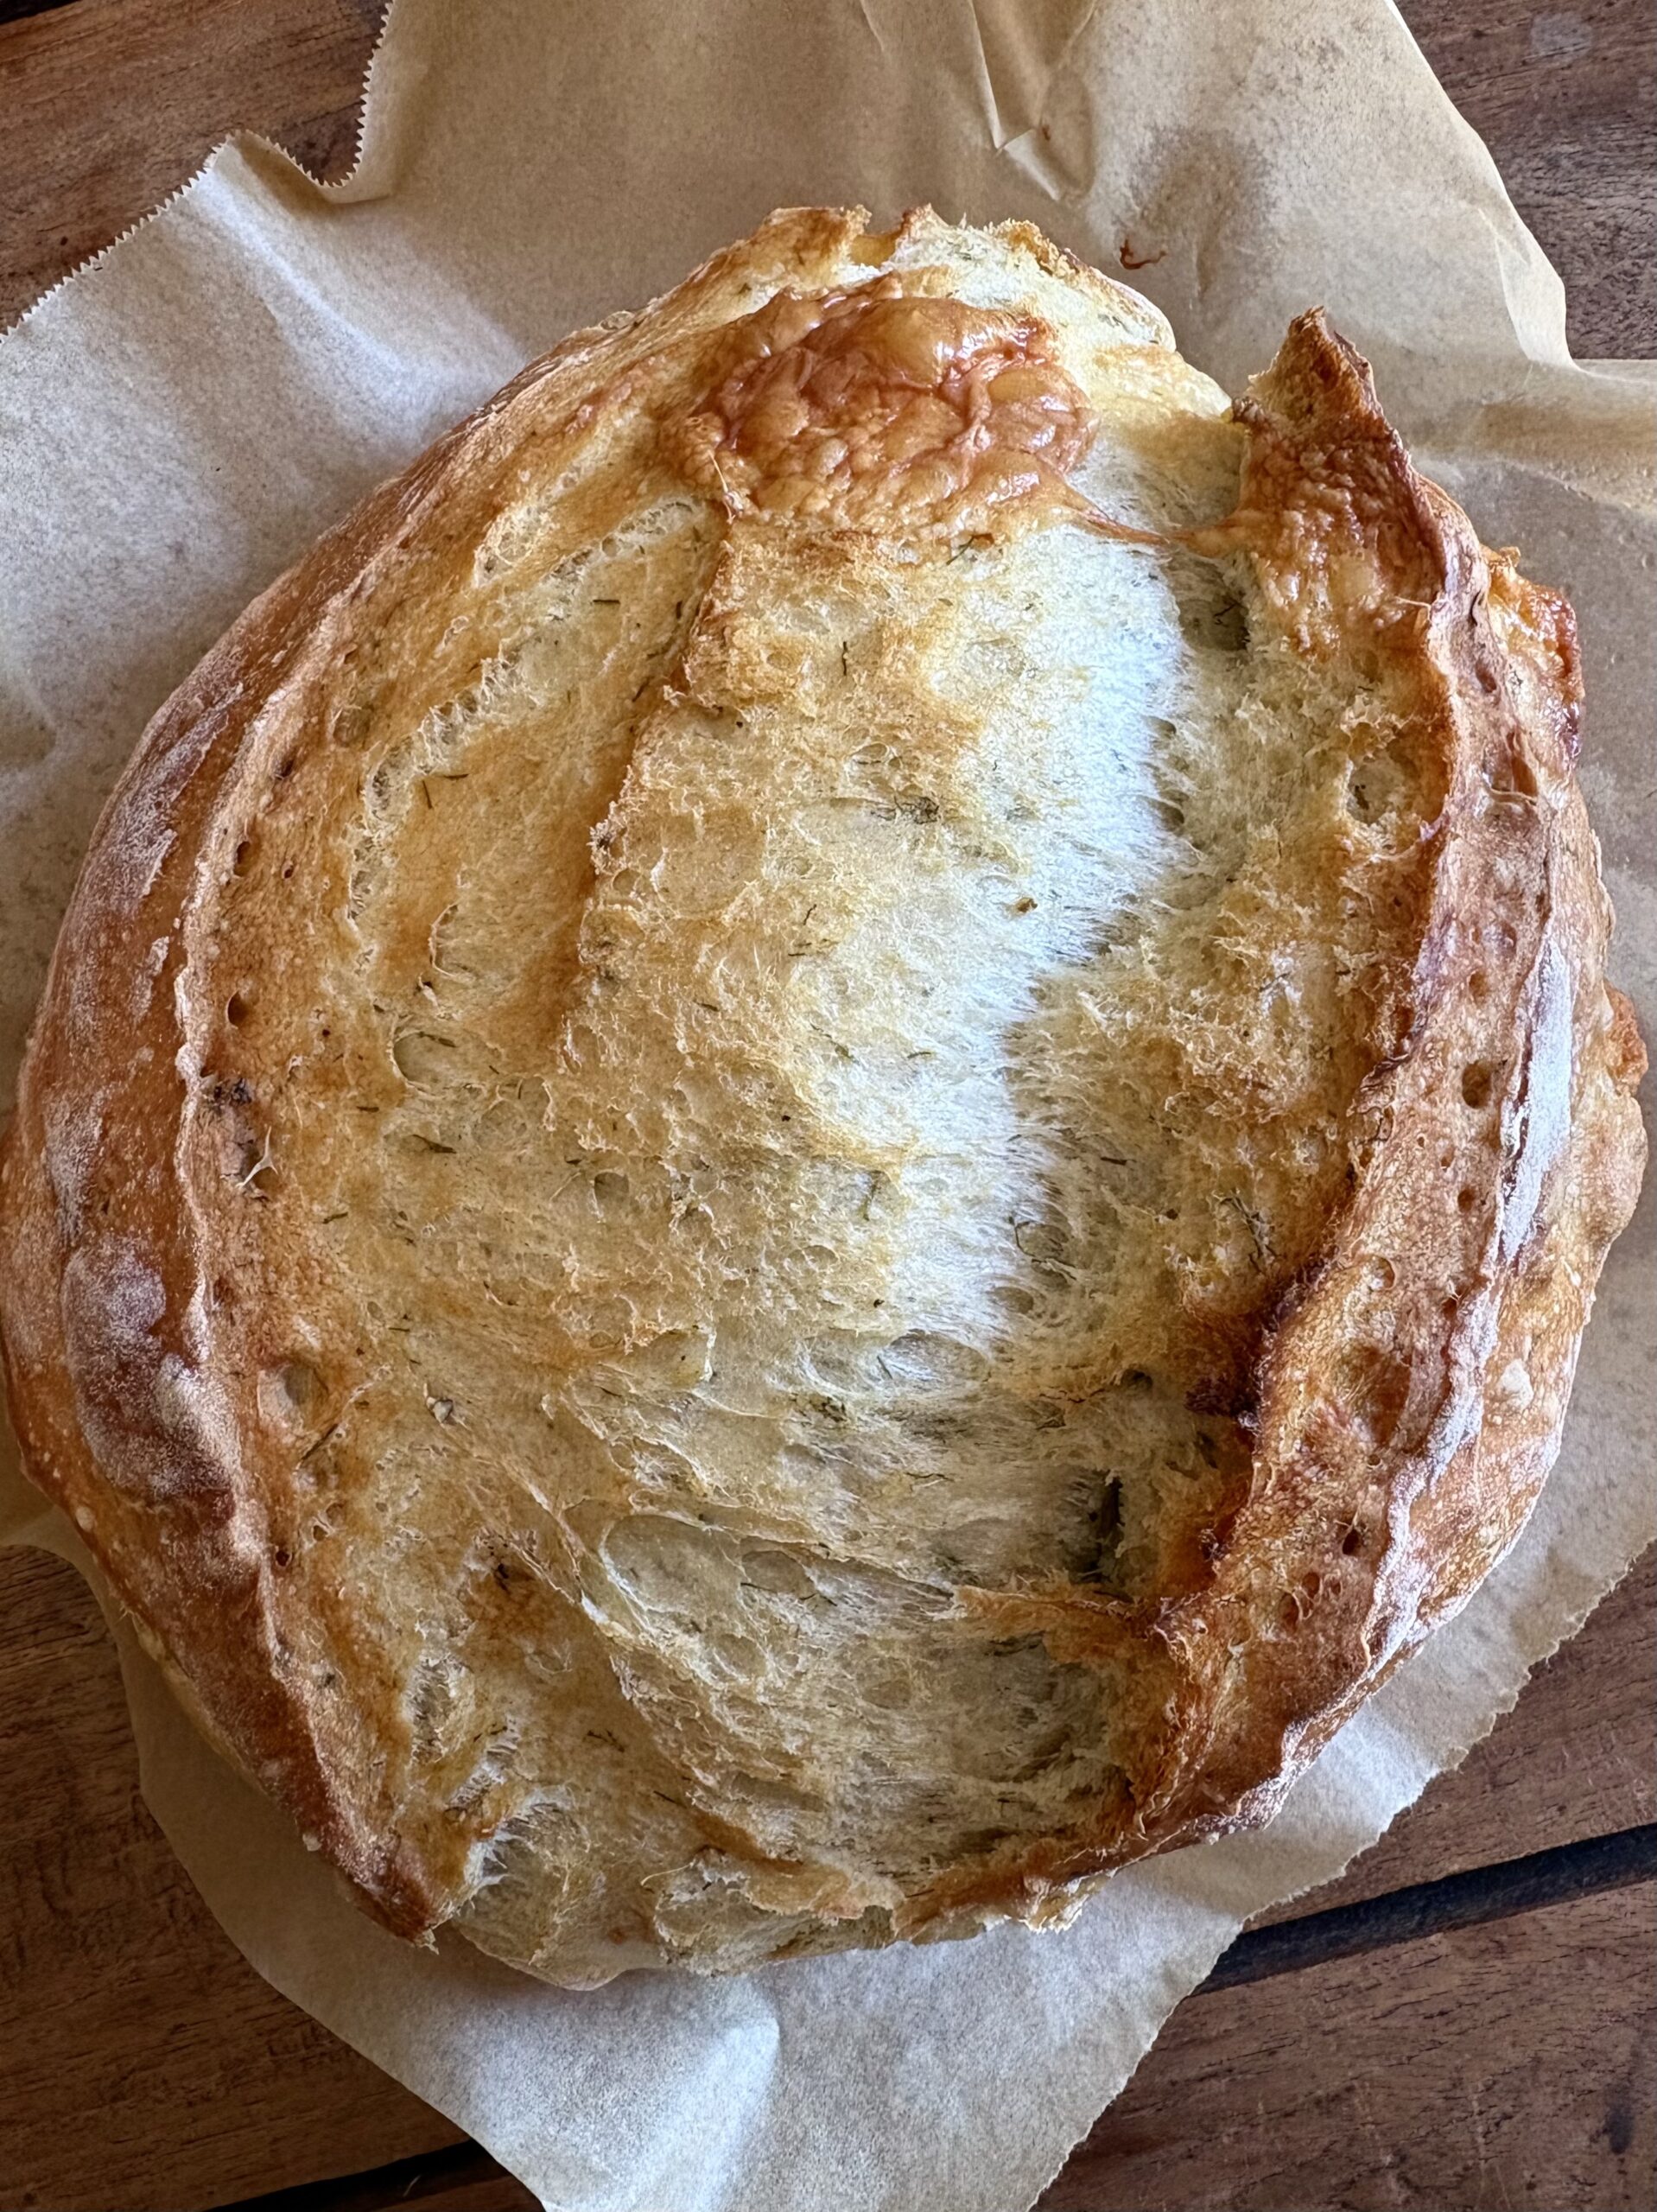
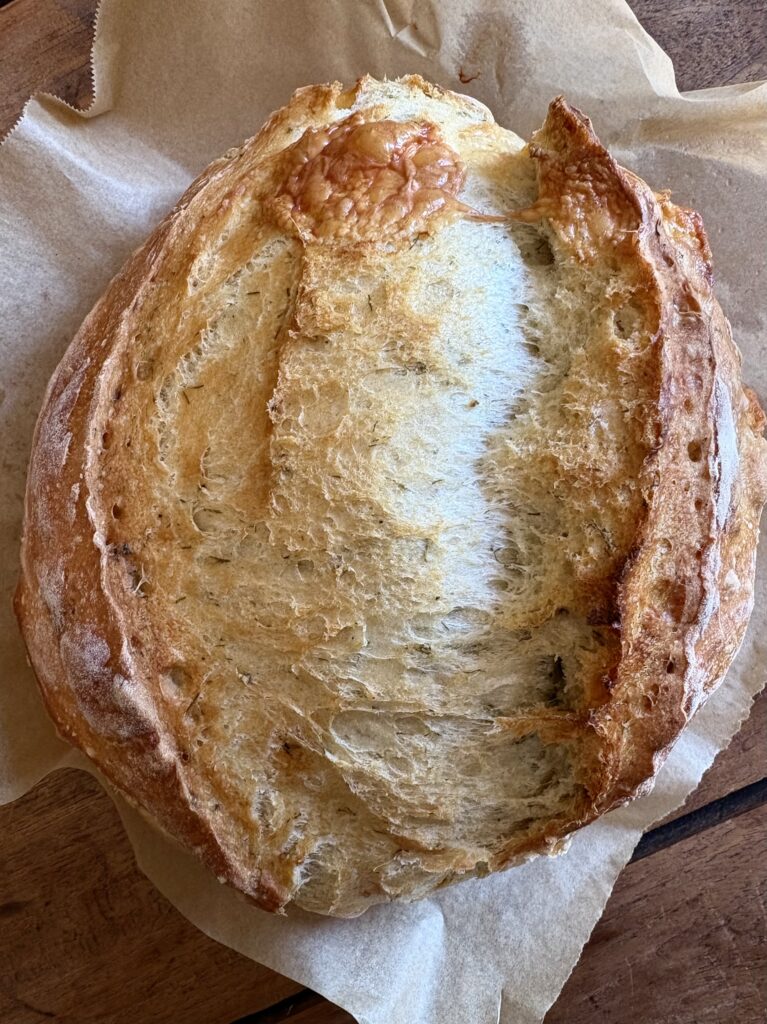
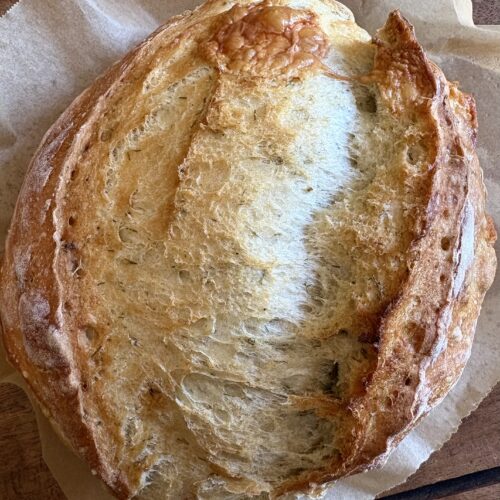
The finished loaf after baking for 45 minutes.
A few helpful tips for making the best No-Knead Dill Gouda Artisan Bread
Baking schedule
Making this Dill Gouda Artisan Bread is a two-day process where the bread is mixed and prepared on day one, cold proofed in the fridge overnight, then baked on day two.
This is what it looks like:
Saturday morning: Mix dough, cover and let rise.
Saturday afternoon or evening: Add cheese, shape dough, cover and put it in the fridge.
Sunday morning, afternoon or evening: Remove dough from the fridge and prepare to bake.
This Easy No-Knead Dill Gouda Artisan Bread is a fresh, citrusy spring favourite packed with buttery cheese. Oh, and trust me when I say do NOT forget to add the freshly cracked pepper. Something magical happens when you combine it with the dill and Gouda to produce an out-of-this-world-amazing flavour!
Try this Rosemary and Roasted Garlic Artisan Bread or these savoury Rosemary Parmesan Scones next.
For more tips and helpful information, reference my Artisan Bread Basics Series + Answers to Common FAQ’s.
Did you make this recipe?
If you tried this recipe, be sure to rate it and leave a comment below! You can also tag me with your creations on Instagram, save this recipe to your favourite Pinterest boards for later, or connect with our Facebook community if you prefer updates there.
Easy No-Knead Dill Gouda Artisan Bread
Ingredients
- 1½ cups water, room temperature (at or near 70°F/21°C)
- 1 teaspoon active dry yeast
- 3½ cups bread flour, plus more for dusting
- 1 teaspoon kosher or fine sea salt
- ½ teaspoon freshly ground black pepper
- 2 tablespoons fresh dill, finely chopped
- 1 cup cubed Gouda cheese (see note below if baking with alternative flours)
Instructions
- Add the yeast to the water and let it sit for 10-15 minutes. In a large bowl, whisk together flour, salt, pepper and chopped dill until evenly distributed. Let sit for 10 minutes.
- Add yeast mixture to the bowl and stir together using a rubber spatula just until combined. The dough should look a little sticky and shaggy and there should still be a little flour around the edges of the bowl.
- Cover and let rise somewhere warm until it has doubled in volume (see note below).
- Using floured hands (or a dough scraper if you have one) pull the dough out onto a floured surface. Flour your hands again and gently fold the dough into itself several times just until it holds together. Next, carefully stretch and smooth out the dough into a rectangular shape and scatter the Gouda cubes across the dough, pressing them into the surface. Roll up the dough into a log shape, adding bits of flour as needed to prevent sticking, then fold the ends underneath. Gently shape the dough, nudging it into the shape of a loaf. Lift and place the dough into a flour dusted bowl.
- Dust with flour, cover and refrigerate overnight. You can even leave it for as long as 48 hours at this point if you’re not able to bake it right away.
- When you're ready to bake your bread, preheat oven to 450ºF (232ºC) with your Dutch oven inside the oven.
- Once the oven is preheated, turn the dough out onto a lightly floured surface. If needed, gently turn it with your hands and nudge it into the shape of a loaf. Place it on a sheet of parchment paper and score the top with a razor blade or the tip of a sharp knife with a design of your choosing. This will allow steam to escape while it’s baking.
- Remove the Dutch oven from the oven and transfer the dough, still on the parchment, into the Dutch oven. Cover and bake for 30 minutes, then remove the cover and bake for 15 minutes more. Your bread will be done once the top is browned, and it sounds hollow when you tap the top.
- Using parchment edges, lift bread from Dutch oven and transfer it to a wire cooling rack. Let cool for up to an hour before slicing to allow the cooking process to complete.


question….when I remove the dough from the fridge before baking do I Let it come to room temp?
thanks
Margaret
Hi Margaret! Once the oven is preheated, bake it straight from the fridge. Just shape your loaf, transfer it onto a sheet of parchment, score it and drop it into your Dutch oven to bake. Hope you enjoy! 😊