Easy No-Knead Buttermilk Dinner Rolls
Last updated on October 5th, 2026
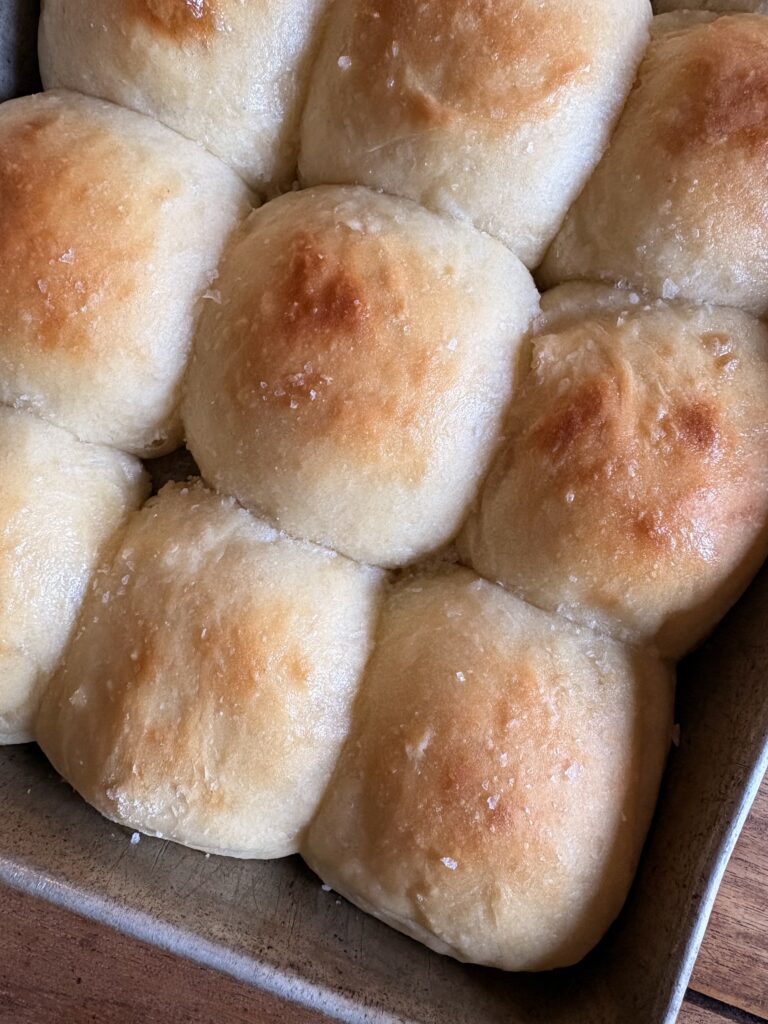
Soft and buttery, these Easy No-Knead Buttermilk Dinner Rolls are everything you could want in a dinner roll. Unlike many recipes that call for a stand mixer or a lot of kneading, this recipe is simple to put together with minimal effort and doesn’t require any special equipment.
I can’t think of anything better than homemade rolls fresh from the oven just in time for a Sunday or holiday dinner. This recipe will produce 12 good-sized dinner rolls that you can have ready in under 4 hours.
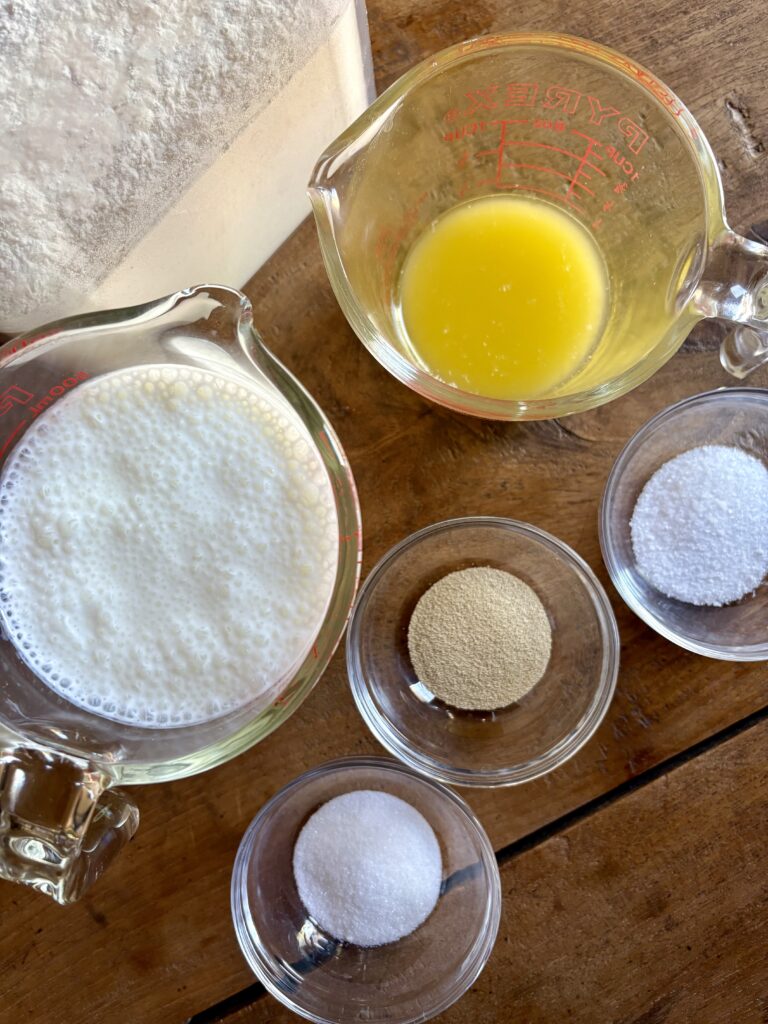
Here’s everything you’ll need to make these Easy No-Knead Buttermilk Dinner Rolls
- 2 cups (475 grams) buttermilk, room temperature (sub dairy free)
- 2 teaspoons (6 grams) active dry yeast
- 4 cups (520 grams) bread or all-purpose flour, plus more for shaping
- 1 tablespoon (12 grams) granulated sugar
- 3 teaspoons (9 grams) kosher or fine sea salt
- ¼ cup (60 grams) butter, melted and cooled, plus 1 tablespoon for finishing (sub dairy free baking stick)
- Flaky salt to finish
The buttermilk gives them a richer flavour, and the flaky salt added at the end really seals the deal. This recipe will also work with whole milk, your favourite plant-based option or even water, although they may not be quite as tender.
To achieve that light and fluffy texture, we’ll let the dough rise twice – once before and then again after shaping the rolls. And while I did say earlier that you don’t require any special equipment for this recipe, I always recommend using a digital scale to measure your ingredients.
Variations & substitutions
How to make pull-apart No-Knead Buttermilk Dinner Rolls in 5 steps
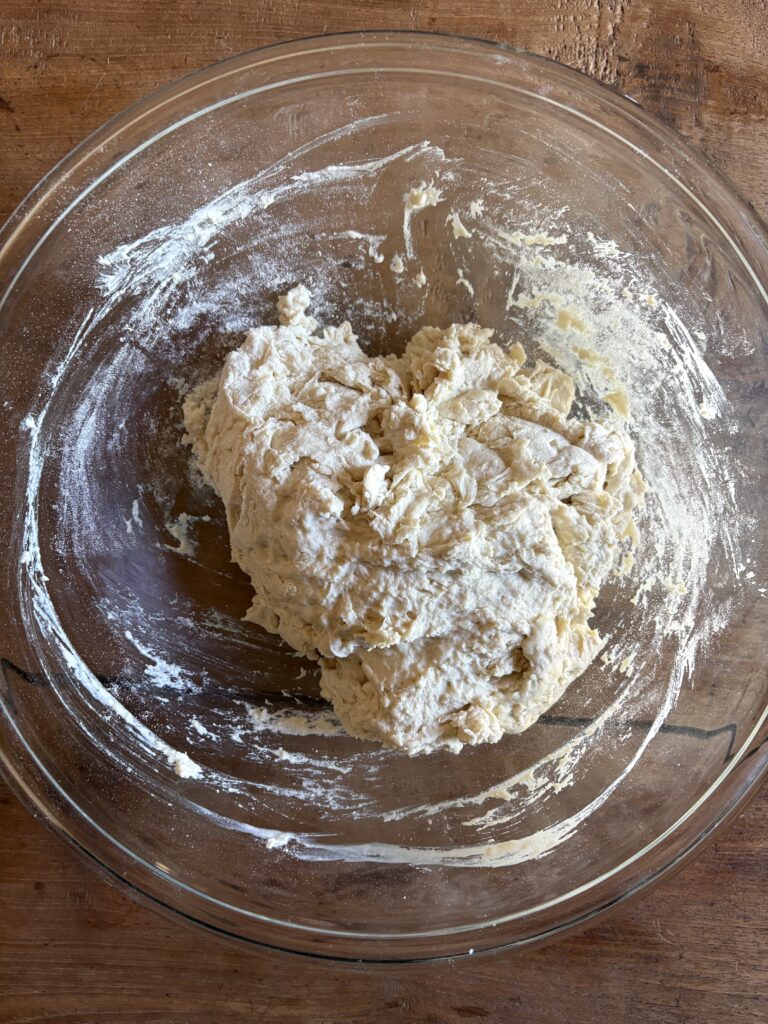
- Mix the ingredients.
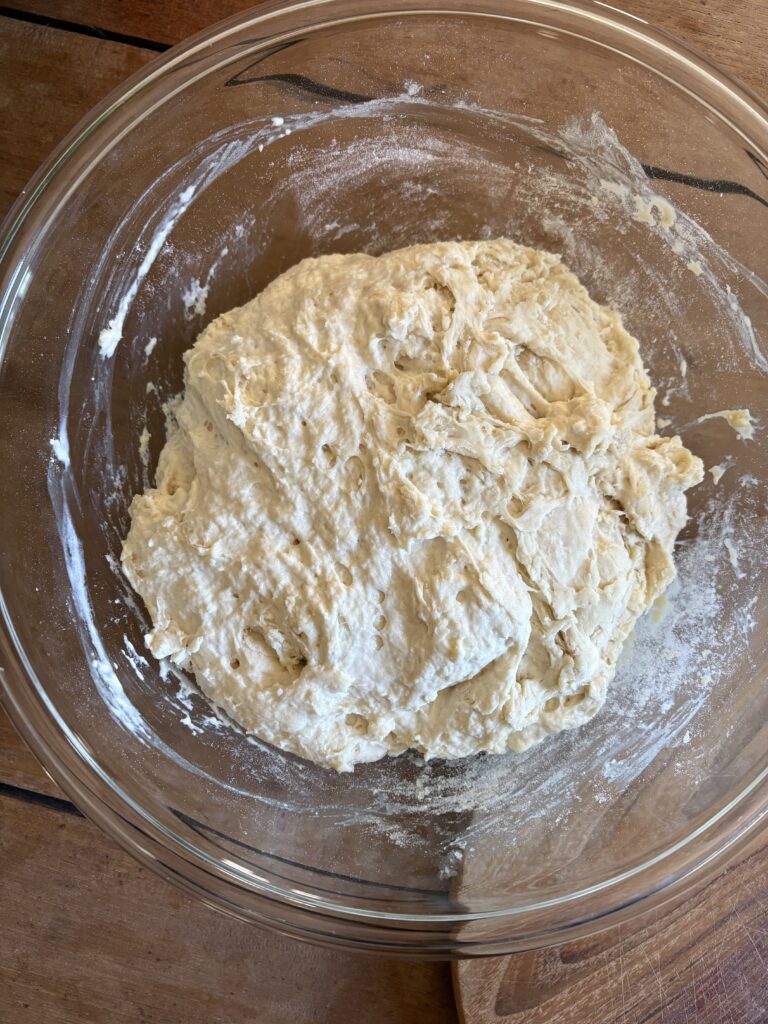
- Cover and let rise somewhere warm until the dough has doubled in volume.
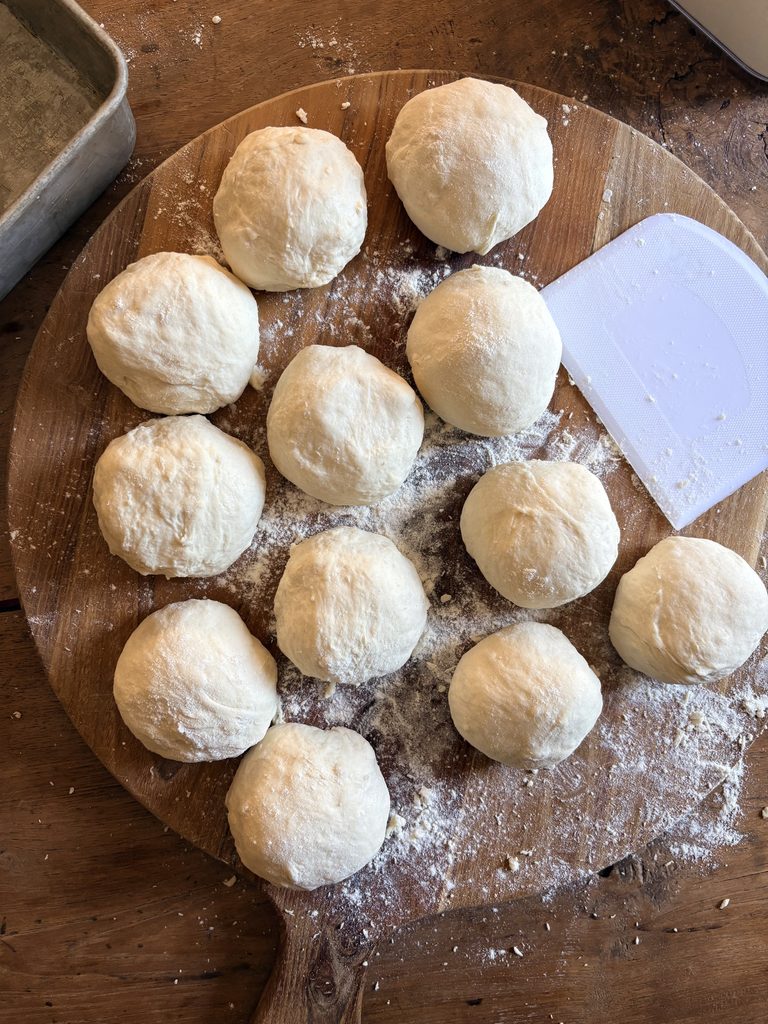
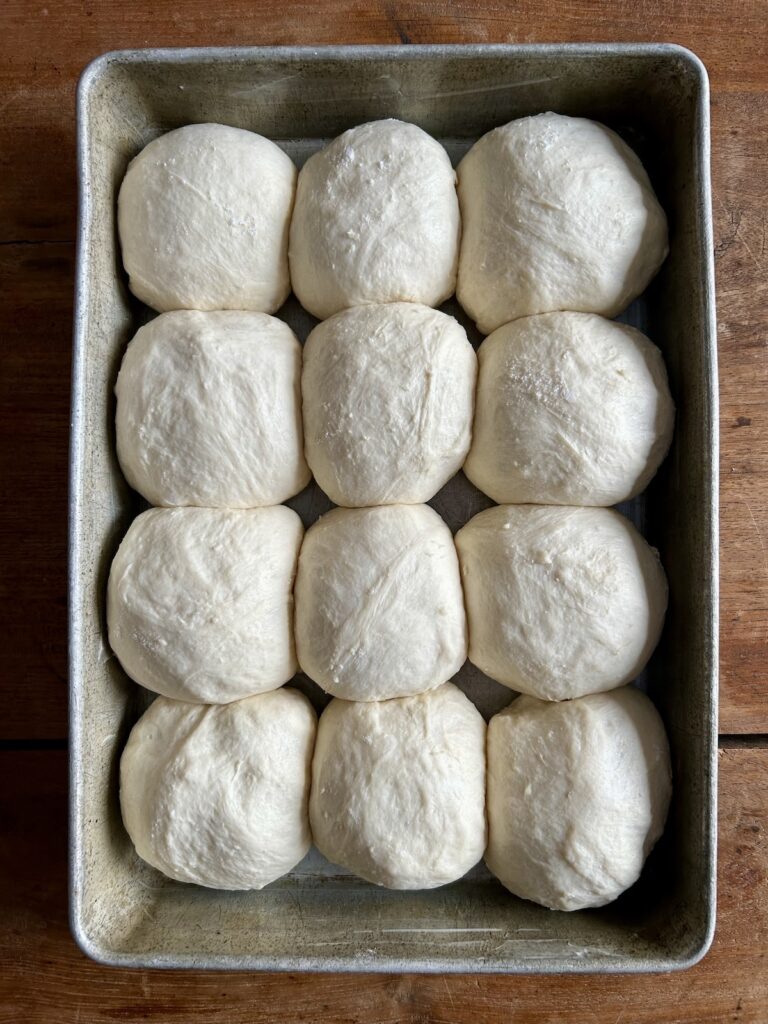
- Shape the rolls and let rise again until they’ve doubled in size or even filled the pan.
- Bake for 20 minutes.
- Brush with melted butter, sprinkle with flaky salt and serve.
A few helpful tips for making the best Buttermilk Dinner Rolls
🍞 The simple rise test
When it comes to baking bread without a stand mixer, letting your shaped dough balls rise to the proper size is the secret to a fluffy roll.
Instead of just watching the clock during the second rise, you can use a quick visual test right before baking to know if they are ready for the oven.
Gently press the tip of your finger about a half inch into the top of one of the risen rolls and pull it away to check the surface mark.
If the indentation stays put or fills back in very slowly, your air bubbles are perfectly locked in, and the dish is ready to be baked.
If the dough snaps back quickly like a rubber band, it needs to sit on your counter for just a little bit longer to rest and expand completely.
Can these rolls be made ahead of time?
Yes, shape them then cover with plastic wrap and refrigerate for up 24 hours. Let them sit on the counter for an hour or so to bring them back to room temperature before baking.
Do they freeze well?
Freezing is the best way to store them! Once baked, let them cool completely then freeze in an airtight container or freezer bag for up to 3 months. Thaw and serve or warm them in a 350ºF (177ºC) oven for 5 minutes before sharing.
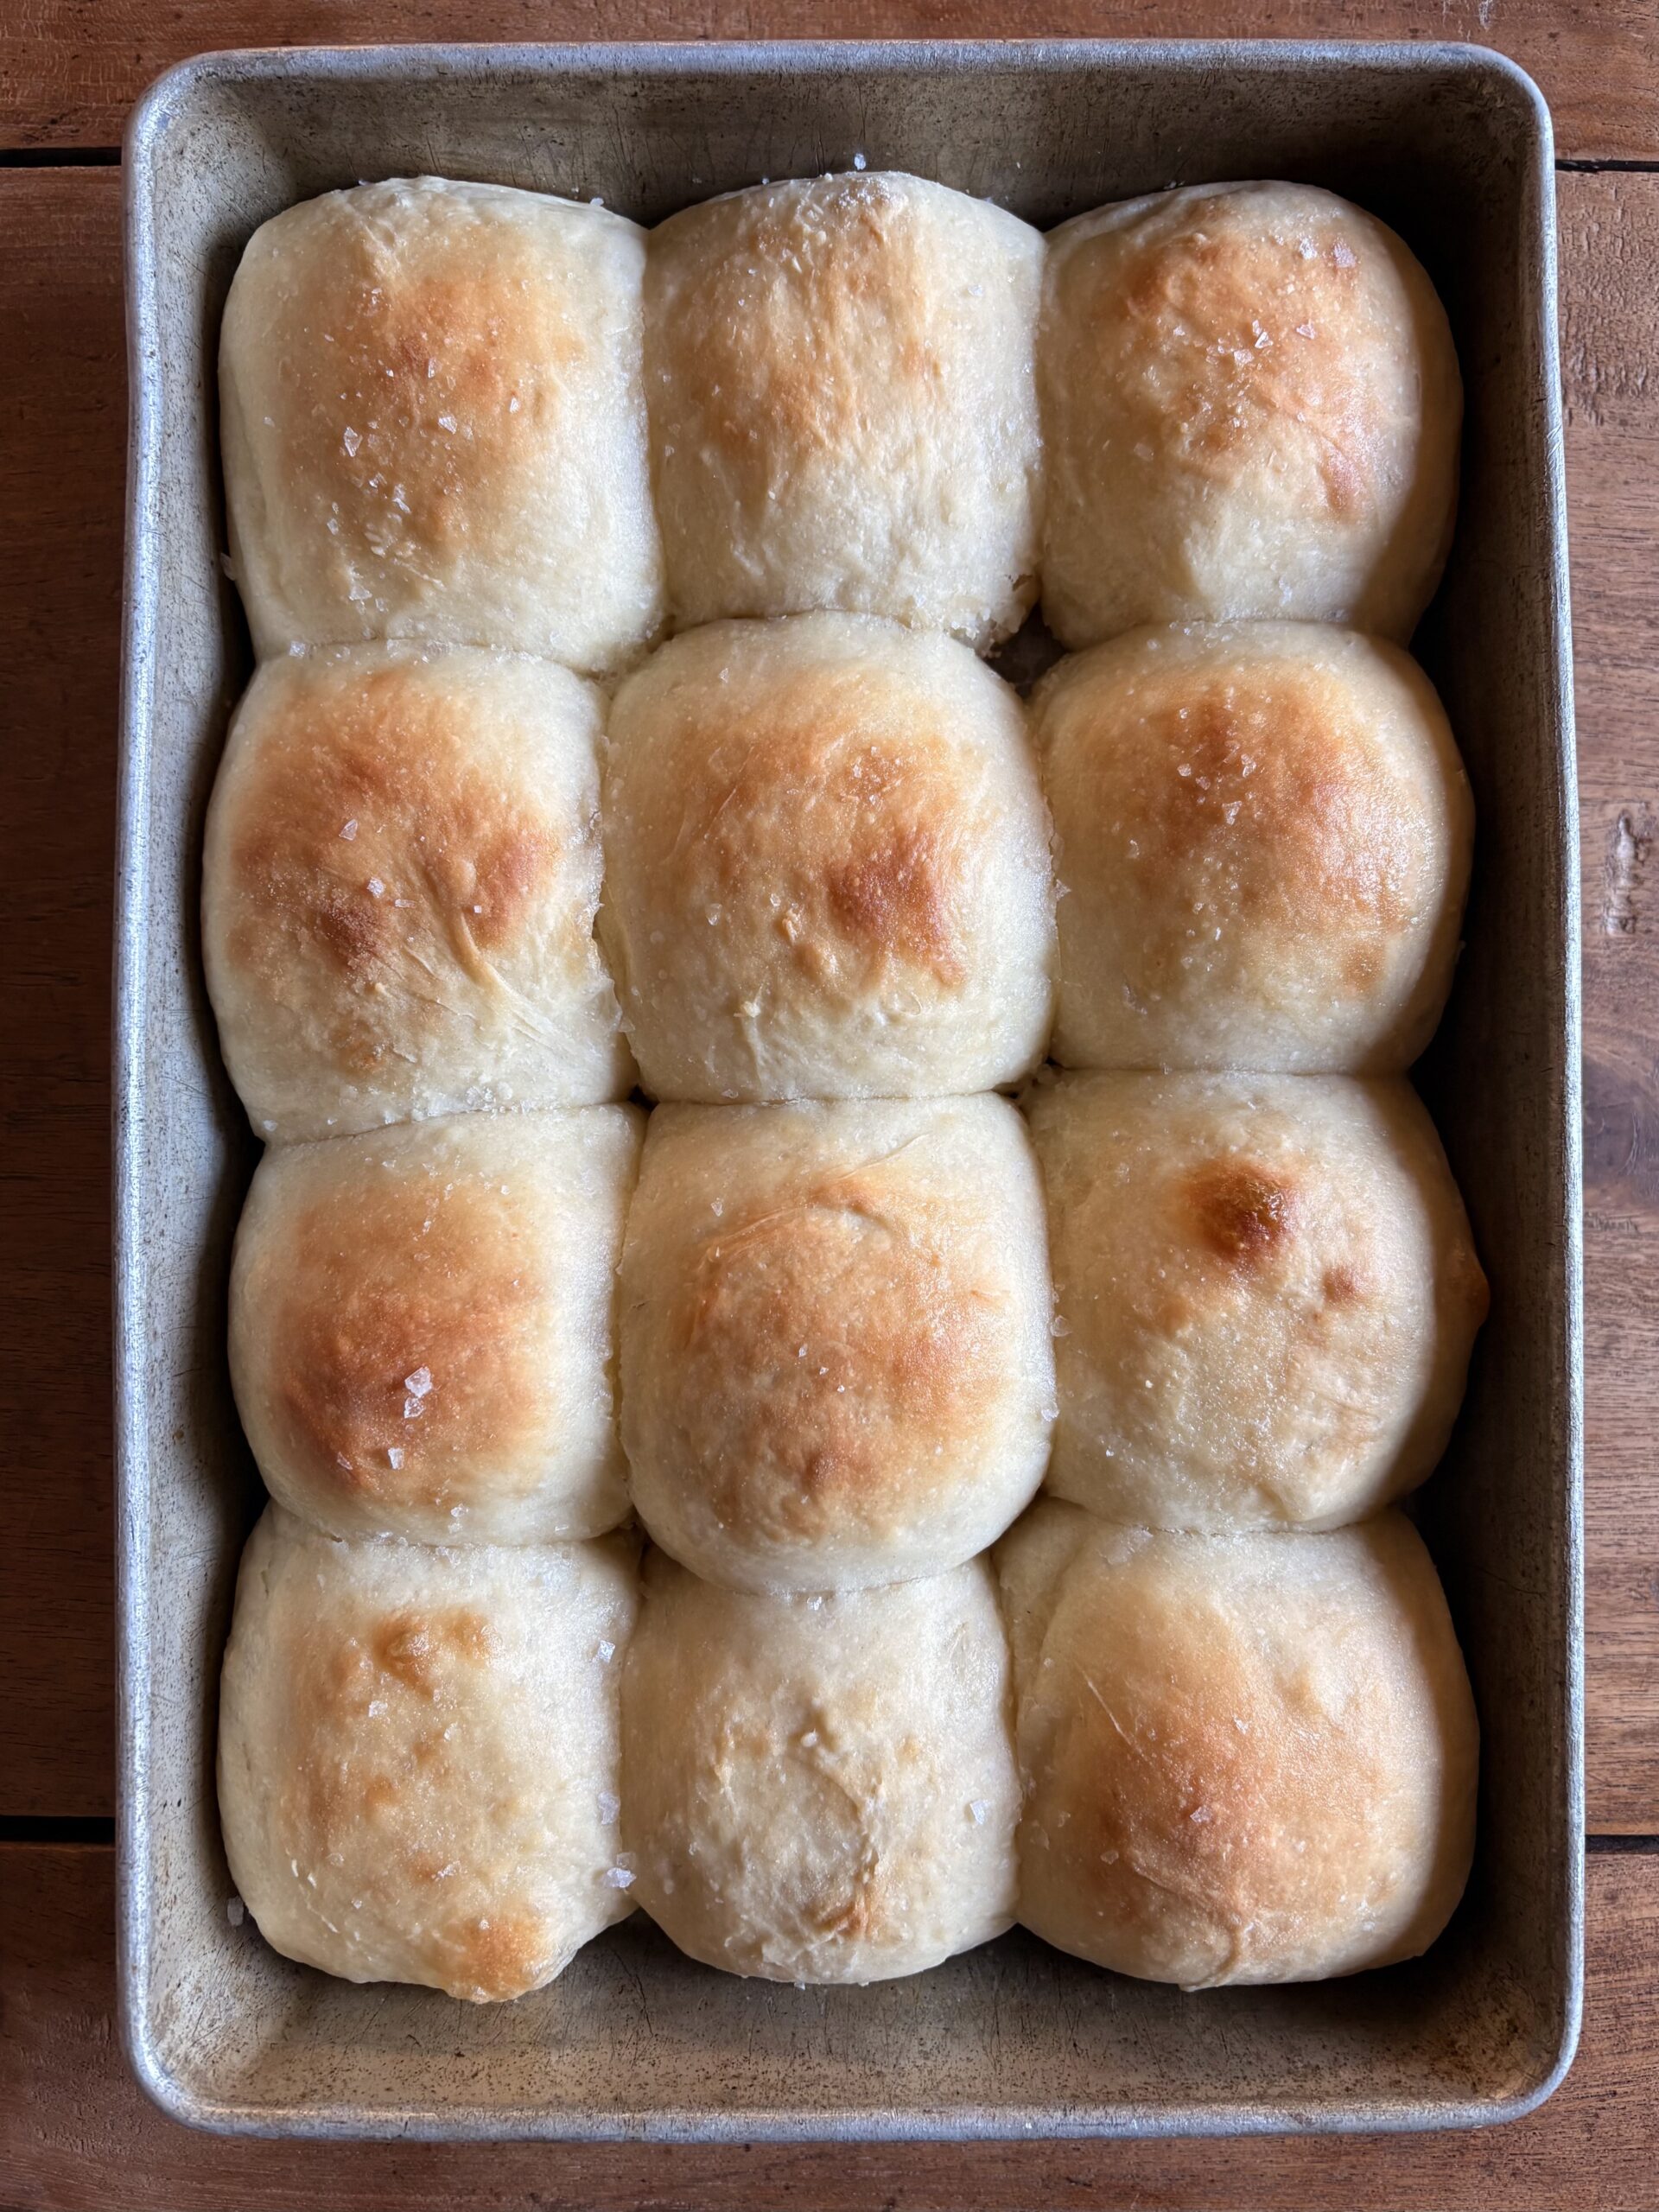
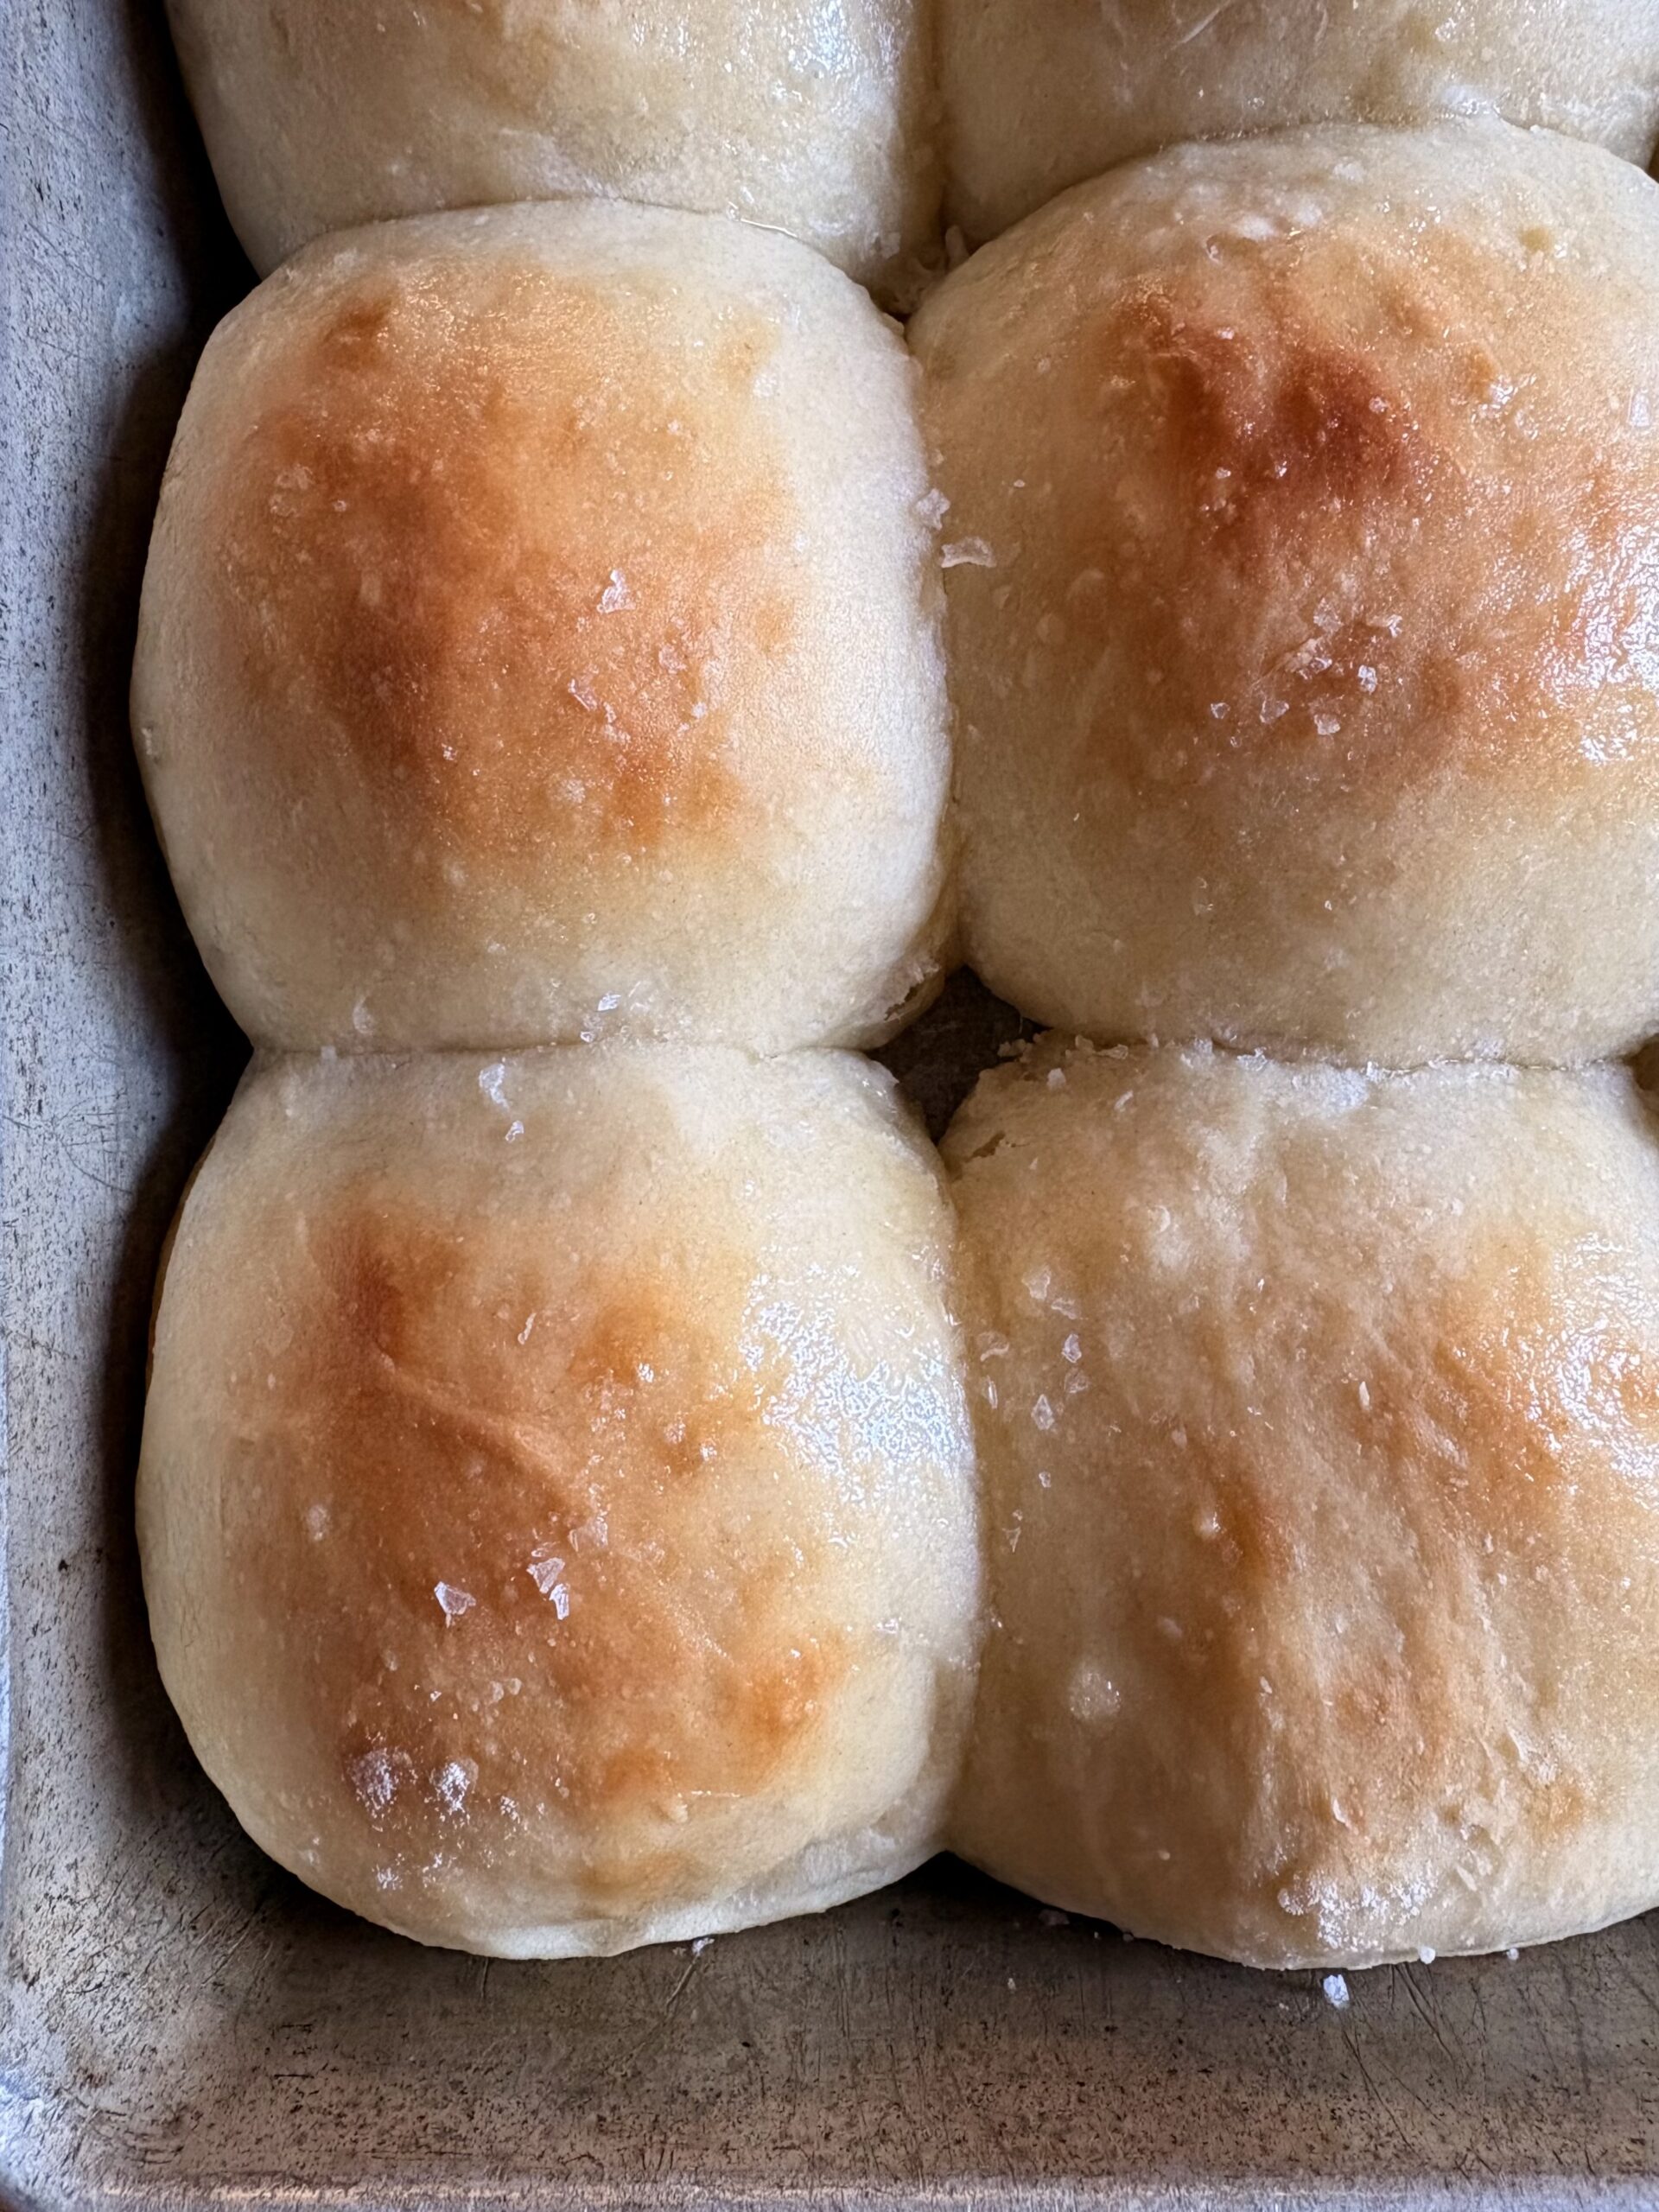
Perfect for any occasion, I highly recommend serving these pull-apart Easy No-Knead Buttermilk Dinner Rolls with even more butter. So good!
Try these Soft No-Knead Herb and Garlic Skillet Rolls or these Overnight Orange Cinnamon Brioche Rolls next.
Did you make this recipe?
If you tried this recipe, be sure to rate it and leave a comment below! You can also tag me with your creations on Instagram, save this recipe to your favourite Pinterest boards for later, or connect with our Facebook community if you prefer updates there.
Easy No-Knead Buttermilk Dinner Rolls
Ingredients
- 2 cups buttermilk, room temperature sub dairy free
- 2 teaspoons active dry yeast
- 4 cups bread or all-purpose flour, plus more for shaping
- 1 tablespoon granulated sugar
- 3 teaspoons kosher salt
- ¼ cup butter, melted and cooled, plus 1 tablespoon for finishing sub dairy free baking stick
- Flaky salt to finish
Instructions
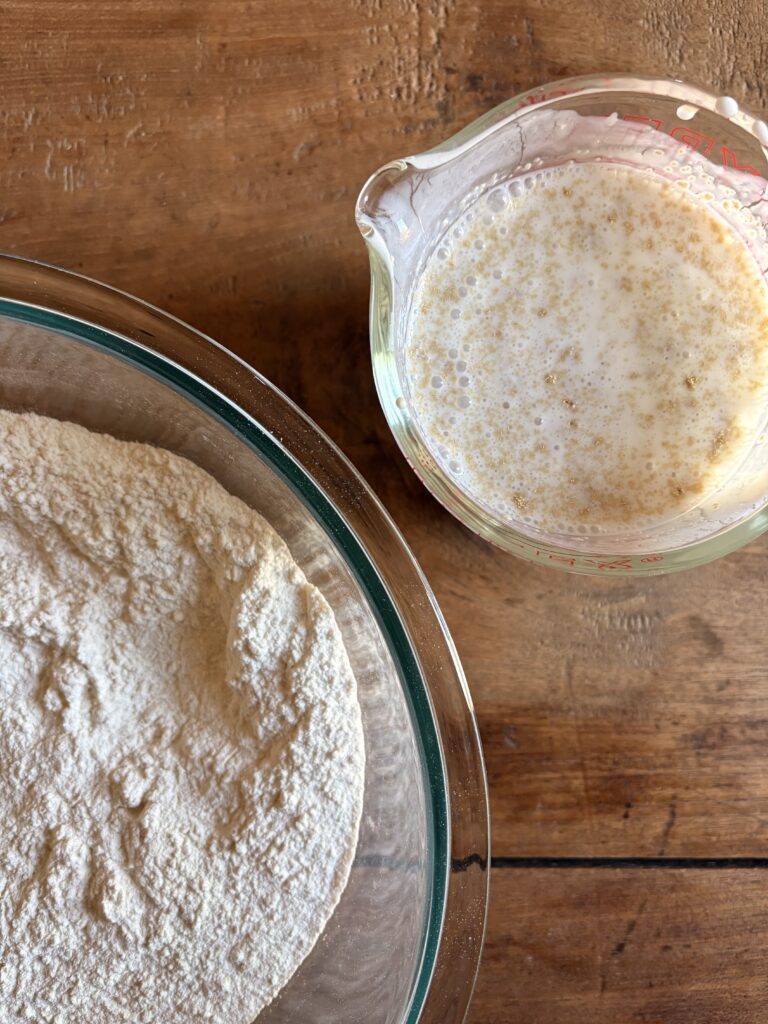
- Stir the yeast into the buttermilk and let it sit for 10-15 minutes. In a large bowl, whisk together flour, sugar and salt and let sit for 10 minutes.
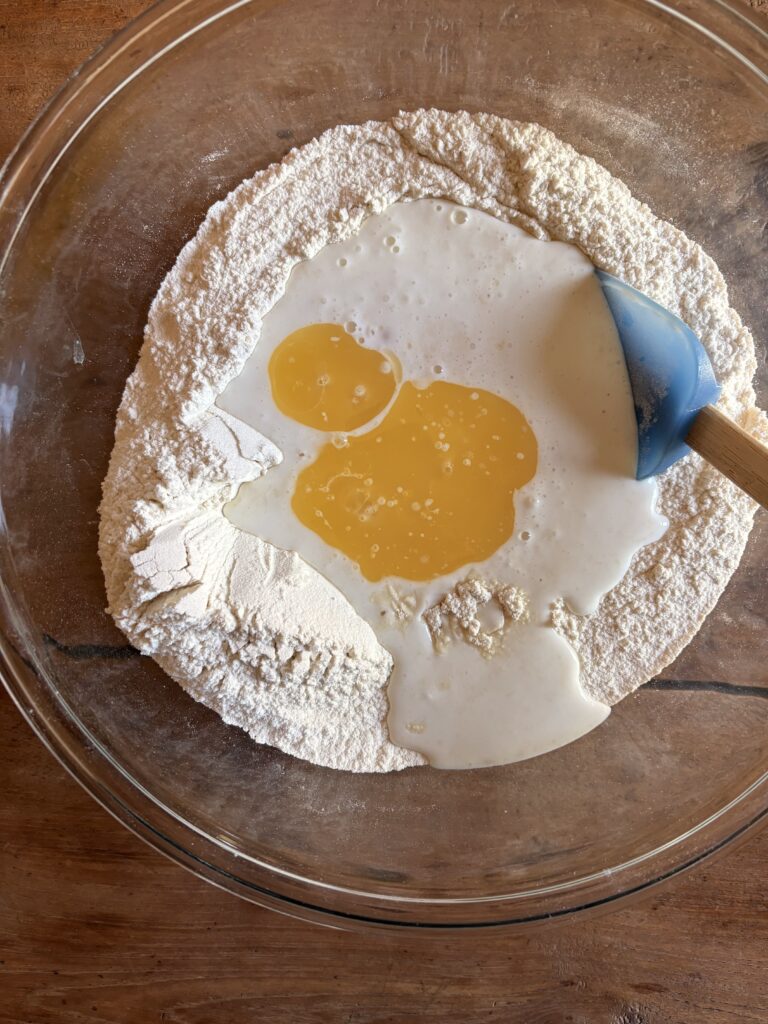
- Add buttermilk, yeast and ¼ cup butter (melted) to the bowl and use a rubber spatula to mix it together until combined. At this point the dough will be wet and sticky. Cover and let rise somewhere warm for 2 hours until it has doubled in volume.
- Uncover and sprinkle dough with a generous amount of flour then, using your hand or a dough scraper, turn it out onto a floured surface. Using a dough or bench scraper, divide the dough into 2 halves, then divide each half into thirds for 6 pieces. Divide each section in two again so you’re left with 12 pieces. Next, using as much flour as you need, shape each piece into a ball, smoothing the top and pinching the sides under the roll to hide the seam. Place rolls in a lightly greased 9×13-inch baking dish, spacing them evenly apart. (If you're not planning to bake them right away, this is when you should cover them and place them in the refrigerator.) Cover and let rise for 60-90 minutes until the rolls have doubled in size.
- Bake at 400ºF (200ºC) for 20 minutes until golden.
- While the rolls are baking, melt the remaining tablespoon of butter. Remove dish from oven and brush the tops with melted butter. Sprinkle with flaky salt and serve warm.
Can I use King Arthur gluten free bread flour? Do I need to adjust the recipe if I use this? Thank you. The
Hi Kay! Yes, you can substitute it 1:1. Enjoy baking!
Can you explain 1:1 please
You can use King Arthur’s gluten-free bread flour as a direct, equal substitute for the bread flour (520 grams) in this recipe without any further adjustments. For best results, always use a digital kitchen scale to measure the flour in grams—gluten-free flours are much denser than wheat flour, and measuring by weight is the secret to getting perfectly light, pillowy dinner rolls.
These look lovely! I plan to try this weekend but will use freshly made coconut milk in place of the buttermilk.
Hi Eryka! That sounds wonderful, let me know how they turn out for you!