Artisan Bread Basics: Temperature, Dutch Ovens + Answers to FAQ’s
Last updated on June 5th, 2026
This post is part of my ongoing No-Knead Artisan Bread Basics series. In each instalment, I answer reader questions and provide guidance on the core elements of artisan bread making. In the last instalment we discussed the ways in which salt plays a key role in slowing yeast fermentation and works to enhance and improve artisan breads. In today’s post, I’m expanding on another crucial ingredient—Temperature + Dutch Ovens + Answers to FAQ’s.
For transparency: This post is not sponsored. Should you choose to purchase these products, I could earn a small commission at no additional cost to you.
I first wrote about temperature in a newsletter a couple of years ago. It was in response to reader questions about the room (ambient) and water temperatures indicated in my recipes. At the time, I shared the one thing I wish someone had told me when I first started baking artisan breads.
In this post we’ll cover:
- Recap: Ideal ingredient and room temperatures for baking artisan breads
- Why I consider temperature to be an essential ingredient
- The best way to measure ingredient temperature
- The best way to measure oven temperature—and why you should do it
- Why you will achieve your best results using a Dutch oven—including recommended brands
- Answers to your most common questions—hint: they’re all about your oven
You can find my Everyday Artisan Bread recipe here.
Let’s go over the key takeaways again
As I wrote in my earlier newsletter, when I was first learning how to make artisan bread, everything I read suggested an ideal water temperature range between 27º-38ºC (80º-100º).
And yet…
- Water temperatures in this range are actually much higher than required to be sure your yeast is viable.
- These temperatures can have adverse effects in that they can cause your bread to rise too quickly and even result in a sour, yeasty taste.
- As noted in the Active Dry Yeast instalment, the most common reason why yeast fails (and your bread doesn’t rise) is that the water is too warm, and it has died. (Note: This will be evident at the outset.)
I’ve since learned that you can get much better results with room temperature ingredients.
Both the temperature of the water you use and the temperature in your home are key factors in determining how quickly or how slowly your dough will rise. To put it simply, warmer temperatures contribute to a faster rise, while cooler temperatures require a longer rise time.
For best results, aim for room temperature water at or near 21°C/70°F. An ambient temperature somewhere between 20º-23ºC/70º-75ºF for the rise/bulk fermentation is ideal, but even 18º-19ºC/high 60’s should work if the dough is kept away from drafts.
Knowing this made all the difference for me when I was learning to create optimal conditions, predict rise times and schedules and improve my knowledge of what properly prepared dough should look like.
Baking with room temperature ingredients and adjusting to environmental conditions will vastly improve your loaves. Like any other ingredient, you can adjust for slight variations in both room and water temperature based on your schedule, environment or to accommodate things like a change in seasons. Over time and with practice, you will be better able to predict and control the timing that works for you.
Temperature as an ingredient
Much like time, I’ve come to believe that temperature is an essential ingredient in that it plays a crucial role at each stage of the artisan bread making process. Temperatures can significantly impact yeast activity, fermentation, and ultimately, the final texture and flavour of your bread.
The best way to measure ingredient temperature
Overall, the goal is to create a baking environment where all your ingredients rest at room temperature within the range indicated in my recipes. This is why you’ll often see other bakers talk about bringing yeast or flour to room temperature well before baking. Even though storing both in the refrigerator can prolong their shelf life.
If in doubt, I recommend using an instant read digital probe, often called a meat thermometer, to ensure temperatures fall within recipe guidelines. The one I use is highly rated and reasonably priced, and I use it for cooking, roasting and baking all the time.
The best way to measure oven temperature
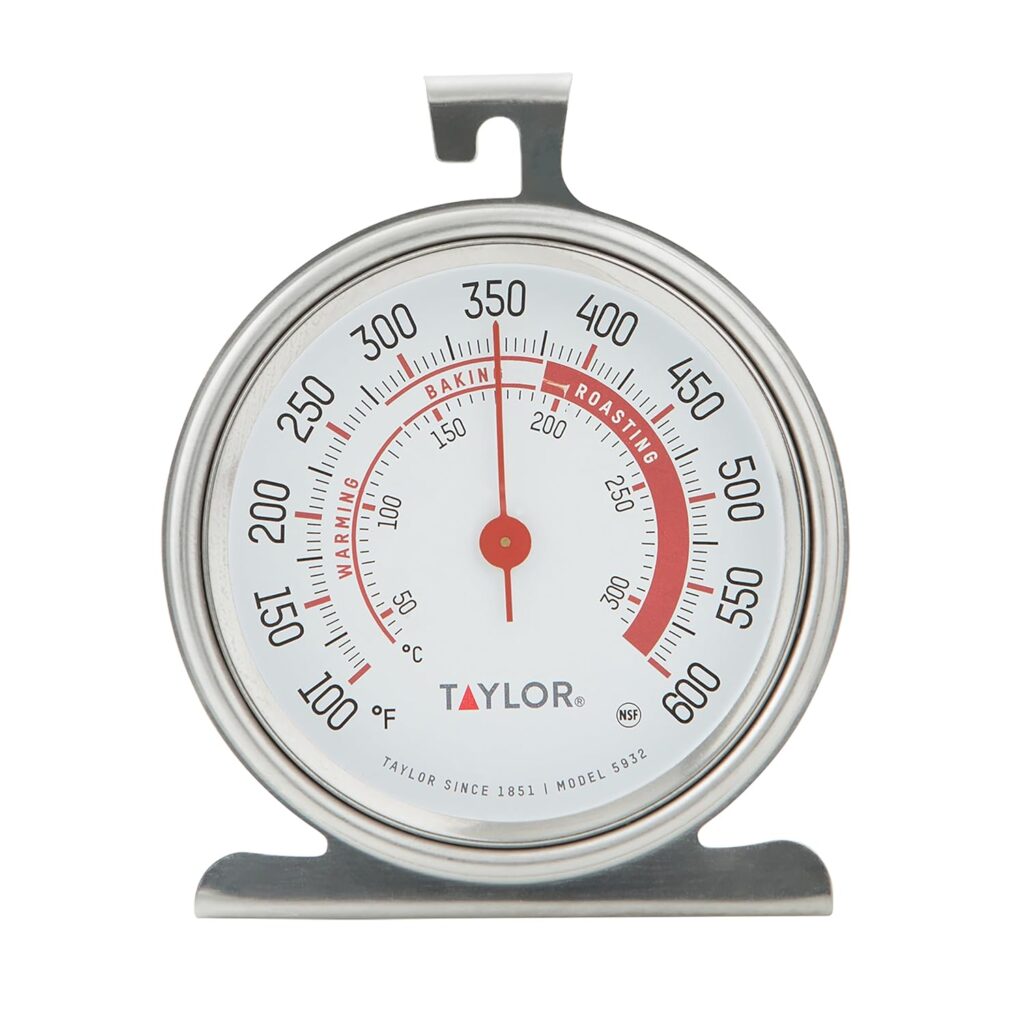
It’s important to understand your oven’s true temperature. Most of my artisan breads require 45 minutes or so of bake time at high heat—450ºF (232ºC)—to promote a crispier crust and optimal oven spring. If your loaf isn’t finished baking or, conversely, is done in less time, it’s likely that your oven temperature is not accurate.
This may come as a surprise, but factory-installed oven thermometers are notoriously unreliable. Additionally, oven sensors will often signal that the set temperature has been reached several minutes (or longer) before a portable oven thermometer will confirm the interior is fully saturated with heat.
If there is a discrepancy, a portable oven thermometer will tell you whether you need to adjust your oven temperature to compensate or wait before putting your bread in the oven. The one I use is highly rated and reasonably priced and using one will assure you that you can follow the suggested bake times with confidence.
Why you will achieve your best results using a Dutch oven
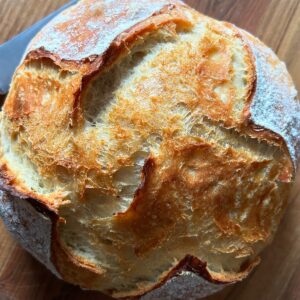
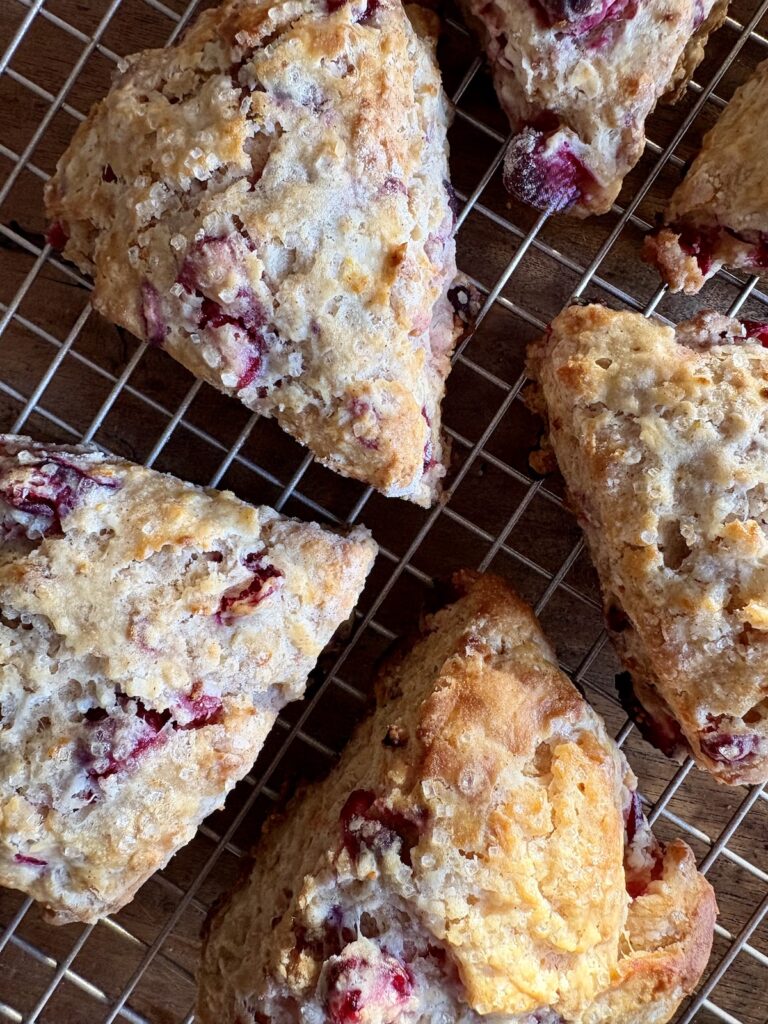
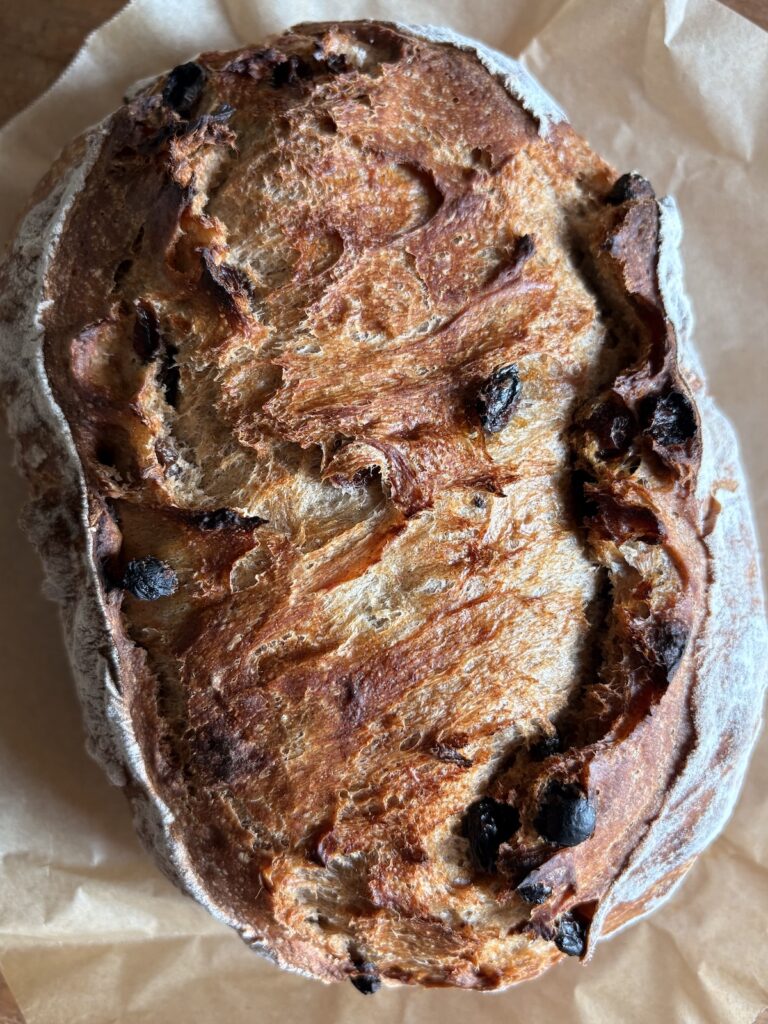
For home bakers, baking bread in a preheated Dutch oven most closely replicates the oven steam effect generated by professional ovens. It produces a crusty, artisan-style loaf just like the ones you see in bakeries.
As I noted in the Water (hydration) instalment, preheating the Dutch oven and covering your loaf at the start of baking is key to moisture retention. It’s the steam that’s generated in a Dutch oven that transforms the dough. The result is a richly coloured, bakery-style crust and a higher loaf with good volume (oven spring). Baking artisan breads uncovered on a baking sheet, for example, without any form of cover, tenting or added moisture will produce a very different result than what you see in the recipe images.
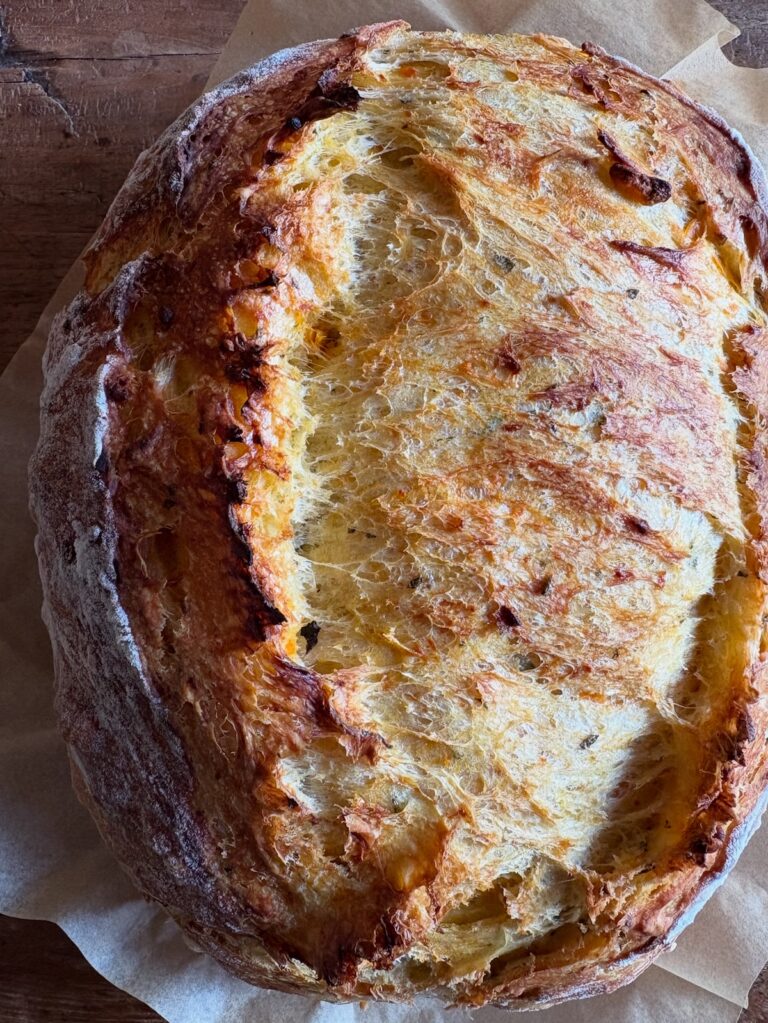
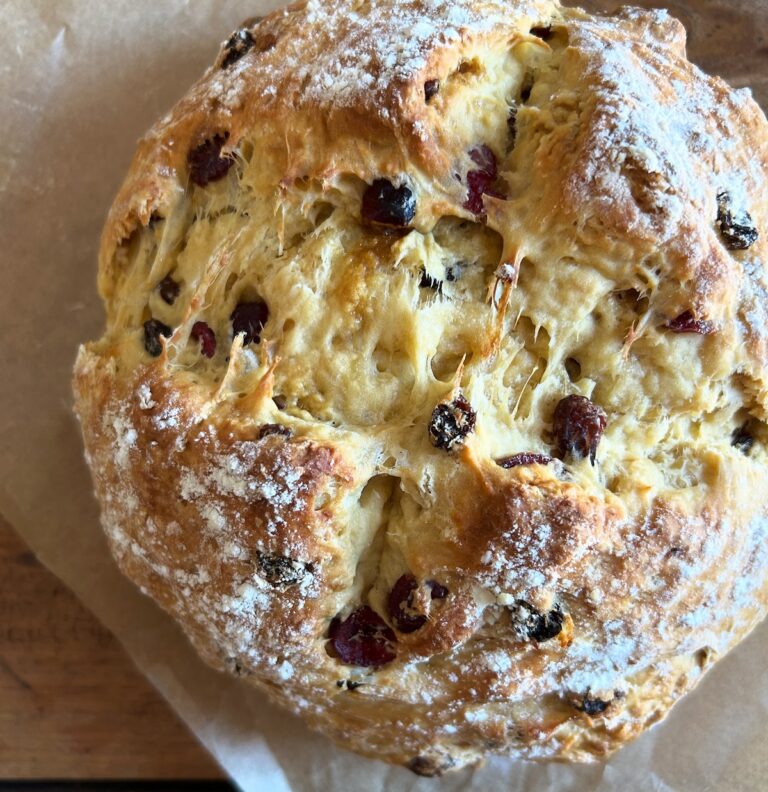
Lodge Cast Iron and Le Creuset are two well-known, good quality brands and what I use to bake my breads. The minimum size requirement in my recipes is 3-Qt/3-Litre. As a general rule, the larger the Dutch oven, the more your dough will spread out. Your loaves will be a little wider and not quite as tall, and the tear (similar to an “ear” in sourdough bakes) will be less pronounced. When shopping for a Dutch oven, look for options that are heatproof to 500º including the metal knobs (so they don’t melt).
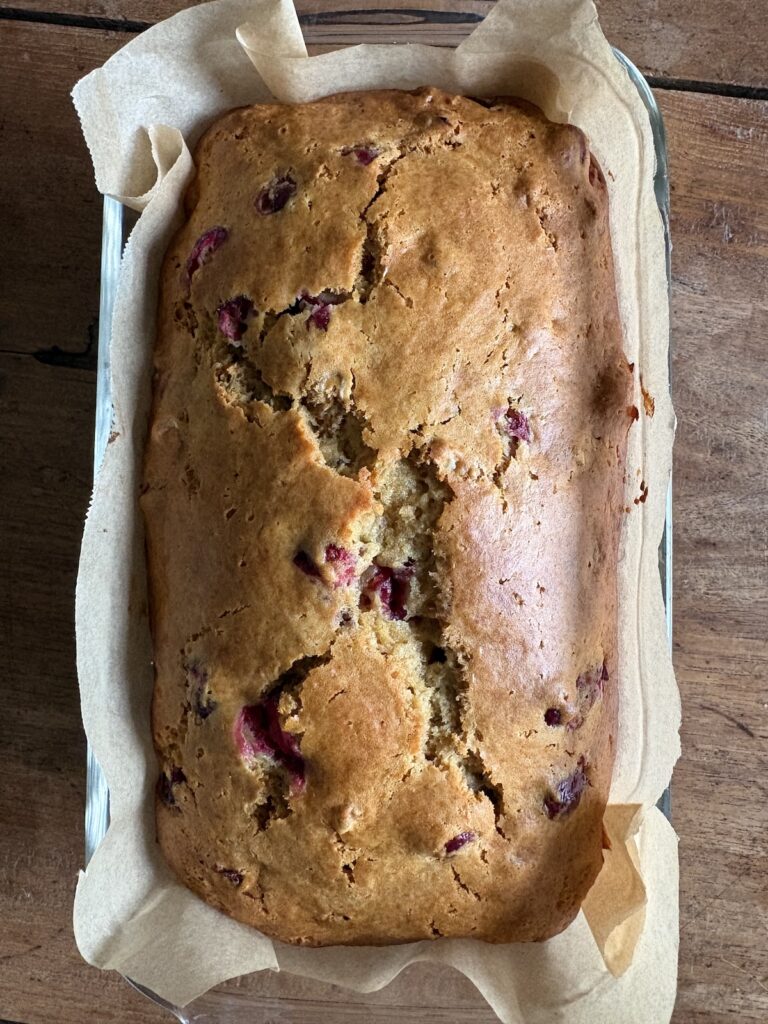
If you don’t have a Dutch oven, any other similarly covered baking vessel will also work, as will the double loaf pan method. You can substitute a 3-Qt or larger glass covered baking (casserole) dish, an oven-safe pot with a tight-fitting lid or try using two non-stick loaf pans with one as a cover (clip them together if you can to trap the steam).
FAQ
Read this guide Artisan Bread Basics: How Cold Proofing Changes the Game + Answers to FAQ’s next.
This post has been revised and updated since first published June 17, 2025.
Please feel free to leave any questions, comments or reviews. This is the best place to reach me, and I’d love to hear from you!