No-Knead Honey Oat Artisan Bread
Last updated on July 2nd, 2026

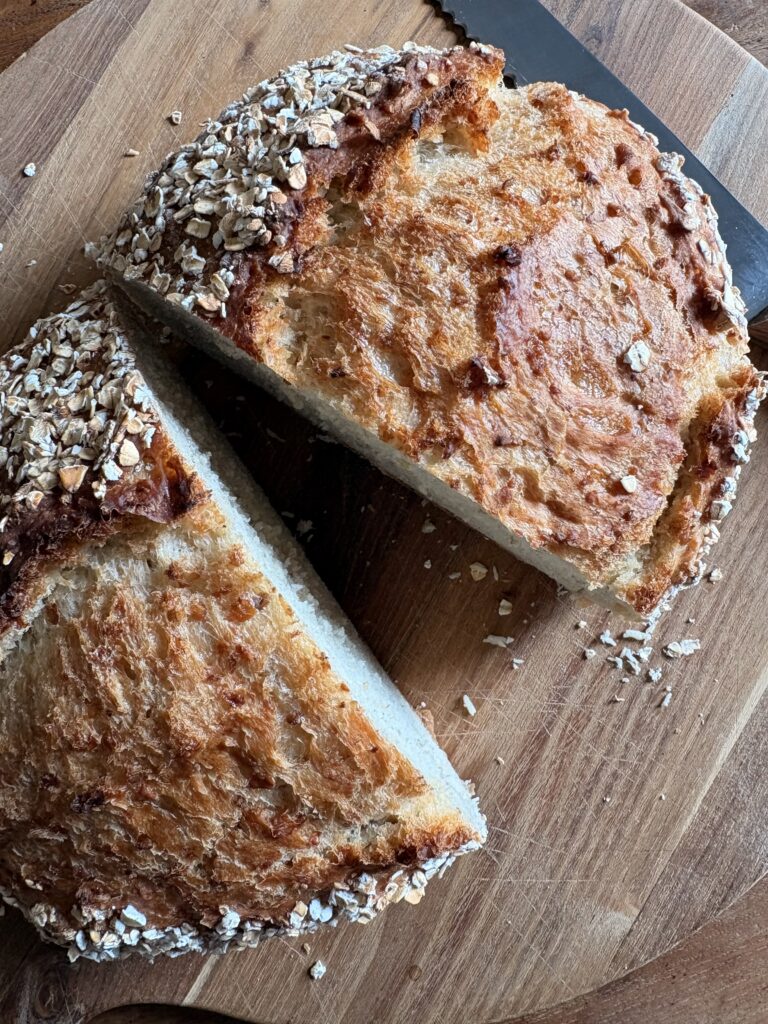
This No-Knead Honey Oat Artisan Bread is beginner friendly, made with simple pantry ingredients and lightly sweetened with honey. Perfectly soft and fluffy on the inside with that rustic, crispy crust we love, it’s one of my favourites.
I’m often asked how to adjust measurements to make a larger loaf than most of my other no-knead artisan bread recipes. This honey oat artisan loaf will fit a 4 to 6-Qt Dutch oven to produce a larger, family-style bake.
This recipe builds on my simple 4-ingredient No-Knead Everyday Artisan Bread. It’s still super easy to make and requires just a handful of extra ingredients.
Here’s everything you’ll need to make it
- 2 cups (470 grams) water, room temperature (at or near 70°F/21°C)
- 2 tablespoons (42 grams) liquid honey
- 1½ teaspoons (5 grams) active dry yeast
- 3¾ cups (490 grams) bread or all-purpose flour, plus more for dusting
- 1 cup (100 grams) old fashioned rolled oats plus 2 tablespoons (12.5 grams) more to coat
- 1 teaspoon (3 grams) kosher or fine sea salt
Ideally, you will also have:
- Digital scale
- Dough scraper
- Parchment paper
- Razor blade or very sharp knife
- Dutch oven such as this one or this one
New to working with yeast? Reference my Baking with Active Dry Yeast guide for answers to common FAQ’s.
You can read more about why you will achieve your best results using a Dutch oven here.
How to make No-Knead Honey Oat Artisan Bread in 5 steps
- Mix the dough.
- Cover and let it rise until it has doubled in size.
- Shape your dough and dust with flour.
- Cover and proof the dough in the fridge overnight.
- Turn dough out onto a floured surface, reshape if needed, score it and bake.
You can learn more about the benefits of cold proofing no-knead artisan breads in this post Artisan Bread Basics: How Cold Proofing Changes the Game + Answers to FAQ’s.
First, we’ll mix the dough and let it rise.
Once the dough has doubled in volume, we’ll shape it into a loaf, transfer it into a flour-dusted bowl, dust with flour, cover and refrigerate overnight.
When you’re ready to bake, preheat your oven. Once the oven is pre-heated, remove the dough from the refrigerator, re-shape it if needed, add oat topping, score it and bake.
Baking schedule
Making this No-Knead Honey Oat Artisan Bread is a two-day process where the bread is mixed and prepared on day one, cold proofed in the fridge overnight, then baked on day two.
This is what it looks like:
Saturday morning: Mix dough, cover and let rise.
Saturday afternoon or evening: Shape dough, cover and put it in the fridge.
Sunday morning, afternoon or evening: Remove dough from the fridge and prepare to bake.
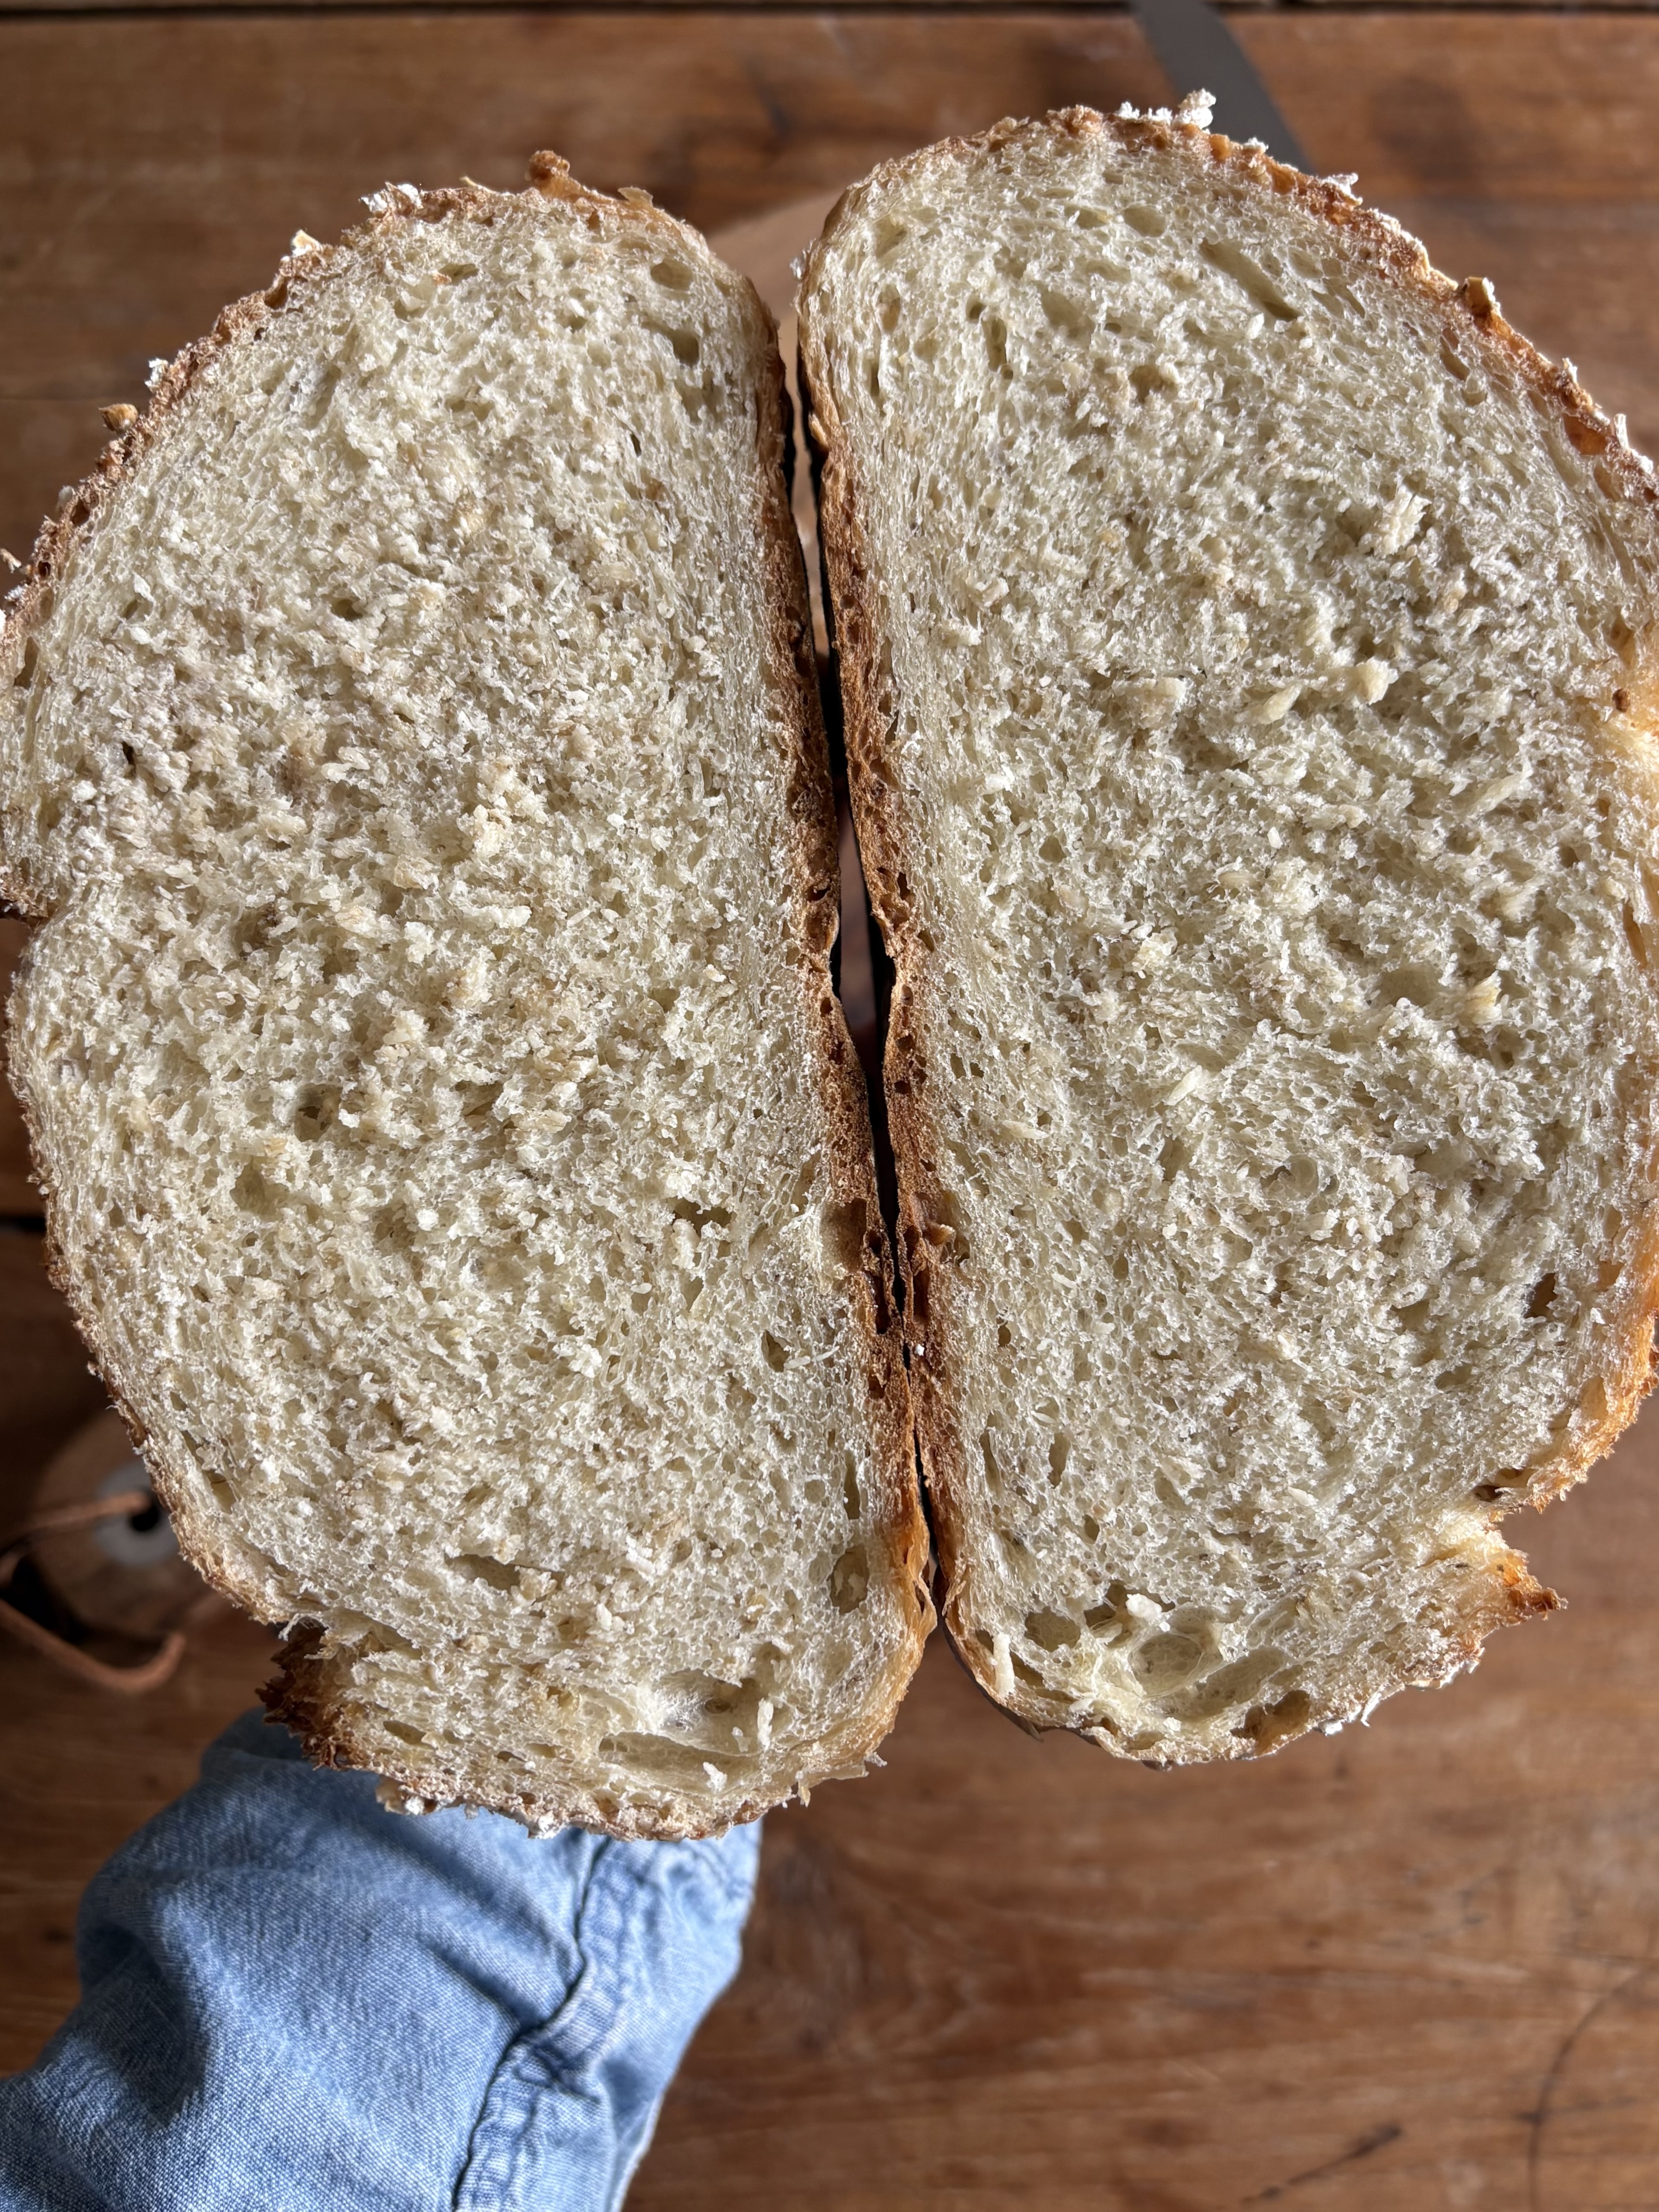
Made with hearty fibre-filled oats and lightly sweetened with honey, this No-Knead Honey Oat Artisan Bread is incredibly versatile. We love it for big, veggie-filled sandwiches, grilled or toasted for breakfast or served alongside soups with lots of butter!
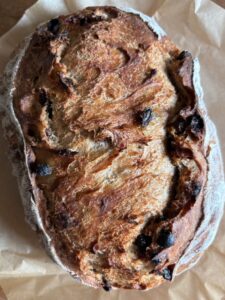
Try this Soft Honey Whole Wheat Sandwich Bread or this No-Knead Honey Oat Bread next.
For more tips and helpful information, reference my Artisan Bread Basics Series + Answers to Common FAQ’s.
Did you make this recipe?
If you tried this recipe, be sure to rate it and leave a comment below! You can also tag me with your creations on Instagram, save this recipe to your favourite Pinterest boards for later, or connect with our Facebook community if you prefer updates there.
No-Knead Honey Oat Artisan Bread
Ingredients
- 2 cups water, room temperature (at or near 70°F/21°C)
- 2 tablespoons liquid honey
- 1½ teaspoons active dry yeast
- 3¾ cups bread or all-purpose flour, plus more for dusting
- 1 cup old fashioned rolled oats plus 2 tablespoons (12.5 grams) more to coat
- 1 teaspoon kosher or fine sea salt
Instructions
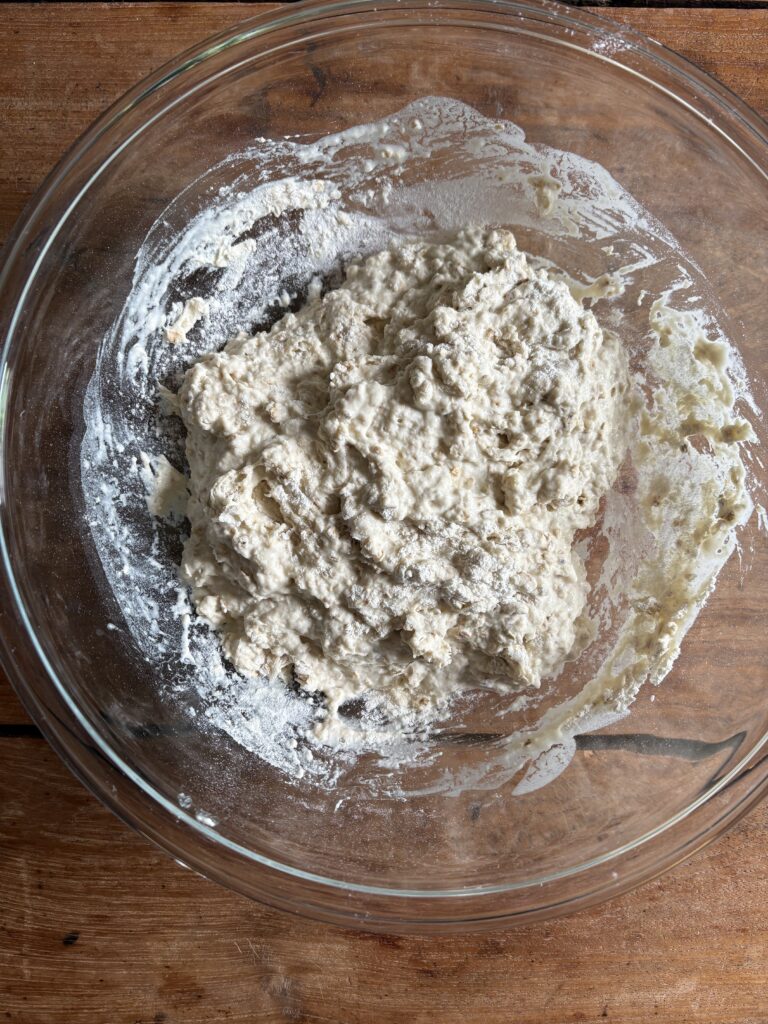
- Whisk together honey and water. Sprinkle with yeast and let sit for 10-15 minutes. In a large bowl add flour, oats and salt and let sit for 10 minutes.
- Add yeast mixture to bowl and stir together with a rubber spatula just until combined. The dough will look a little sticky and stringy and there should still be a little flour around the edges of the bowl.
- Cover and let rise somewhere warm until it has doubled in size (see note below).
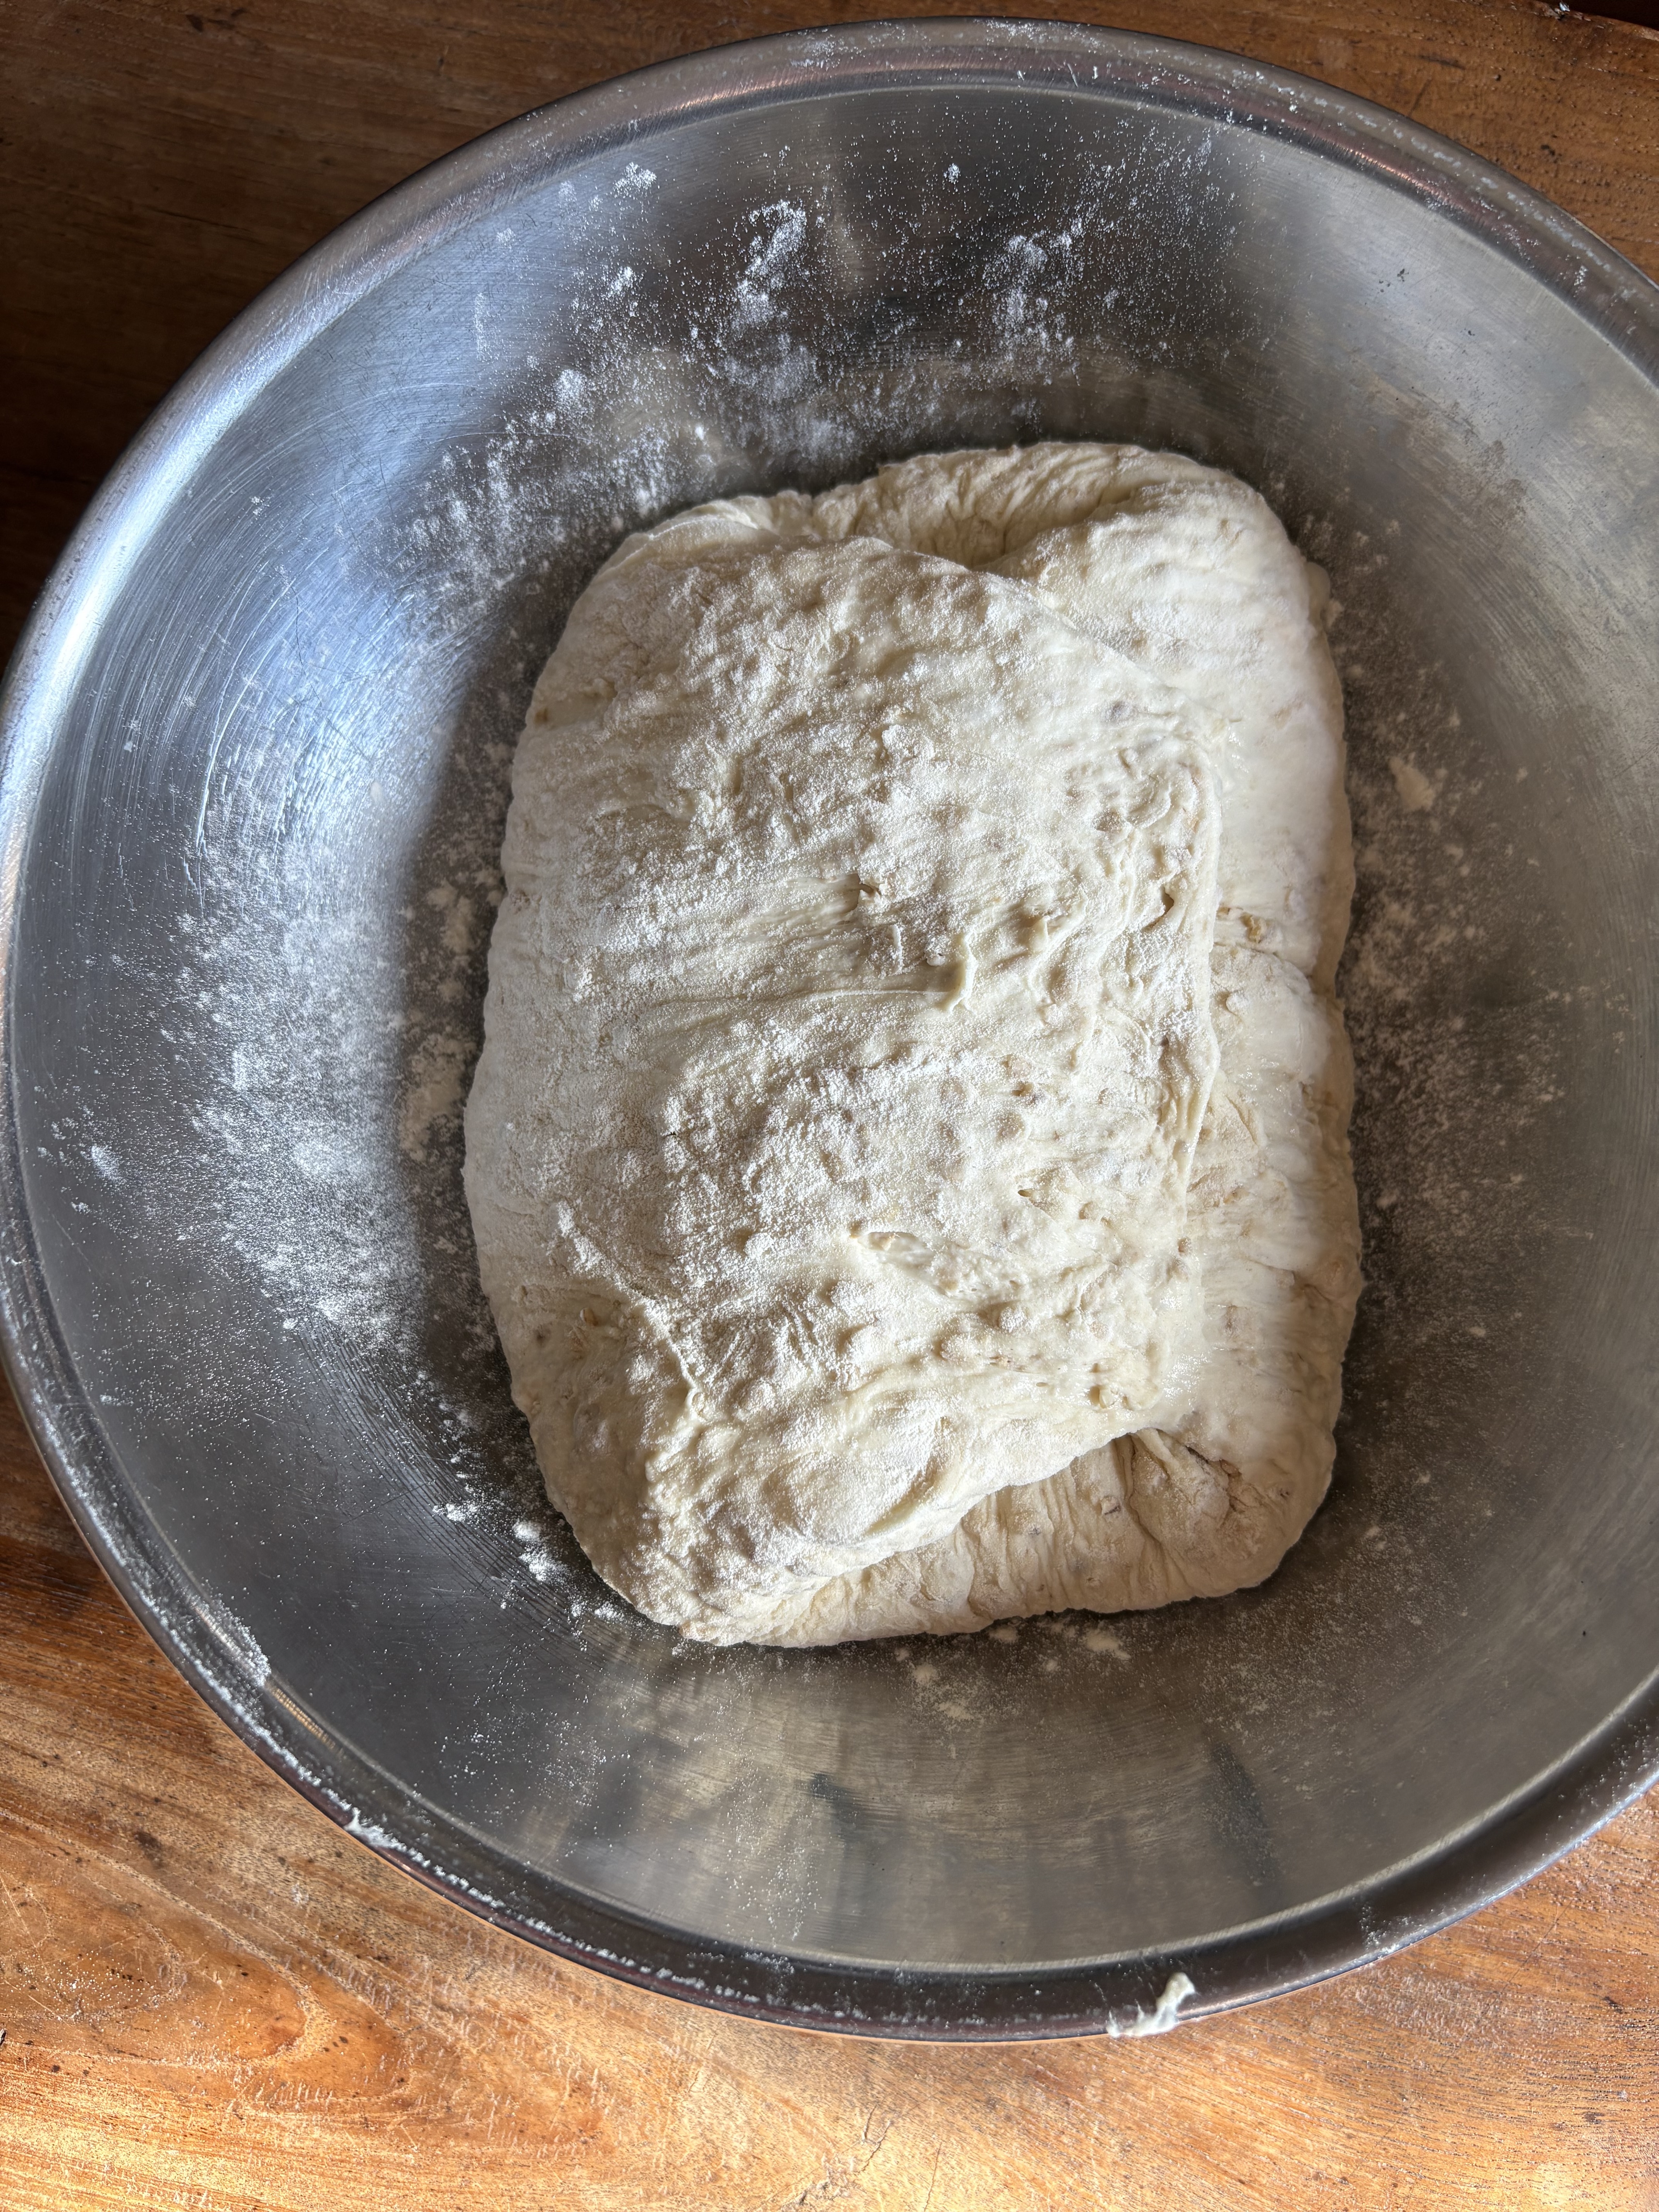
- Once the dough has doubled in volume, use your hands (or a dough scraper if you have one) to pull the dough out onto a floured surface. With floured hands, gently fold the dough into itself several times until a soft, flour-covered ball is formed. Lift and place it into a flour dusted bowl, dust with flour, cover and refrigerate overnight. You can even leave it for as long as 48 hours at this point if you’re not able to bake it right away.
- When you're ready to bake your bread, preheat oven to 450ºF (232ºC) with a 4 to 6-Qt Dutch oven inside the oven.
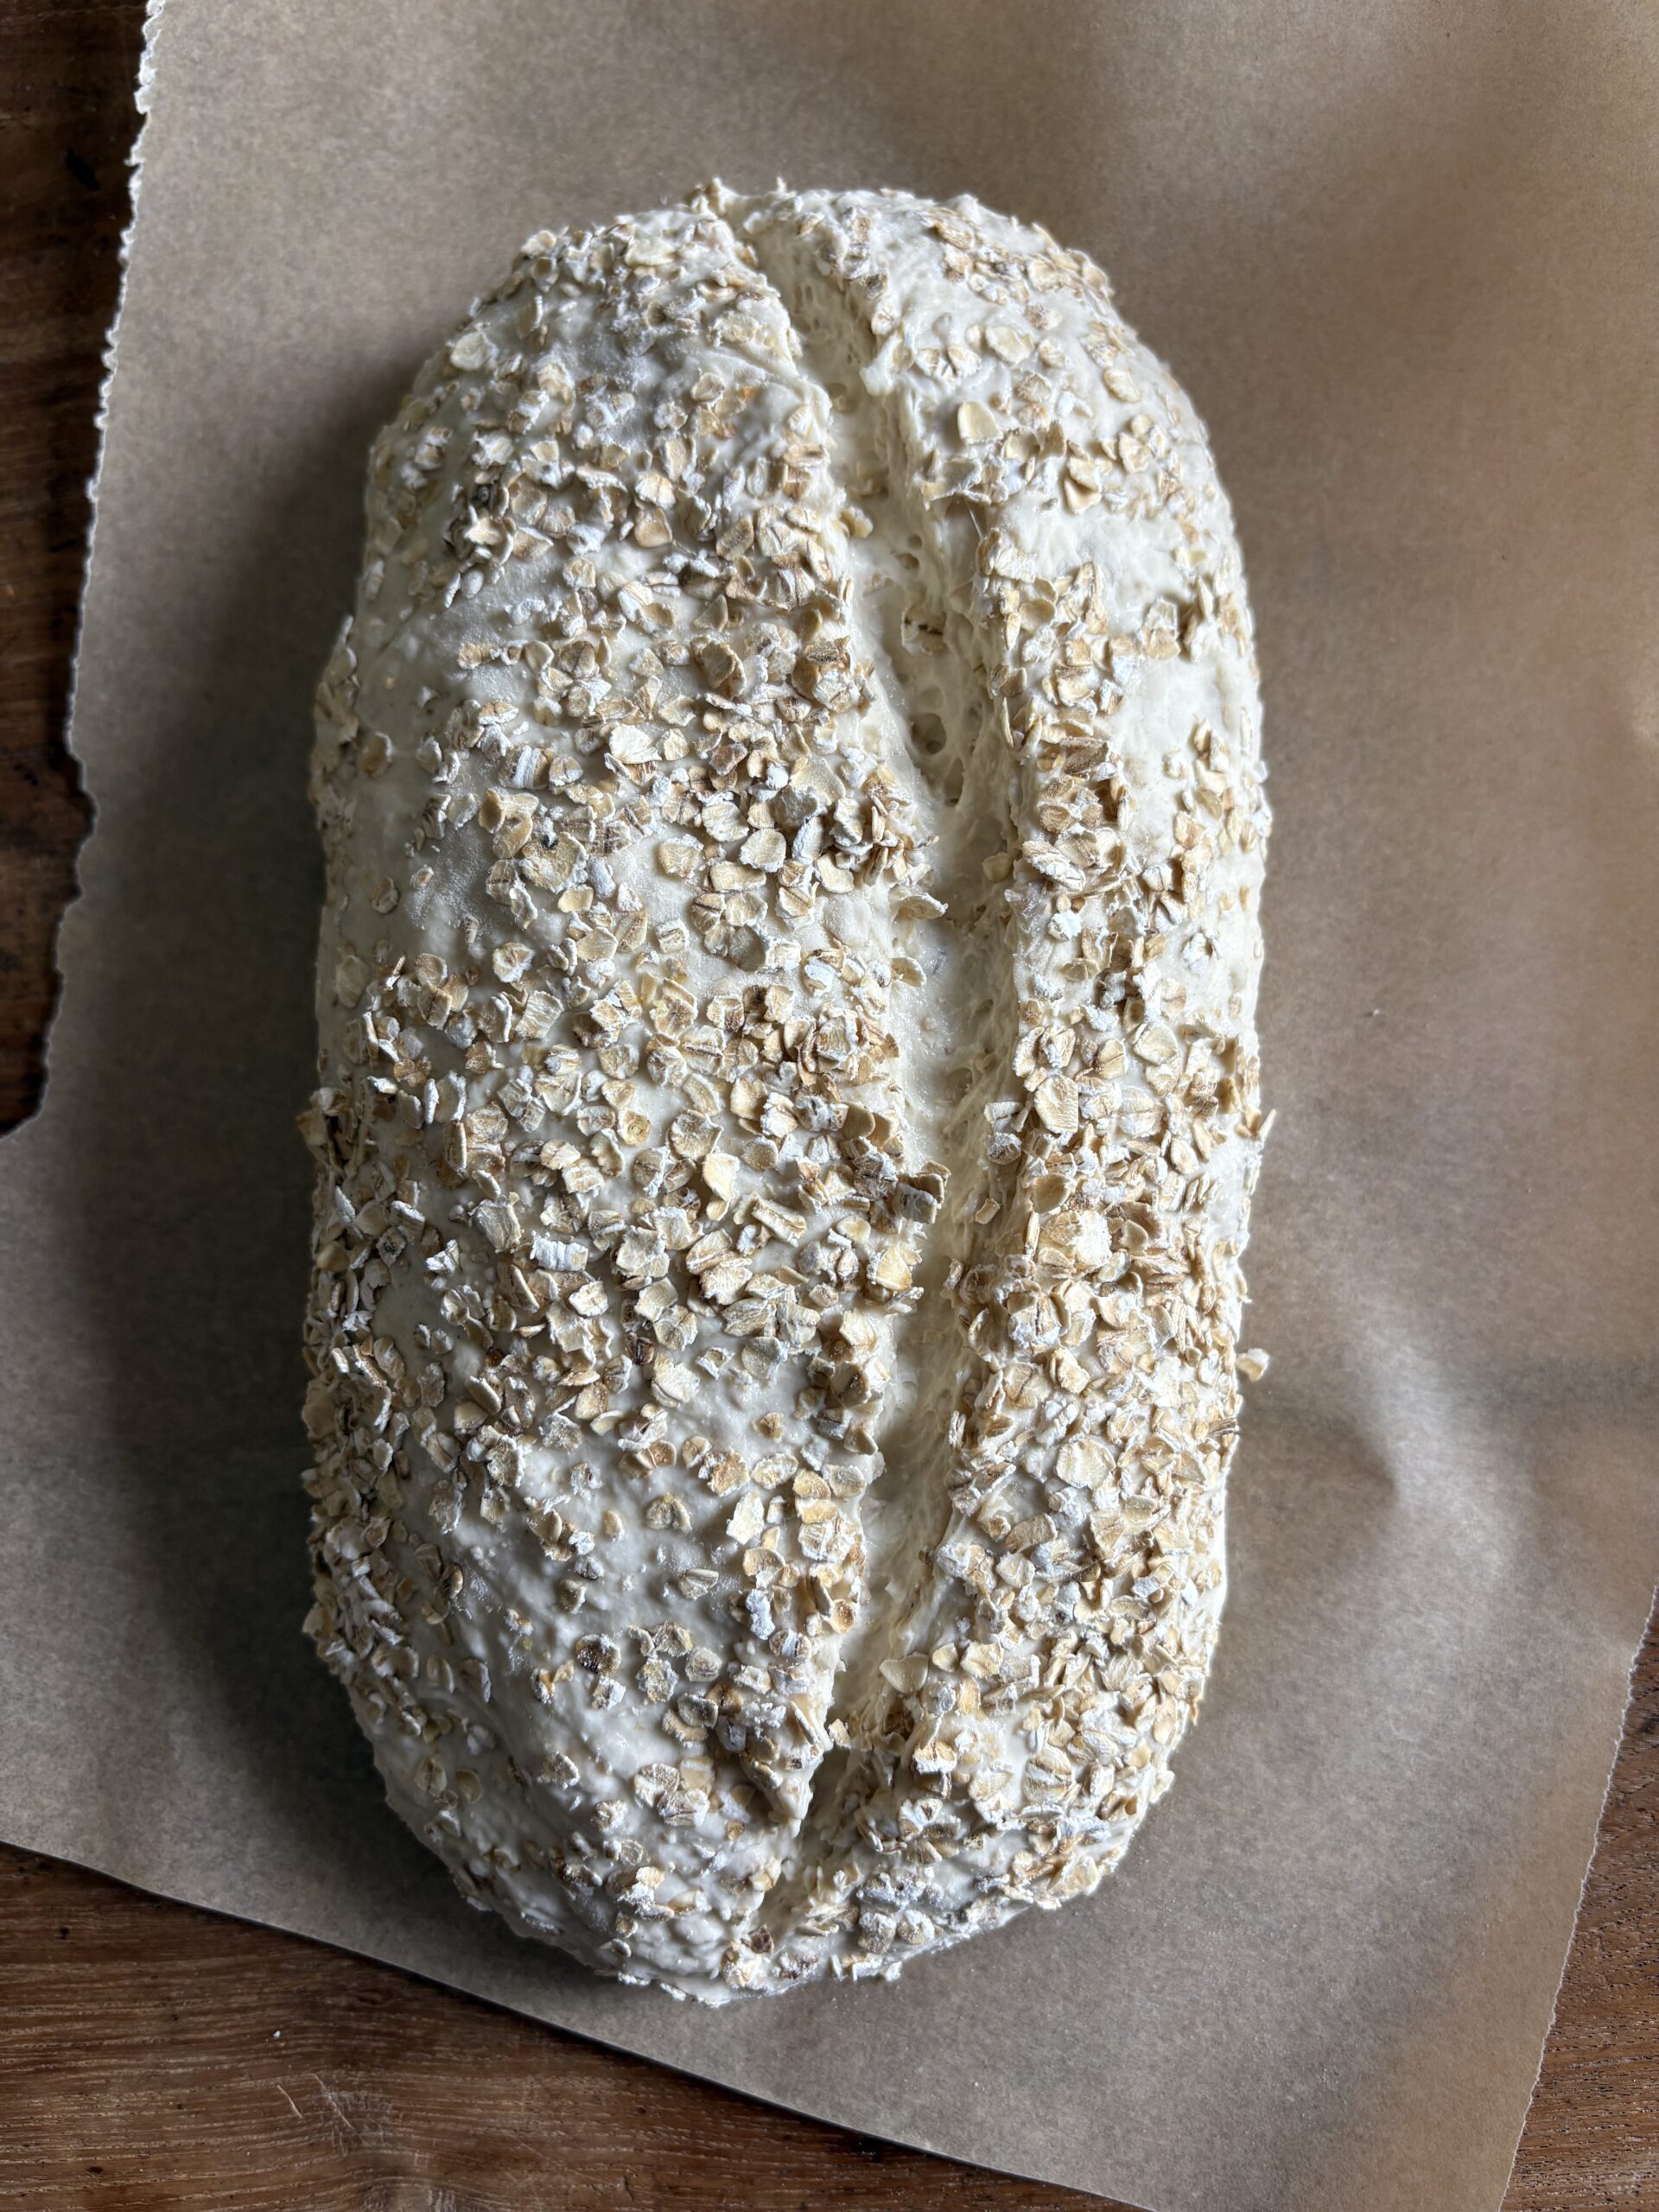
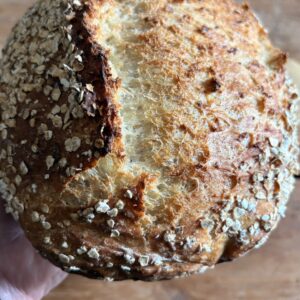
- Once the oven is preheated, turn the dough out onto a lightly floured surface. Turn and fold it into itself a few times just until you've nudged it into the shape of a loaf. Lightly brush the dough with water and sprinkle remaining oats across the top and sides, gently pressing them into the surface. Place loaf on a sheet of parchment paper and score the top with a razor blade or the tip of a sharp knife with a design of your choosing. This will allow steam to escape while it’s baking.
- Remove the Dutch oven from the oven and transfer the dough, still on the parchment, into the Dutch oven. Cover and bake for 30 minutes, then remove the cover and bake for 15 minutes more. Your bread will be done once the top is browned, and it sounds hollow when you tap the top.
- Using parchment edges, lift bread from Dutch oven and transfer it to a wire cooling rack to let cool for up to an hour before slicing.


Kerry – i am a big fan and reference most people who ask about the bread to join you site. Can you add protein powder to the recipes and not affect the outcome?
Hi David! Love to hear that, thank you! Protein powder is very absorbent, but you can substitute it for a portion of the flour in small amounts and still get a good result. Depending on the loaf you’re making (those with add-ins are already denser) start small with 1/4 cup (~30 grams). With a little experimentation, you can gradually work your way up to swapping out up to 10-25% of the flour without ruining the texture in some recipes. Give it a try and keep me posted!
Can you provide the metric weight of the flour?
Hi Shelagh! It’s all there, just click on your preferred option below the ingredient list. Hope you love the recipe! K
Love all your breads.
Could I sub oat flour instead of 1C rolled oats? And if I did would it be the same quantity?
Thank you so much London! As a general rule, when substituting oat flour for other flours (or in this case, oats) it is best to do so by weight rather than volume because oat flours are lighter. In this case, substituting 100 grams oat flour for the oats should still give you a good result without the loaf being either too dense or moist. Keep me posted!
Hi Kerry, a question for you … would whole wheat all purpose flour work in this recipe? Thanks!
Definitely! K