No-Knead Rosemary Parmesan Artisan Bread
Last updated on May 7th, 2026
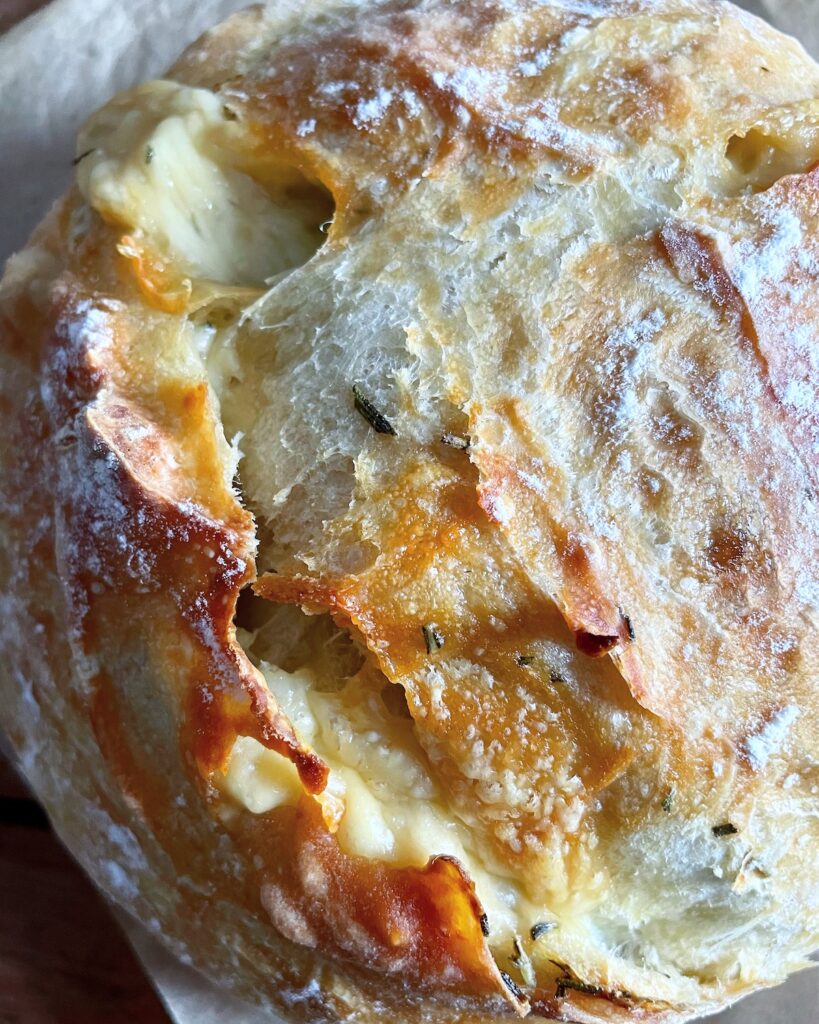
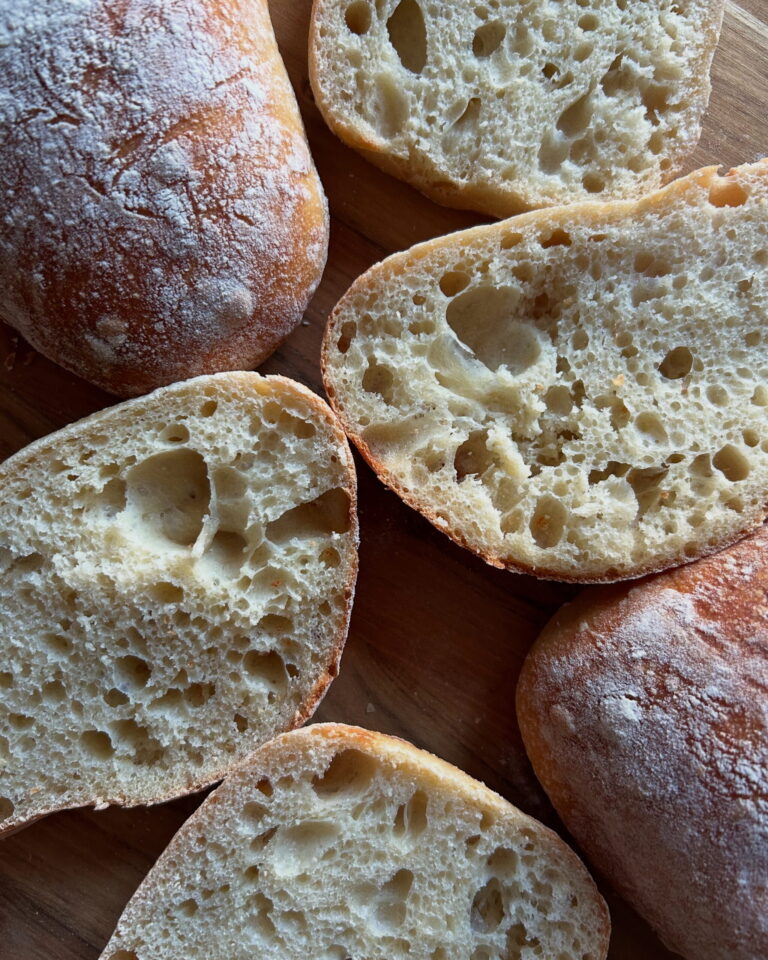
This simple, no-knead Rosemary Parmesan Artisan Bread is a highly addictive reader favourite. With a wonderful crusty exterior, it’s light and soft on the inside and deliciously flavoured with lots of nutty Parmesan and aromatic, peppery rosemary.
This recipe builds on my simple 4-ingredient no-knead Everyday Artisan Bread. It’s still super easy to make and requires just a handful of extra ingredients.
Here’s everything you’ll need to make it
- 1½ cups water (360 grams), room temperature (at or near 70°F/21°C)
- 1 teaspoon (3 grams) active dry yeast
- 3½ cups (455 grams) bread flour, plus more for dusting
- 1 teaspoon (3 grams) kosher or fine sea salt
- 2 tablespoons (7 grams) rosemary, finely chopped
- 1½ cups (190 grams) cubed Parmesan (see note below if baking with alternative flours)
Ideally, you will also have:
- Digital scale
- Dough scraper
- Parchment paper
- Razor blade or very sharp knife
- Dutch oven such as this one or this one
New to working with yeast? Reference my Baking with Active Dry Yeast guide for answers to common FAQ’s.
You can read more about why you will achieve your best results using a Dutch oven here.
How to make Rosemary Parmesan Artisan Bread in 5 steps
- Mix the dough.
- Cover and let it rise until it has doubled in size.
- Add cheese, shape your dough and dust with flour.
- Cover and proof the dough in the fridge overnight.
- Turn dough out onto a floured surface, re-shape if needed, score it and bake.
The cubed Parmesan is added just prior to the cold proof to create the most deliciously melty, cheesy pockets. While most cheesy bread recipes call for shredded cheese, cubing it helps to prevent it from reaching the surface of the dough too early which can result in burning. If you don’t have Parmesan, both cheddar and Gouda are delicious alternatives.
Baking schedule
Making this Rosemary Parmesan Artisan Bread is a two-day process where the bread is mixed and prepared on day one, cold proofed in the fridge overnight, then baked on day two.
This is what it looks like:
Saturday morning: Mix dough, cover and let rise.
Saturday afternoon or evening: Add cheese, shape dough, cover and put it in the fridge.
Sunday morning, afternoon or evening: Remove dough from the fridge and prepare to bake.
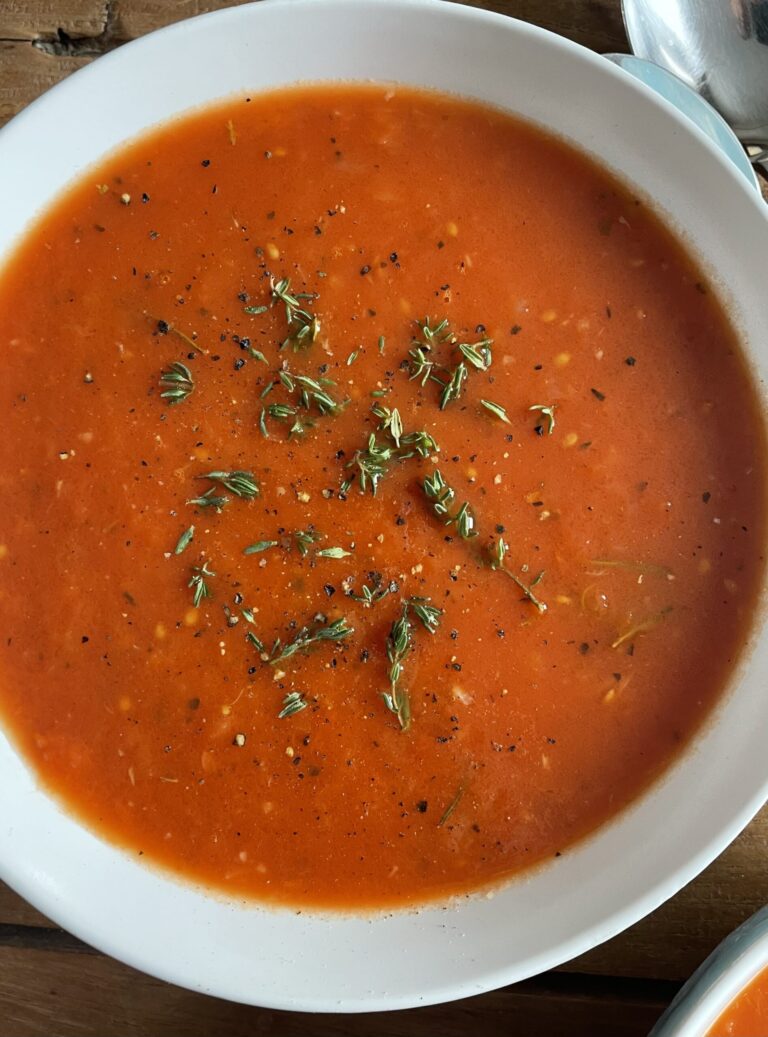
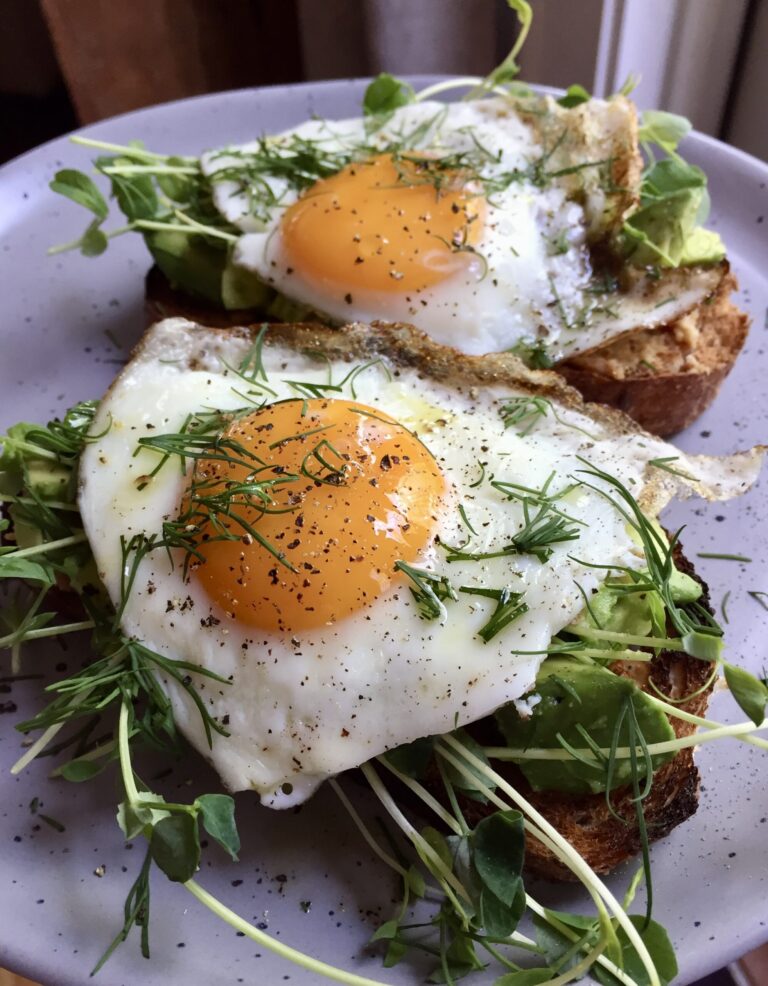
This no-knead Rosemary Parmesan Artisan Bread is delicious served alongside soups, stews, roasts and grilled meats. We love it fresh from the oven with good quality olive oil or herby garlic butter and more freshly grated Parmesan! And if you love a good savoury breakfast as much as we do, it also pairs perfectly with a couple of runny eggs and crispy bacon.
The flavours in this no-knead rosemary Parmesan loaf will make your kitchen smell amazing as it bakes, and you will LOVE how simple it is to make!
Try this Rosemary and Roasted Garlic Artisan Bread or these Rosemary Parmesan Scones next.
For more tips and helpful information, reference my Artisan Bread Basics Series + Answers to Common FAQ’s.
If you make this recipe, please tag me on Pinterest or Instagram so I can see!
And of course, feel free to leave any questions, comments or reviews. This is the best place to reach me, and I’d love to hear from you!
Rosemary Parmesan Artisan Bread
Ingredients
- 1½ cups water, room temperature (at or near 70°F/21°C)
- 1 teaspoon active dry yeast
- 3½ cups bread flour, plus more for dusting
- 1 teaspoon kosher or fine sea salt
- 2 tablespoons finely chopped rosemary
- 1½ cups cubed Parmesan see note below if baking with alternative flours
Instructions
- Add the yeast to the water and let it sit for 10-15 minutes. In a large mixing bowl, whisk together flour, salt and rosemary until evenly distributed. Let sit for 10 minutes.
- Add water and yeast to the bowl and mix just until combined. The dough should look a little sticky and stringy and there should still be a little flour around the edges of the bowl.
- Cover and let rise somewhere warm (see note below) until it has doubled in size, about 8-10 hours.
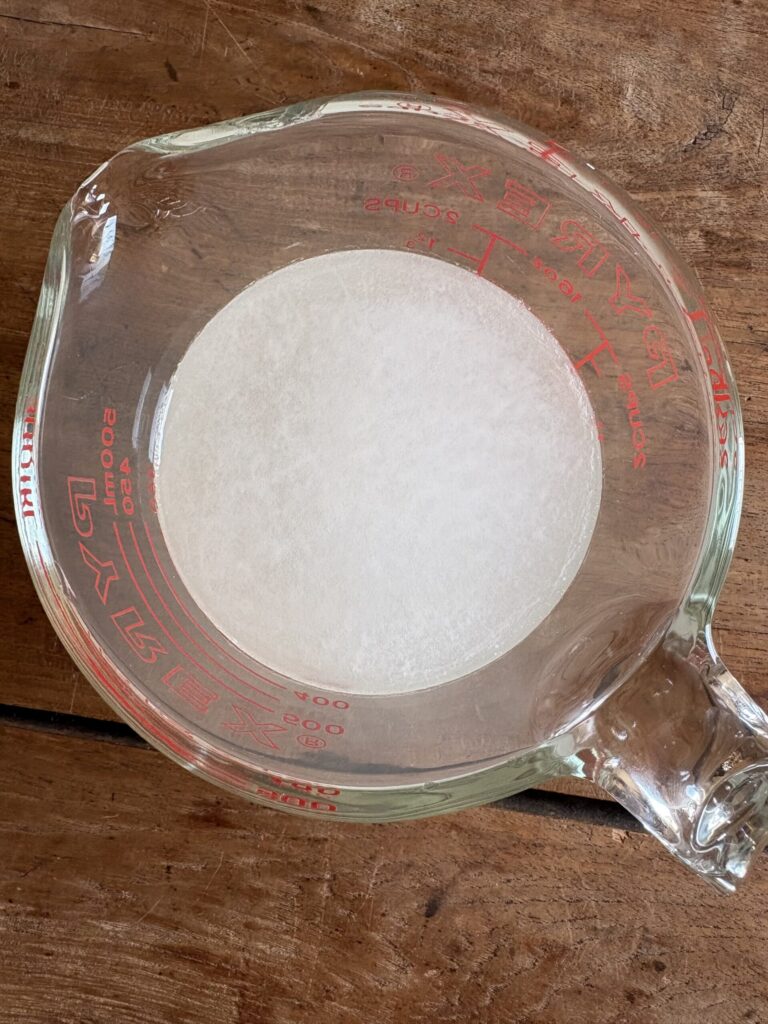
- Once the dough has doubled in volume, use your hands (or a dough scraper if you have one) to pull the dough out onto a floured surface. With floured hands, gently fold the dough into itself several times just until it holds together. Next, carefully stretch and smooth out dough into a rectangular shape and press Parmesan cubes into dough. Roll up dough into a log shape, adding bits of flour as needed to prevent sticking, and fold the ends underneath. Sprinkle with a little more flour and continue to gently shape the dough just until a flour-covered ball is formed. Lift and place the dough into a flour dusted bowl.
- Dust with flour, cover and refrigerate overnight. You can even leave it for as long as 48 hours at this point if you’re not able to bake it right away.
- When you're ready to bake your bread, preheat oven to 450ºF (232ºC) with your Dutch oven inside the oven.
- Uncover then turn the dough out onto a lightly floured surface seam side down. If needed, gently turn it with your hands and nudge it into the shape of a loaf. Place it on a sheet of parchment paper and score the top with a razor blade or the tip of a sharp knife with a design of your choosing. This will allow steam to escape while it’s baking.
- Once the oven is preheated, remove the Dutch oven from the oven and transfer the dough, still on the parchment, into the Dutch oven. Cover and bake for 30 minutes, then remove the cover and bake for 15-20 minutes more. Your bread will be done once the top is browned, and it sounds hollow when you tap the top.
- Using parchment edges, lift bread from Dutch oven and transfer it to a wire cooling rack to let cool for at least an hour before slicing.


What can use if I haven’t got a Dutch Oven
Hi Susan! You can substitute a 3-Qt or larger glass covered baking (casserole) dish, an oven-safe pot with a tight-fitting lid or try using two non-stick loaf pans with one as a cover (clip them together if you can to trap the steam). Hope you love the recipe!
Hi! So excited to make this recipe for a dinner on Saturday. My Dutch Oven is 5.5 Quart. Will this make the bread flatter?
Thanks!
P.S. what size parmesans cubes?
Hey Darien! Your dough will spread out a little more if you use a larger Dutch oven, but you will still get a good rise. When I use my 5.5 Qt, I typically shape the loaf as a batard (oval) rather than a boule. Doing so will also give you more even slices. Cut the Parmesan into 1-inch cubes and you’ll be all set!
absolutely superb!! I love your breads…very straight forward recipes…easy, and measurements are spot on!! TY for sharing your recipes, because in-turn i have the confidence to bake bread:). This one was amazing!
You’re very welcome, London, thank you for your review! 😊
Great bread! I only made one adjustment…. I added 1/2 teaspoon garlic powder! It was excellent and will definitely make it again.
After the first rise, I left it in the fridge over night as I didn’t want to bake it until the next day…. No problem!
I’m so happy to hear that, thank you Michelle! K
My daughter would like to learn to bake sourdough bread. I am happy to teach her, but patience is not one of her virtues. I saw this recipe and thought it would be a good place for her to start. I was very doubtful about success but decided to give it a try. My first rise was very fast, so I was sure I had done something wrong. When I lifted the lid, I was amazed. Needless to say, it was perfect. The bread is just as you described. Thank you so much for sharing this wonderful recipe.
Thank you so much Penny, I’m so happy you were pleased with the result! K
OK, so, I was doubting this recipe and this method because it was so different than any bread making methods I was familiar with but I was curious, so I gave it a try. Boy am I glad I did!! Each phase of the process I would think, “well, we will see what this does,” and at the end of each phase, I was delighted to see the results! This bread was absolutely incredible! We had it alongside a dish from Antoni Porowski’s cookbook – Turkey Meatballs & Velvety Tomato sauce and it was the perfect compliment to the meal. Thank you so much for the easy-to-follow instructions and for taking the time to post the recipe! I’ll definitely be checking out more of your recipes!
Hi Sheila! I’m so glad you were pleased with the result, thank you for sharing your review! K
Hello, do you recommend mixing by hand or with a stand mixer?
Hi Anita! All my artisan bread recipes are no-knead and mixed by hand, hope you love the recipe! K
This was fantastic!!!!!! I just made it and it’s super easy. You do have to allow time to do it but it’s non active, waiting time so not difficult. I’ve made a lot of bread and this texture, flavor, chewiness and fluffiness was the absolute best. I’m so happy with the results and have already sent it to all my friends to try. Thank you so much!!! I highly recommend trying this bread if you come across the recipe.
Perfect!! This makes me so happy to hear, thank you so much Michelle! K
Can I use grated parmesan cheese instead of cubes?
Hi Lisa! I don’t recommend using grated Parmesan in this recipe. The bread is baked at a high temperature for 45 minutes and the smaller pieces will surely burn. Please let me know if there is anything else I can help with! K
Why wouldn’t I let the dough rise again after refrigeration, before baking?
Hi Billie! Most bread recipes have two rises, the first (called bulk fermentation) and the second or final rise. I’ve found that adding the cold proof for the second rise produces a better, more flavourful result and makes handling the dough easier for novice bakers. It’s easier to shape and score and to fit baking around your schedule. I would only recommend letting the dough sit on the counter for an hour or so after shaping if it hasn’t risen at all in the refrigerator. This is unlikely, however, and you could end up with over proofed dough. Please let me know if there’s anything else I can help with! K
Hi! What would you suggest I use if I don’t have a proofing bowl?
Hi Meagan! Any medium to large mixing bowl will work! K
Please can you give quantities in grams or ounces as I live in England and would love to make this bread
Just click on the metric conversion link, it’s all there!
How big should I make the cubes of cheese? Do you have the weight that the cheese should be instead of 1.5 cups. That would help a little!
Hi Elisha! If you look under the metric conversion you will see the recipe calls for 190g of Parmesan. Hope you love the recipe! K
So sorry! Didn’t see this! Thank you so much! Making it right now!
When do you add the Rosemary, the same time as the cheese? I don’t see any instructions for the Rosemary? This looks very yummy.
Hi Amber! The rosemary is whisked together with the flour and salt in step 1. Happy baking! ✨