No-Knead Fig and Walnut Artisan Bread
Last updated on October 4th, 2026
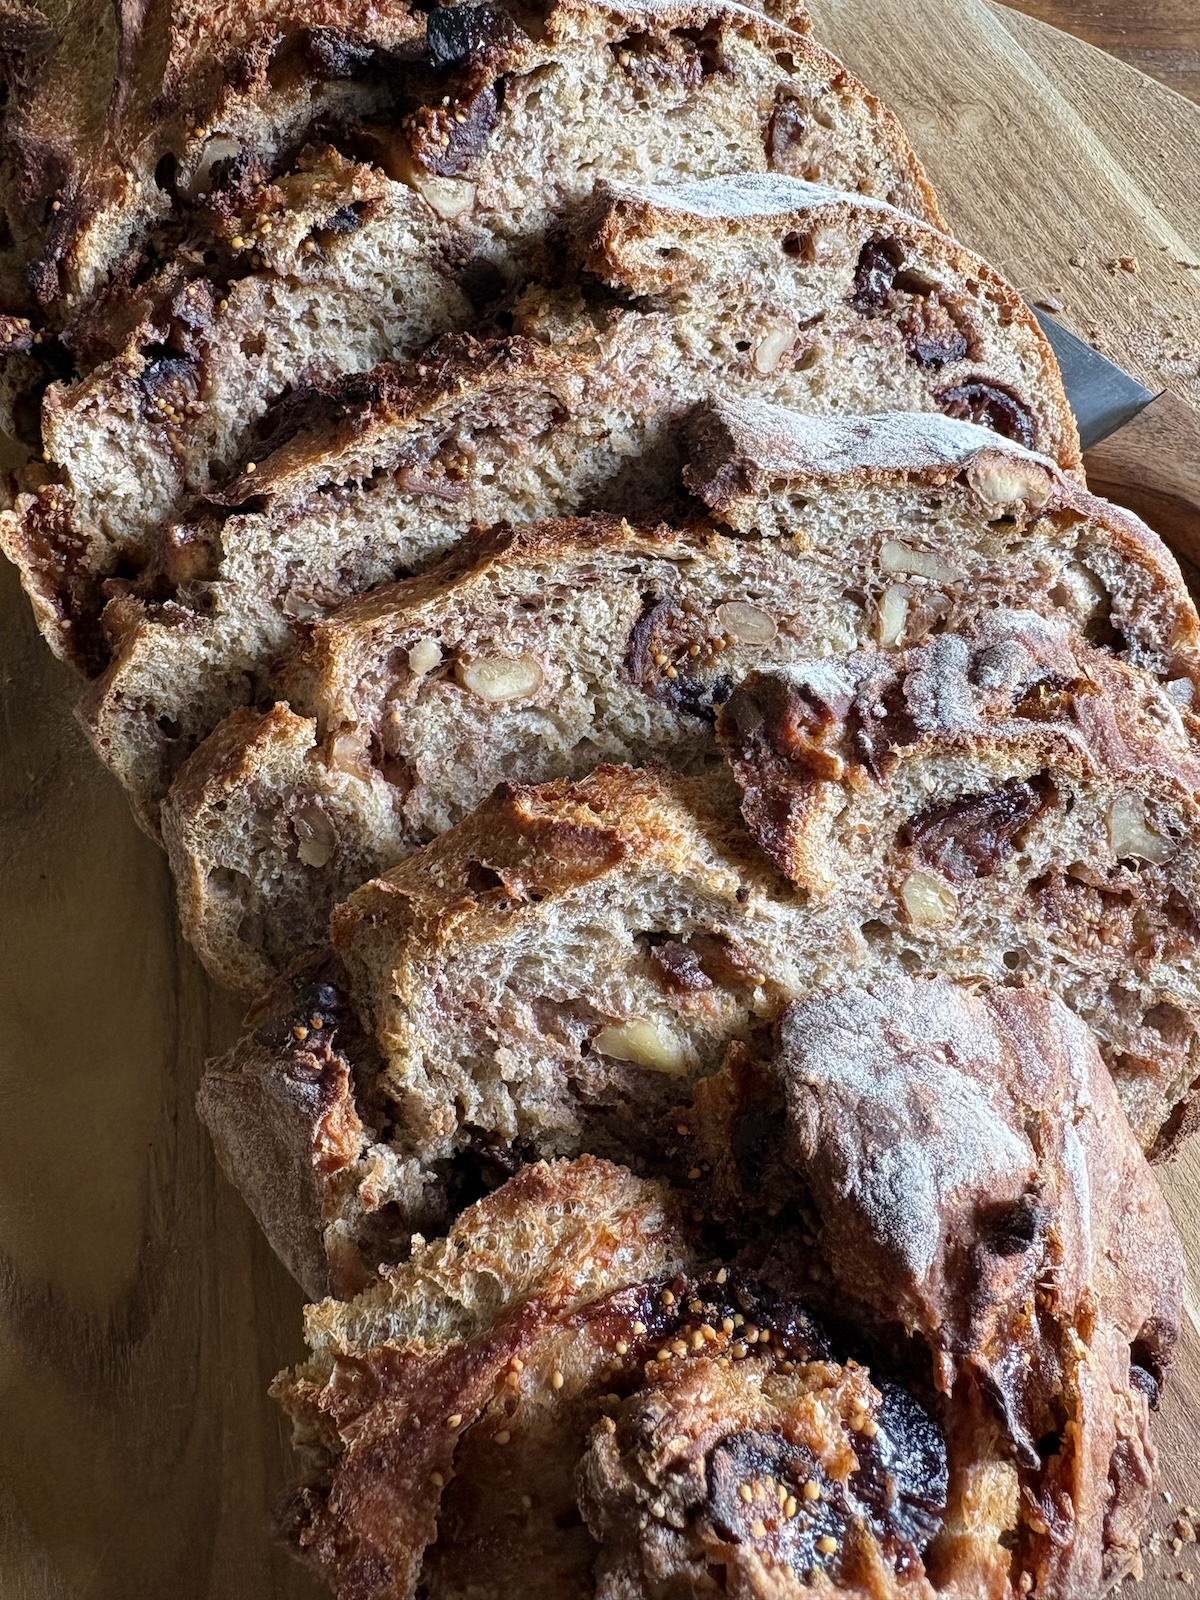
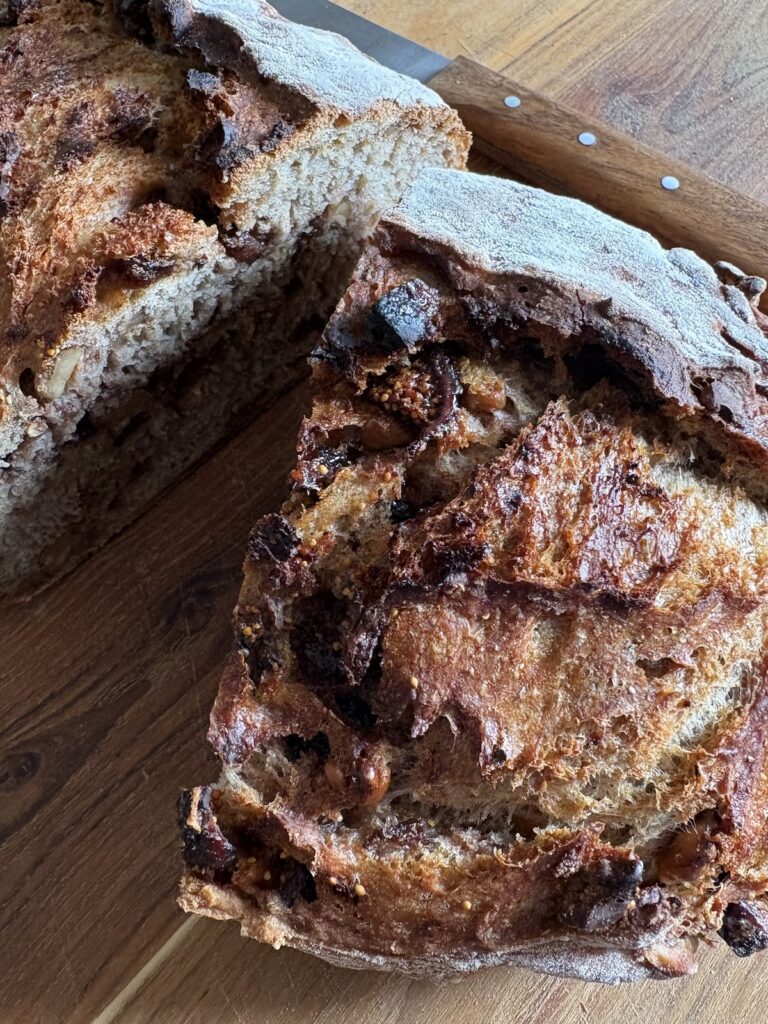
Beginner-friendly, this Easy No-Knead Fig and Walnut Artisan Bread is studded with sweet, jammy figs and crunchy walnuts, flavoured with warming cinnamon then lightly sweetened with honey. Slightly rustic with a subtle nutty flavour and crunchy crust, it pairs perfectly with your favourite artisanal cheeses.
This recipe is a long-overdue reader request that’s coming out just ahead of cooler weather and the upcoming holiday season. Whether grilled or toasted up for breakfast with lots of butter or reserved for a celebratory cheese board, it is just SO GOOD.
Here’s everything you’ll need to make this No-Knead Fig and Walnut Artisan Bread
- 1½ cups water (360 grams), room temperature (at or near 70°F/21°C)
- 1 tablespoon (18.75 grams) liquid honey
- 1 teaspoon (3 grams) active dry yeast
- 2 cups (260 grams) bread or all-purpose flour, plus more for dusting
- 1 cup (130 grams) whole wheat bread or all-purpose flour
- 1 teaspoon (3 grams) kosher or fine sea salt
- 1 teaspoon (2 grams) ground cinnamon
- ¾ cup (130 grams) dried figs, stems removed and chopped
- ½ cup (75 grams) chopped walnuts
Ideally, you will also have:
- Digital scale
- Dough scraper
- Parchment paper
- Razor blade or very sharp knife
- Dutch oven, such as this one or this one
New to working with yeast? Reference my Baking with Active Dry Yeast guide for answers to common FAQ’s.
You can read more about why you will achieve your best results using a Dutch oven here.
Similar to my No-Knead Cranberry Walnut Artisan Bread, this recipe builds on my easy, 4-ingredient No-Knead Everyday Artisan Bread.
The combination of both white and whole wheat bread (or all-purpose) flour enhances the nutty flavour and adds a rustic element, while the addition of figs and walnuts makes this loaf a little more special.
🥮 Baking with dried figs
The figs add a sweet, jammy berry flavour and a chewy texture to the bread, while their moisture helps to keep the loaf fresh a little longer.
Chopping the fruit with a sharp knife and dipping the tip of the blade into hot water between cuts will easily help prevent sticking.
I highly recommend using dried figs in this recipe because the sticky consistency of fresh figs is just not well-suited to bread making.
If you do not have dried figs on hand, both dried apricots and sweet chopped dates would work beautifully as a seamless alternative.
How to make No-Knead Fig and Walnut Artisan Bread in 5 steps
- Mix the dough.
- Cover and let it rise until it has doubled in size.
- Shape your dough and dust with flour.
- Cover and proof the dough in the fridge overnight.
- Turn dough out onto a floured surface, reshape if needed, score it and bake.
You can learn more about the benefits of cold proofing no-knead artisan breads in this post Artisan Bread Basics: How Cold Proofing Changes the Game + Answers to FAQ’s.
Baking schedule
Making this No-Knead Fig and Walnut Artisan Bread is a two-day process where the bread is mixed and prepared on day one, cold proofed in the fridge overnight, then baked on day two.
This is what it looks like:
Saturday morning: Mix dough, cover and let rise.
Saturday afternoon or evening: Shape dough, cover and put it in the fridge.
Sunday morning, afternoon or evening: Remove dough from the fridge and prepare to bake.
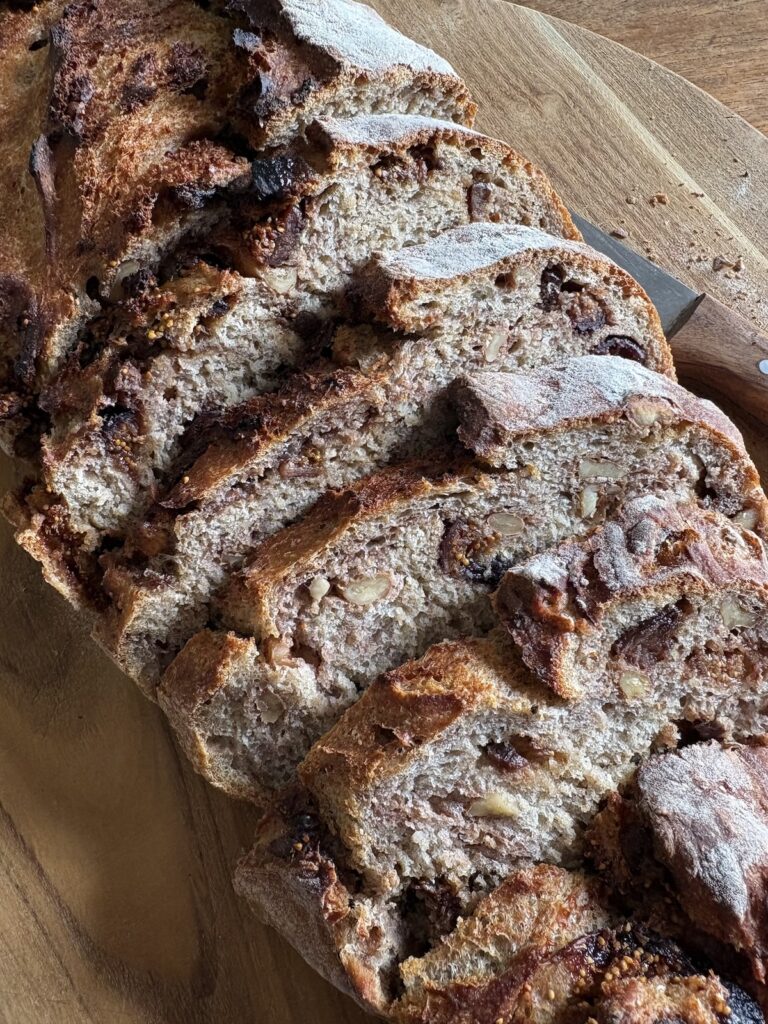
This Easy No-Knead Fig and Walnut Artisan Bread is a versatile and satisfying bake that I hope will become a welcome addition to your breakfast and holiday tables.
Try this beginner-friendly No-Knead Cinnamon Raisin Artisan Bread or this One-Bowl Cranberry Orange Walnut Bread next.
For more tips and helpful information, reference my Artisan Bread Basics Series + Answers to Common FAQ’s.
Did you make this recipe?
If you tried this recipe, be sure to rate it and leave a comment below! You can also tag me with your creations on Instagram, save this recipe to your favourite Pinterest boards for later, or connect with our Facebook community if you prefer updates there.
Easy No-Knead Fig and Walnut Artisan Bread
Ingredients
- 1½ cups water room temperature (at or near 70°F/21°C)
- 1 tablespoon liquid honey
- 1 teaspoon active dry yeast
- 2 cups bread or all-purpose flour, plus more for dusting
- 1 cup whole wheat bread or all-purpose flour
- 1 teaspoon kosher or fine sea salt
- 1 teaspoon ground cinnamon
- ¾ cup dried figs stems removed and chopped
- ½ cup chopped walnuts
Instructions
- Whisk together honey and water, then sprinkle yeast across the top and let it sit for 10-15 minutes. In a large mixing bowl, stir together flour, salt, cinnamon, chopped figs and walnuts until the fig pieces are well-covered in flour. Let sit for 10 minutes.
- Add yeast mixture to the bowl and mix with a rubber spatula just until combined. The dough should look a little sticky and stringy and there should still be a little flour around the edges of the bowl.
- Cover and let rise somewhere warm until it has doubled in size (see note below).
- Once the dough has doubled in volume, use your hands (or a dough scraper if you have one) to pull the dough out onto a floured surface. With floured hands, gently fold the dough into itself several times until a soft, flour-covered ball is formed. Place it into a flour dusted bowl, dust with flour, cover and refrigerate overnight. You can even leave it for as long as 48 hours at this point if you’re not able to bake it right away.
- When you're ready to bake your bread, preheat oven to 450ºF (232ºC) with your Dutch oven inside the oven.
- Once the oven is preheated, turn the dough out onto a lightly floured surface. Depending on how long it's been in the fridge, you may need to repeat the step above using a floured hand or dough scraper to pull the dough out onto the floured surface. If needed, flour your hands once again and fold the dough into itself a couple of more times, gently turning it with your hands and nudging it into the shape of a loaf. Lift and place it on a sheet of parchment paper and score the top with a razor blade or the tip of a sharp knife with a design of your choosing. This will allow steam to escape while it’s baking.
- Remove the Dutch oven from the oven and transfer the dough, still on the parchment, into the Dutch oven. Cover and bake for 30 minutes, then remove the cover and bake for 13-15 minutes more. This is a darker loaf, so start checking for doneness at the 13-minute mark. Your bread will be done once the top is deeply browned, and it sounds hollow when you tap the top.
- Using parchment edges, lift bread from Dutch oven and transfer it to a wire cooling rack to let cool for up to an hour before slicing.

Could you use dates instead of figs please
Hi Gill! Yes, dates or even dried apricots will work. Hope you love the recipe!
Can I use instant or rapid rise instead?
Hi Claudia! Instant yeast can be used 1:1 in my artisan bread recipes. Add it directly to the dry ingredients and proceed as directed. Thanks!
Is possible instead of dry yeast use levain?
Thank you
Hi Anabela! Bearing in mind that the consistency of your starter can affect the texture, you can start by substituting 1/2 cup starter for the yeast then reduce water by 1/4 cup and flour by 1/2 cup to compensate. Give it a try and keep me posted! K
Amazing artsan bread, i switched out figs with olives, and it turned out perfect! Thank you!
I’m so happy to hear that, thank you so much Kareen! K