Artisan Bread Basics: Water + High-Hydration Doughs + Tips
Last updated on October 8th, 2026
This post has been revised and updated since first published March 22, 2025.
This post is part of my ongoing No-Knead Artisan Bread Basics series. In each instalment, I answer reader questions and provide guidance on the core elements of artisan bread making. In the last instalment we covered flour, a pillar in baking. In today’s post we’ll discuss another necessary ingredient—Water.
We’ll go through:
- Why water is an essential ingredient including notes on dough hydration
- Water quality
- Water temperature
- The best way to measure water and the best alternative
- Incorporating yeast, flour and salt
- Handling high-hydration bread doughs (Part 1)
- Tips for getting the best, crispy crust
- High-altitude baking and humid climates
You can find my beginner-friendly No-Knead Everyday Artisan Bread recipe here.
The role water plays in artisan bread making
Water is essential for the formation of gluten, which gives artisan breads their structure and elasticity. In addition to hydrating gluten-forming proteins, water activates yeast for fermentation and influences the consistency, texture and crumb structure of your dough.
Relying on a few simple steps and taking a little extra time to get it right will have you well on your way to producing your desired result.
Dough Hydration
No-knead artisan breads are made with wet, high-hydration doughs. Hydration is calculated by dividing the water measurement by the flour measurement, and in my recipes that brings us to a hydration level of close to 90%.
By comparison, most sourdough breads typically have a hydration level ranging from 65-80%, although some recipes will reach 90% or even higher. What you really need to know, however, is that until you start shaping it, the dough will be sticky.
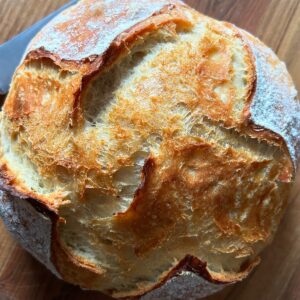
I prefer the fuller taste and complex structure of high-hydration doughs, which are crucial to achieving the crispy crusts and airy pockets that come to mind when we think of artisan breads.
Water quality
Like flour, not all water is alike. Generally speaking, if water is good enough to drink (i.e., not too hard, too soft or chlorinated) it is suitable for bread making. The critical factor is temperature.
Temperature
For best results, I recommend that you aim for a water temperature close to 70°F/21°C, which in my house is room temperature from fall through spring. I know there are a lot of varied opinions on this, but I’ve tested all my recipes at home multiple times and I promise this is what works.
You can read more about why you should bake with room temperature water in Artisan Bread Basics: Temperature, Dutch Ovens + Answers to FAQ’s.
What is the best way to measure water?
As noted in the Flour instalment, the best way to measure your ingredients, including water, is with a kitchen scale using the weight measurements provided. The one I use is highly rated and reasonably priced, and it really is a foolproof way to ensure your ingredient measurements are correct.
To use a digital kitchen scale, place a liquid measuring cup or your container of choice on the scale. Turn it on and press the scale’s weight button (sometimes called “tare”) until it clears to zero. Carefully pour in your ingredients until you reach the desired weight, resetting the button to zero after each ingredient is added.
The best alternative
If you don’t have a kitchen scale, use the “eye level” method. Using a liquid measuring cup, place the cup on a flat surface and pour slowly to avoid overfilling. Bend down to eye level, making sure your eyes are level with the measurement markings on the cup to get an accurate reading. This may seem obvious, but even just an extra teaspoon or two over can make a big difference in the consistency of your dough and turn it into a slippery mess.
Incorporating yeast, flour and salt
Water dissolves ingredients like yeast and salt and helps to combine all the ingredients into a cohesive dough. When using active dry yeast* as recommended in my recipes, add the yeast to room temperature water and let it sit for 10-15 minutes.
As it dissolves, the liquid will appear cloudy and there will be some residue around the edges of the vessel where the yeast has thickened. Then stir the yeast and water into the flour mixture until just combined.
*You can read more about active dry yeast and substitutions in the Baking with Active Dry Yeast guide here.
Tips for handling and shaping high-hydration dough
It is true that the less water present in the dough, the easier it is to handle. The key to handling the high-hydration doughs in my no-knead artisan bread recipes is to work with floured hands and a floured surface, turning and shaping the dough while adding bits of flour as needed until it forms a cohesive loaf.
Once you start shaping it, your loaf will come together quickly. Lastly, using parchment paper for baking will counter any residual stickiness should you have any difficulty.
Tips for getting the best, crispy crust
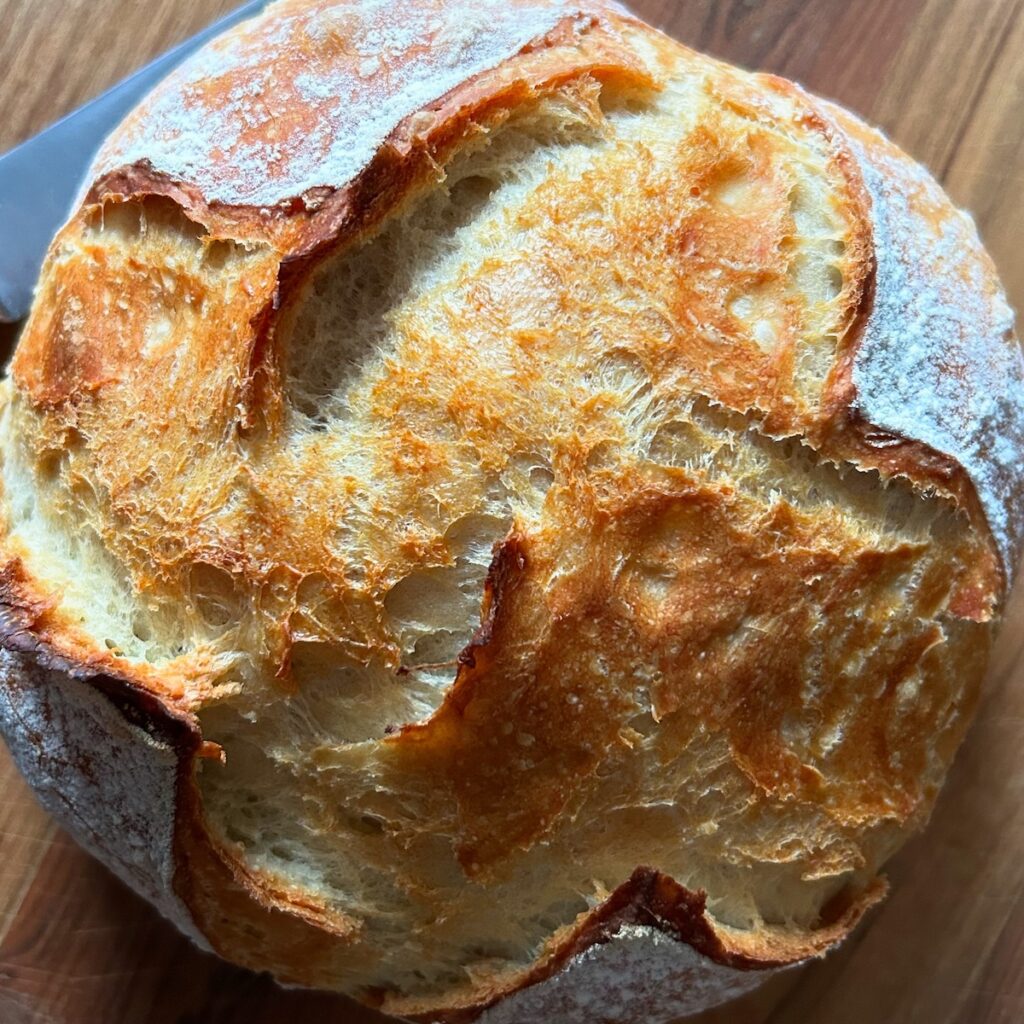
Covering artisan breads at the start of baking is key to moisture retention. It’s the steam that’s generated in a Dutch oven or covered baking vessel that transforms the dough. This is because heat is distributed more evenly, and the surface of the loaf doesn’t heat up as quickly. The captured humidity is what produces the richly coloured, bakery-style crust and a higher loaf with good volume (oven spring).
This is also why in my Easy Small Batch Ciabatta Rolls recipe I call for a water-filled cast iron skillet or baking pan to be placed in the bottom of the oven. The idea is to generate steam while the rolls are baking. Baking artisan breads uncovered on a baking sheet, for example, without any form of cover, tenting or added moisture will produce a very different result than what you see in the recipe images. Your bakes will be paler in colour with reduced oven spring.
You can read more about baking with Dutch ovens in Artisan Bread Basics: Temperature, Dutch Ovens + Answers to FAQ’s.
High altitude baking and humid climates
The air can be drier at higher altitudes, and this can impact the final result when baking artisan breads. All my bread recipes can benefit from slight adjustments for higher altitudes to compensate for air pressure and drier air. As a rule, I recommend that you start by reducing flour by ½ cup (60 g) to increase hydration. For cook time and temperature, rely on colour and sound to check for doneness (see notes in the recipe cards).
If you live in a humid climate or are baking in hot, humid weather, you may achieve a better result by reducing the liquid by 2 to 4 tablespoons (30-60 grams). You might need to experiment a little depending on where you are located, but you can still have great results.
Q. Can milk be used instead of water in artisan bread recipes?
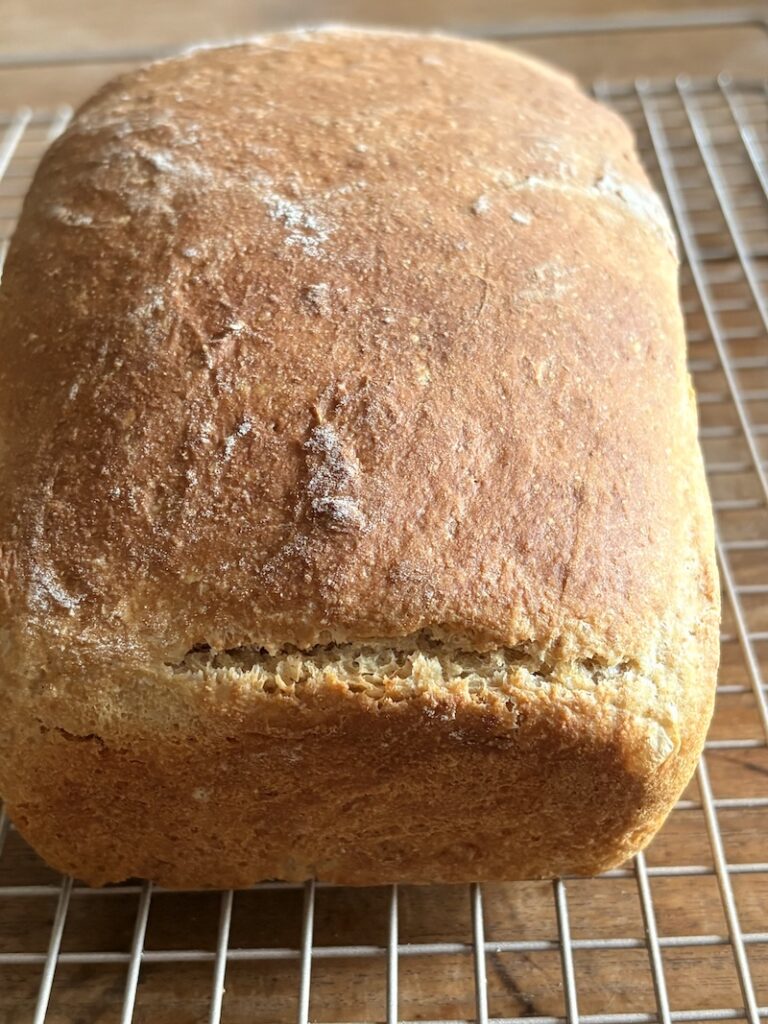
Replacing the water with milk means you’re incorporating less actual water than the recipe intended. The fat in milk will also coat the gluten, weighing it down and preventing it from rising correctly. I have found milk(s) to be better suited for brioche, quick breads and sandwich bread recipes.
Read this post Artisan Bread Basics: Salt—How it Works + Answers to FAQ’s next.
Did you enjoy this post?
If you found this post useful, be sure to rate it and leave a comment below! You can also tag me with your creations on Instagram, save this post to your favourite Pinterest boards for later, or connect with our Facebook community if you prefer updates there.