Easy Crispy Oven-Roasted Chickpeas
Last updated on July 15th, 2026
*This recipe has been revised and updated since first published January 10, 2020.
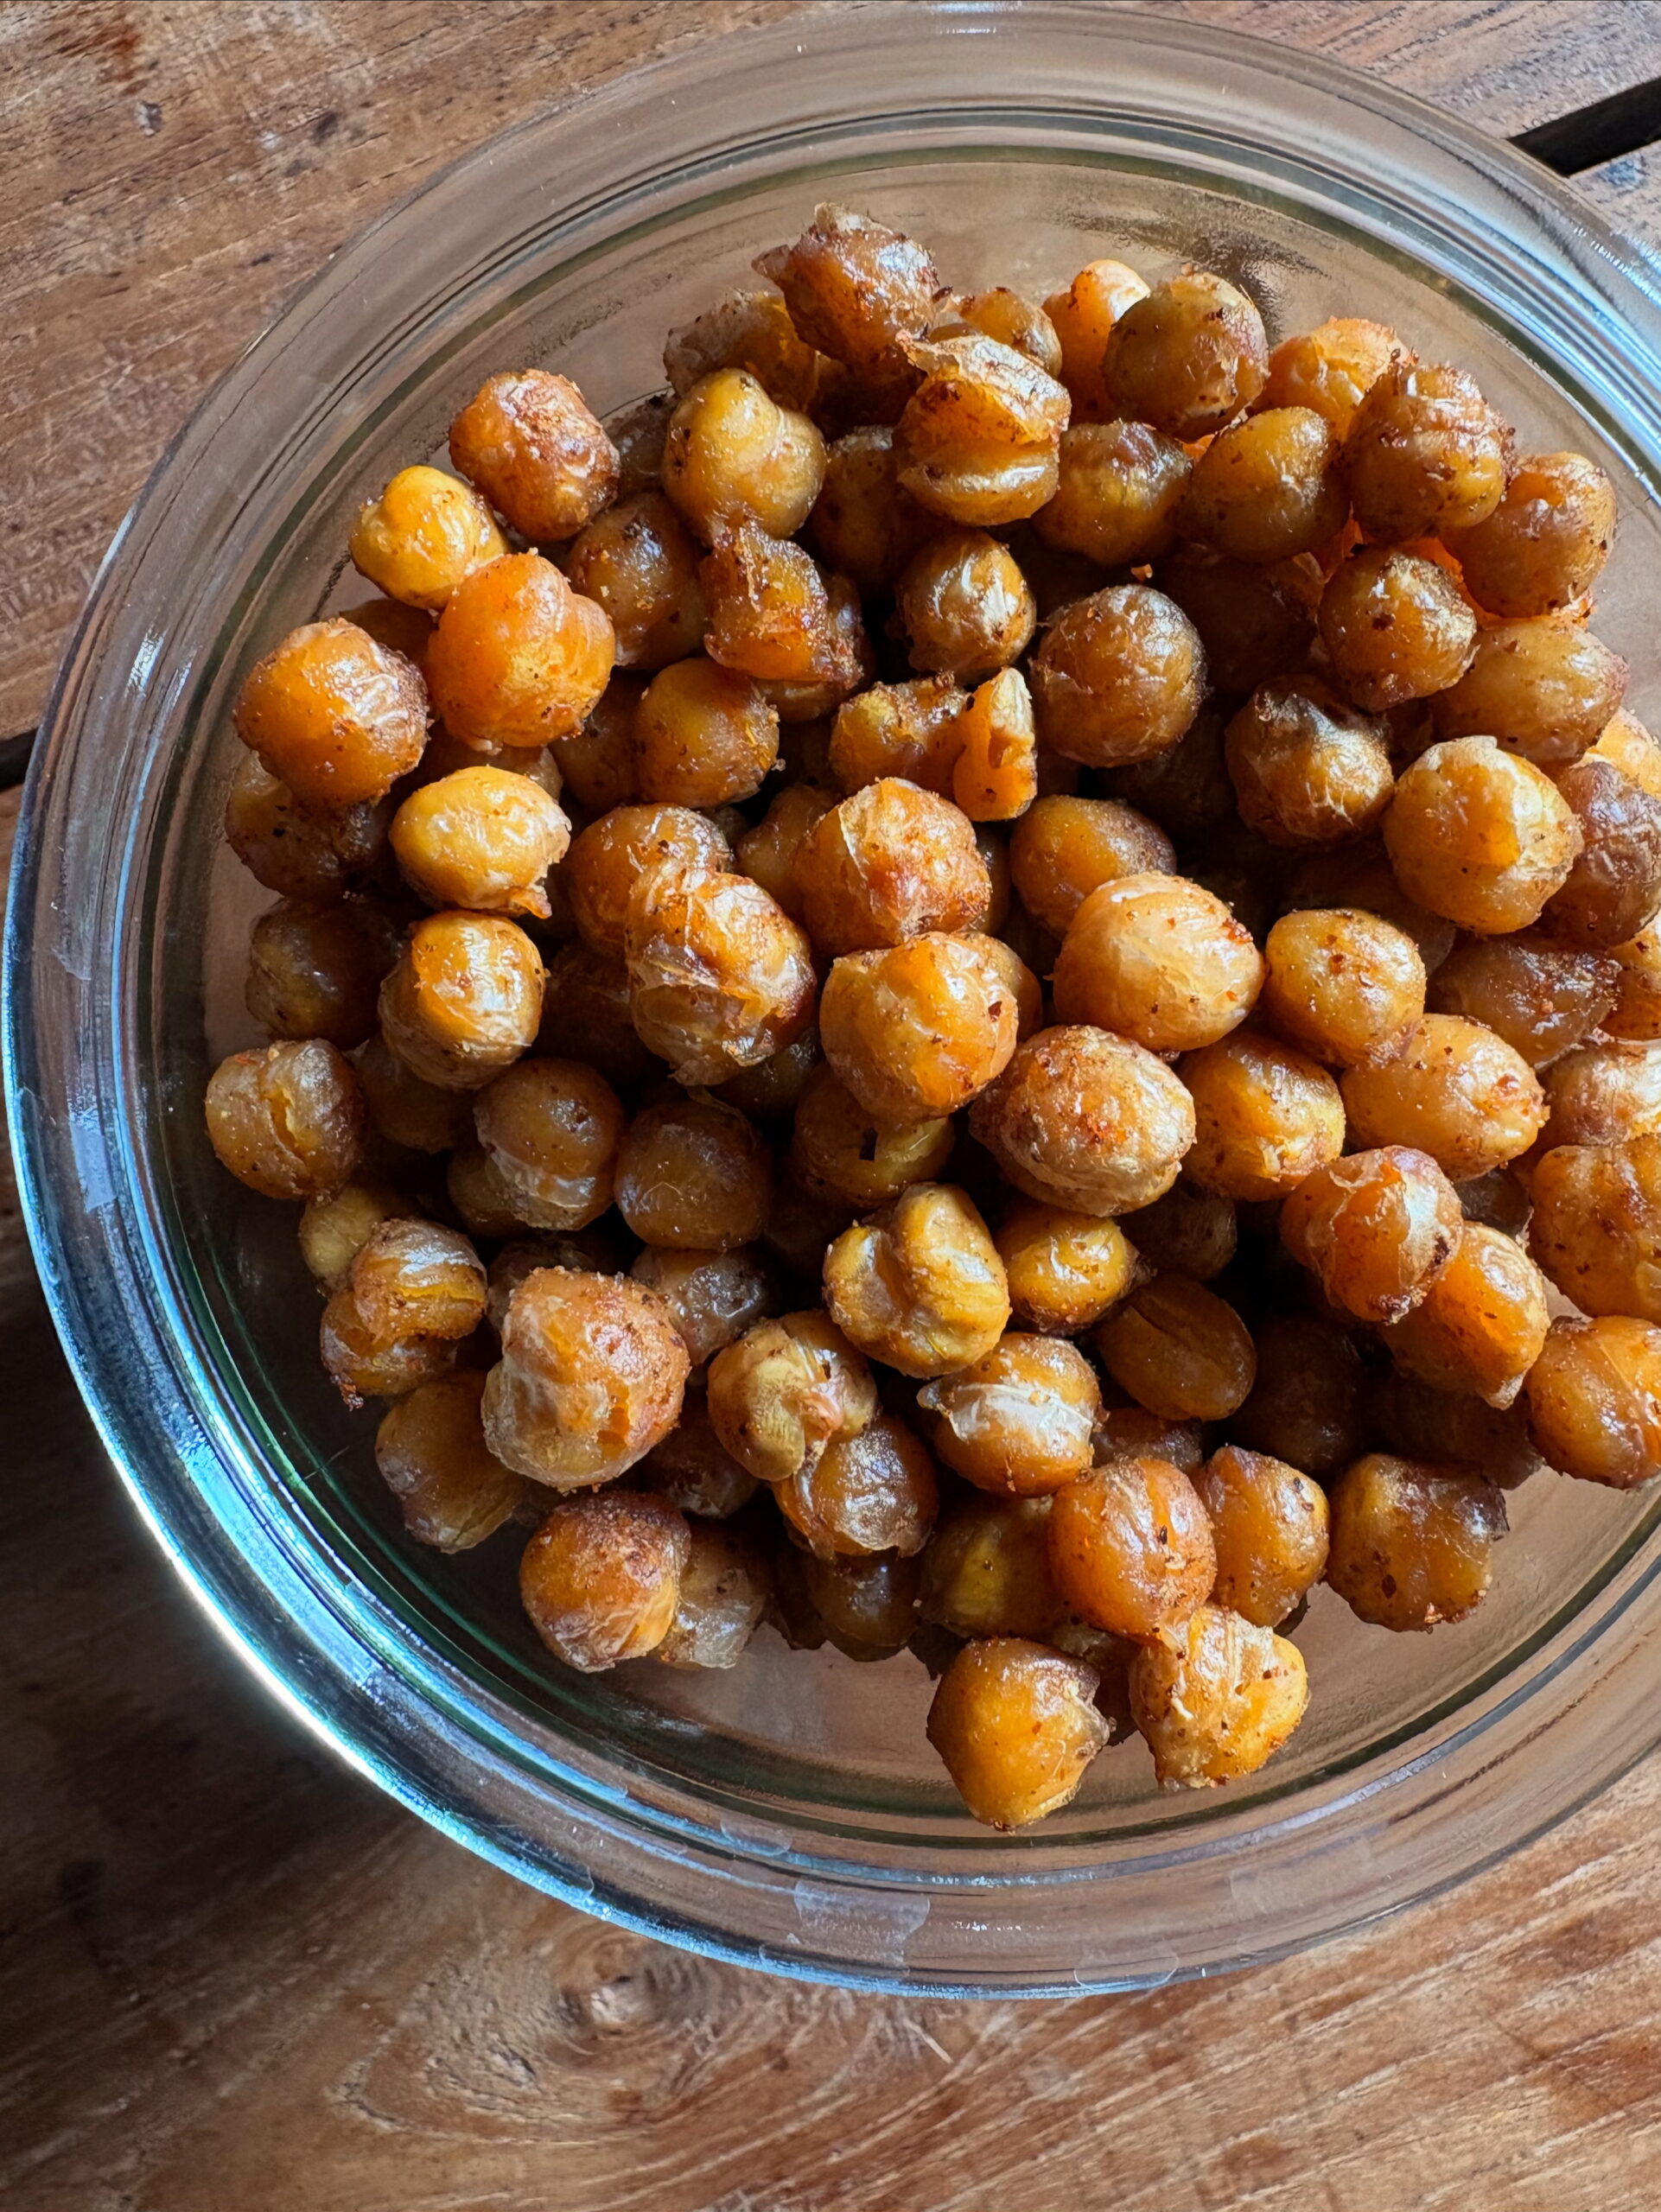
With a crouton-like texture, these Easy Crispy Oven-Roasted Chickpeas make a great nutrient-dense snack. Even better? You can use them in everything from salads to bowls and sandwiches or as a topping for soups, toasts and dips for an added plant-based protein boost!
These crispy roasted chickpeas are a weekly staple for us and for good reason. Toss a can of chickpeas together with some vegetable oil and seasonings and you can transform them into a crispy, savoury snack, side or topping simply by roasting them in the oven.
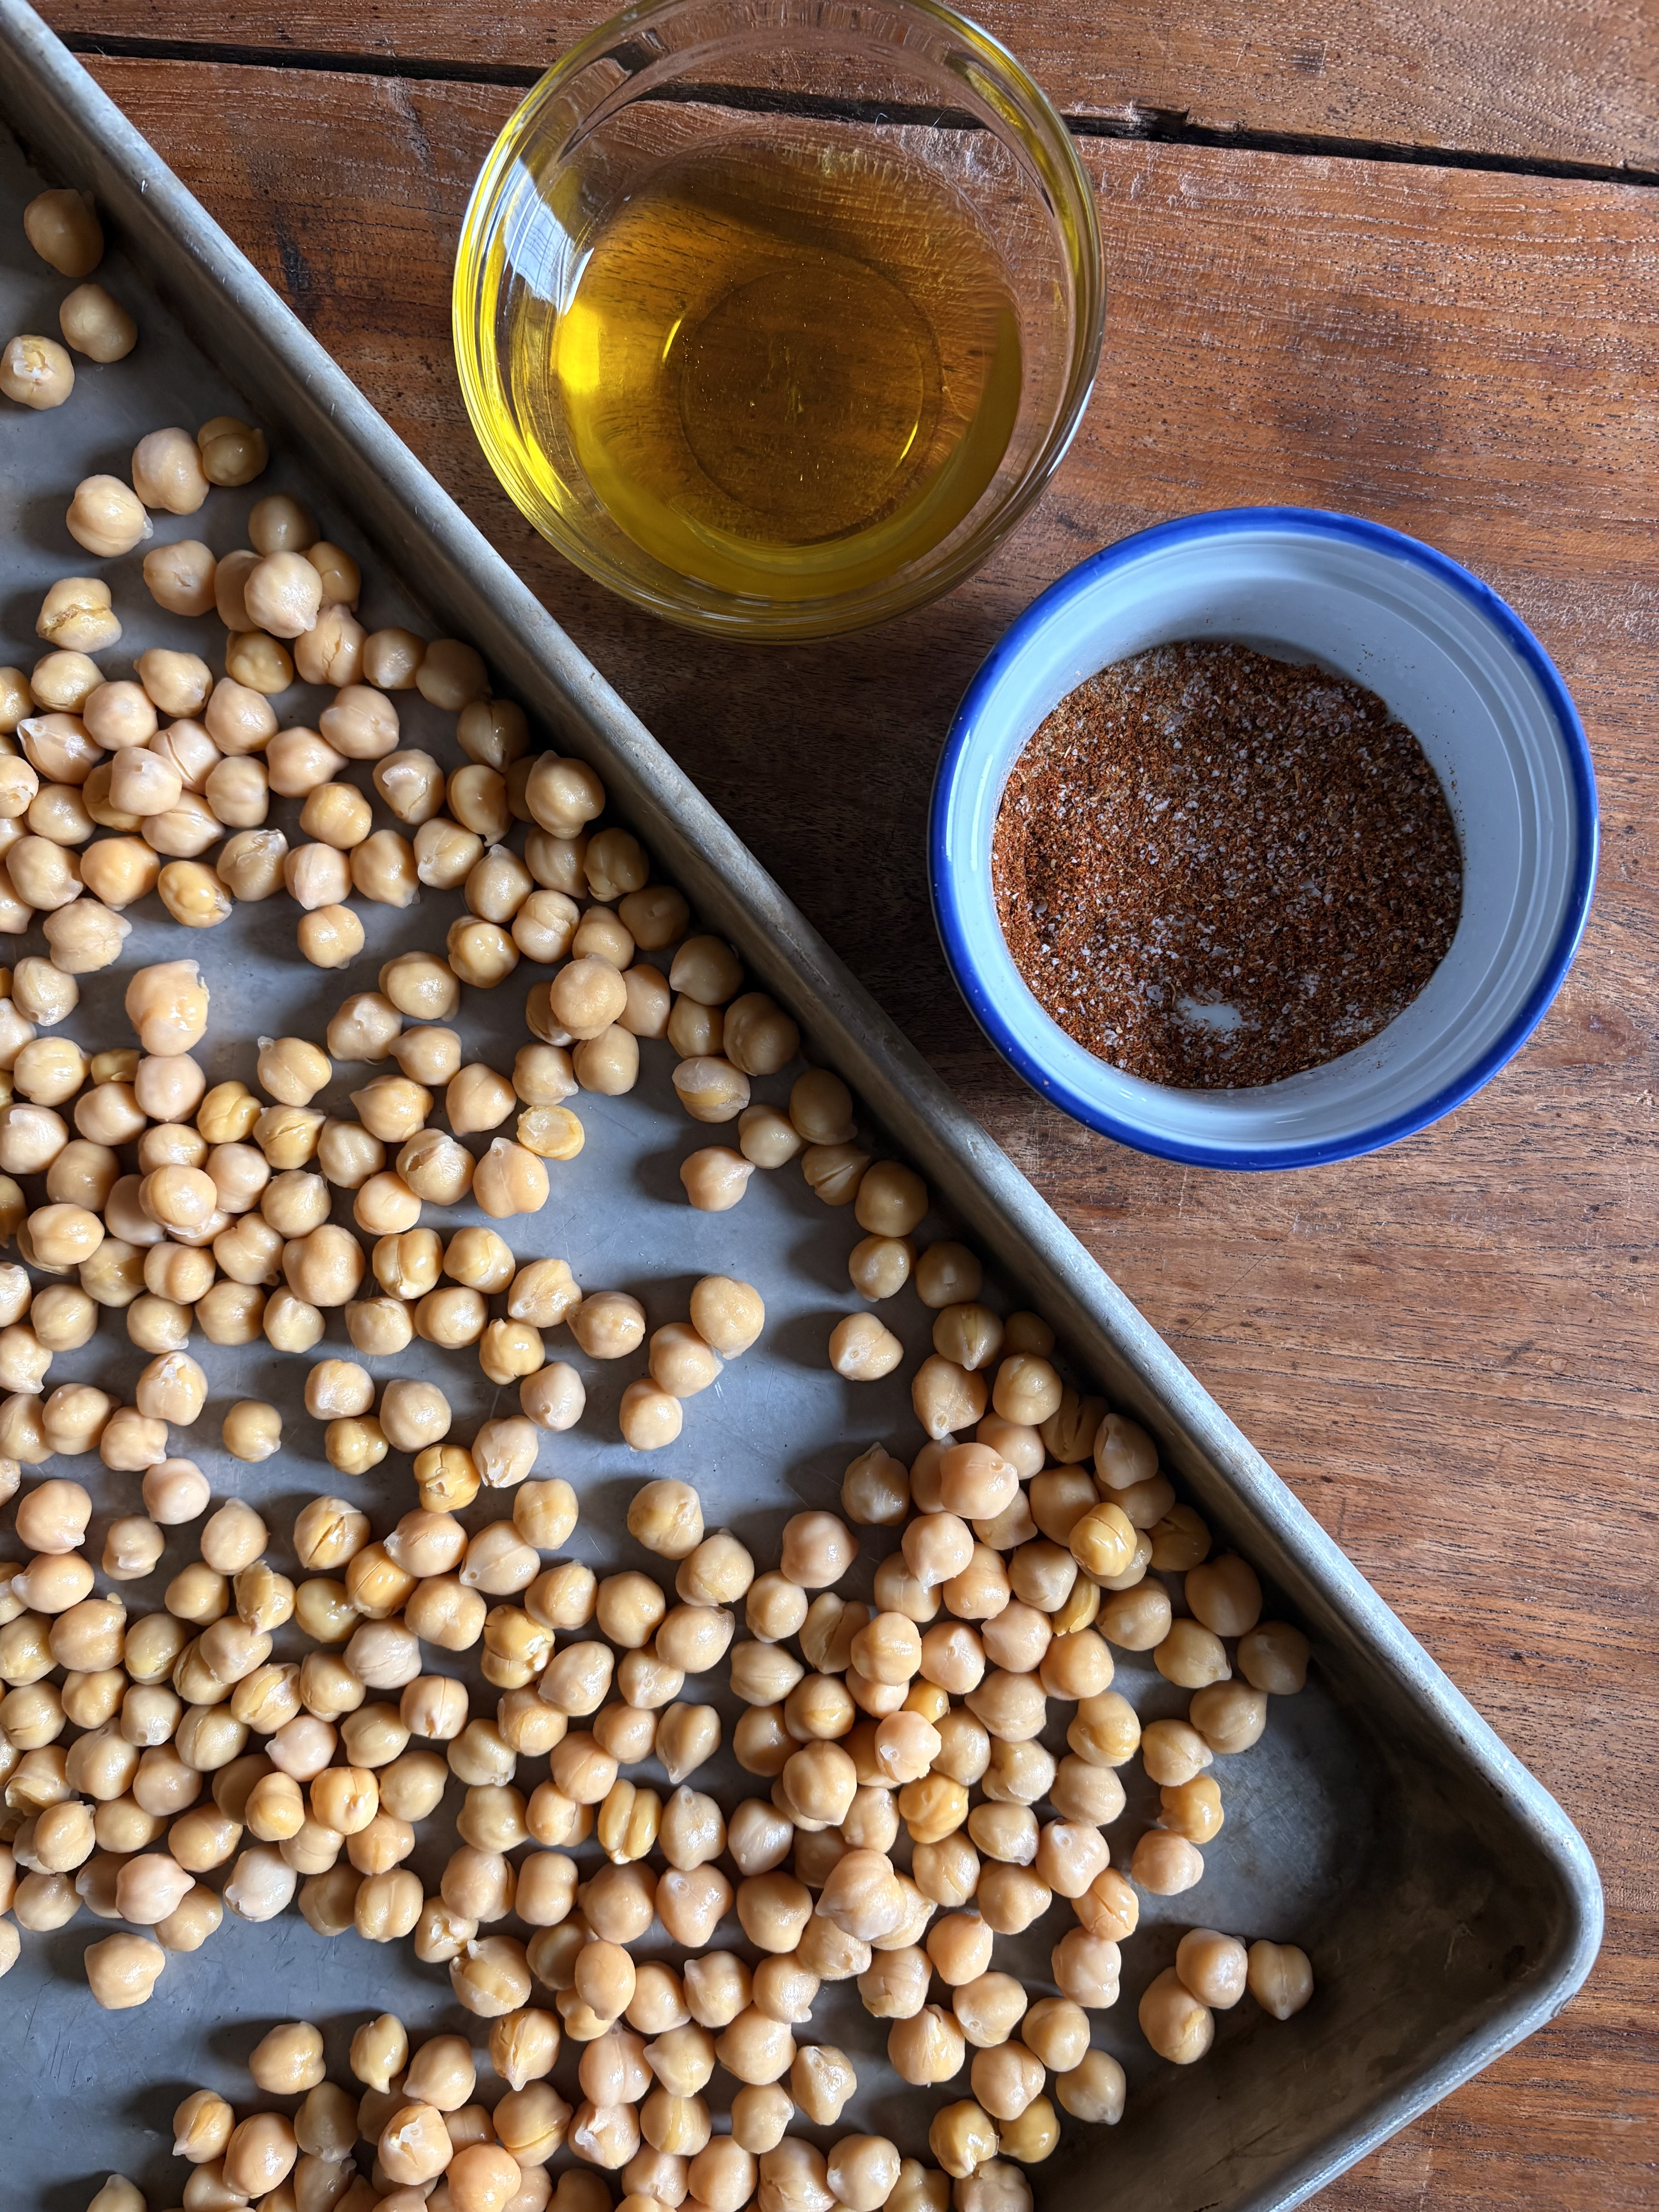
Here’s everything you’ll need to make these Easy Crispy Oven-Roasted Chickpeas
- 2 540 ml cans of chickpeas (38 oz or 820 grams)
- 2 tablespoons (28 ml) avocado or extra-virgin olive oil
- 2 teaspoons (5 grams) seasonings such as smoked paprika, ground chili powder for warmth and a little more smokiness, ground cumin, cayenne pepper, garlic powder or other favourites
- 1 teaspoon (3 grams) kosher or fine sea salt
You can use any kind of oil you like for this recipe. I prefer either avocado or extra-virgin olive oil, both of which have a high burning point making them ideal for roasting.
And while entirely optional, removing some of the loose skins after rinsing will help to make the chickpeas even more crisp after roasting.
Why you should roast them
Chickpeas, also known as channa or garbanzo beans, are part of the legume plant family. They’re high in protein and fibre, vegan and naturally gluten free. While they can also be prepared using a shallow sauce pan at medium to low heat on the stovetop, roasting them in the oven exposes them to drier heat. This not only makes them crispier, it also means no messy stovetop clean-up. Win-win!
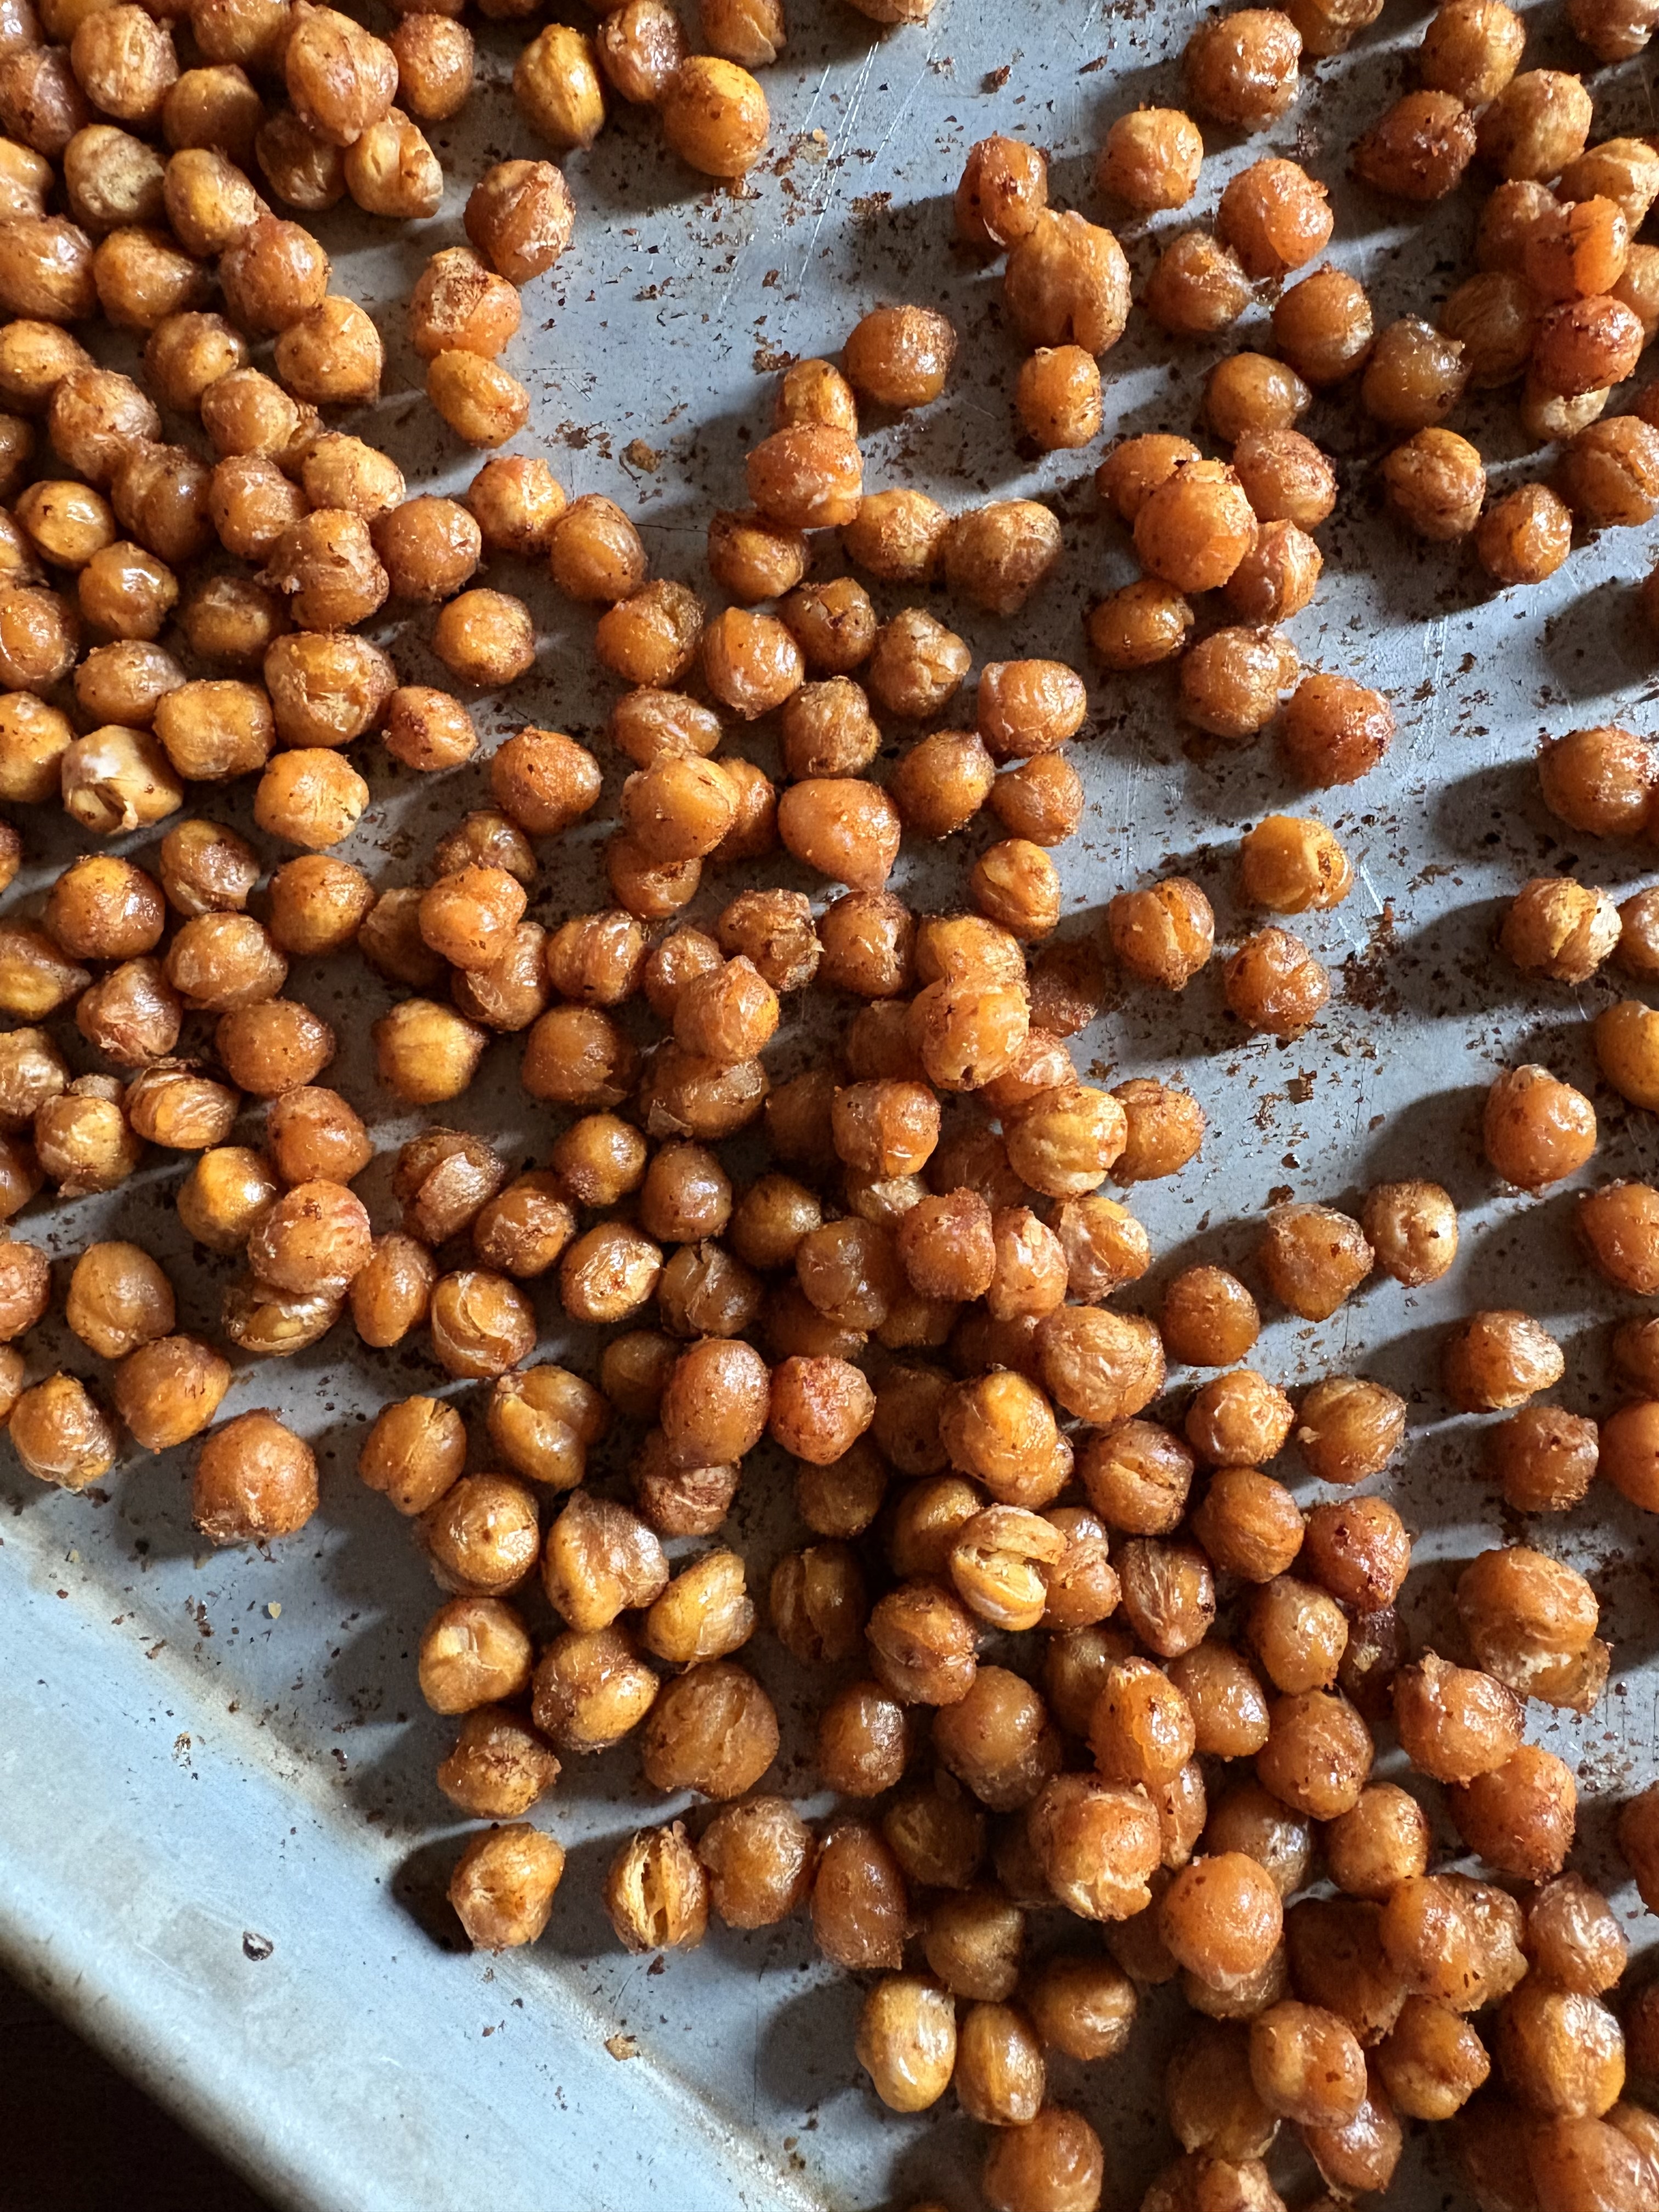
🌱 The crisp factor
Letting them rest in the oven after roasting is the secret to getting that perfect crouton-like crunch!
There are so many great seasoning options for these Easy Crispy Oven-Roasted Chickpeas, and this recipe can be adapted easily to include your favourites. We love them with finely chopped fresh rosemary!
Try this Mayo-Free 10-Minute Chickpea Tuna Salad with Green Olives or this Easy Fire Roasted Tomato Soup next.
Did you make this recipe?
If you tried this recipe, be sure to rate it and leave a comment below! You can also tag me with your creations on Instagram, save this recipe to your favourite Pinterest boards for later, or connect with our Facebook community if you prefer updates there.

Easy Crispy Oven-Roasted Chickpeas
Ingredients
- 2 540 ml cans chickpeas (38 oz or 820 grams)
- 2 tablespoons avocado or extra-virgin olive oil
- 2 teaspoons seasonings such as smoked paprika, ground chili, ground cumin, cayenne pepper, garlic powder or other favourites
- 1 teaspoon kosher or fine sea salt
Instructions
- Preheat oven to 400°F (200ºC).
- Rinse chickpeas well, drain and remove any loose skins. Next, dry them by rolling them up in a tea towel or paper towels to remove any excess moisture.
- Transfer chickpeas to a baking sheet and drizzle with olive oil, season and toss.
- Spread in an even layer, then roast for 20 minutes turning halfway through. Turn off oven and let them sit in the oven for at another 20 minutes or longer.
- Remove chickpeas from oven and eat right away or store for later. Enjoy!