Soft No-Knead Herb and Garlic Skillet Rolls
Last updated on July 11th, 2026
These pull-apart Soft No-Knead Herb and Garlic Skillet Rolls are the softest, most flavourful homemade rolls to serve with dinner tonight. Like my No-Knead Buttermilk Dinner Rolls, this recipe is simple to put together with minimal effort, no stand mixer required.
Made with fragrant rosemary, sage, fresh parsley and garlic, these rolls are a flavourful upgrade to traditional dinner rolls. Baked in either an oven-safe skillet or 9×13-inch baking dish, they come together in 4 hours start to finish.
Here’s everything you’ll need to make them
- 1 cup (240 grams) whole or plant-based milk of your choice
- 2 teaspoons (6 grams) active dry yeast
- 3 cups (390 grams) bread or all-purpose flour plus more for shaping
- 1 tablespoon (12 grams) granulated sugar
- 1 teaspoon kosher salt
- 1 tablespoon (4 grams) finely chopped parsley
- 1 tablespoon (2 grams) finely chopped rosemary
- 1 tablespoon (2 grams) finely chopped sage
- 1 egg, room temperature and whisked
- ¼ cup (60 grams) butter, melted and cooled, plus 1 tablespoon for finishing (sub dairy free)
- 1 large garlic clove, minced (about 2 teaspoons)
- Flaky or coarse salt to finish

The fresh herbs add an earthy, seasonal dimension to this recipe and make them irresistibly fragrant. Finishing them with a brush of melted butter and flaky salt makes them a crave-worthy addition to any meal or holiday gathering.
🌿 The herb moisture balance
To ensure your dinner rolls bake up incredibly light and fluffy with no gummy pockets, make sure your fresh herbs are completely dry before chopping.
If you rinse your fresh rosemary, sage, and parsley, pat the leaves thoroughly with a clean towel to remove all surface water.
Tossing the finely minced, dry herbs directly into the flour mixture before adding your liquids ensures they distribute evenly throughout the dough.
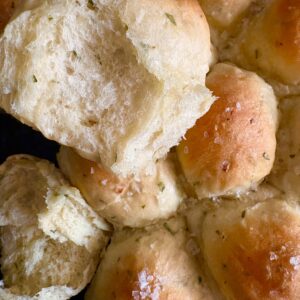
This simple step creates a gorgeous emerald-flecked crumb that releases its fragrant aroma the moment the pan hits the hot oven.
Variations & substitutions
How to make these Soft No-Knead Herb and Garlic Skillet Rolls in 5 steps
This method is modelled on my simple no-knead artisan bread recipes. To achieve that light and fluffy texture, we’ll let the dough rise twice – once before and then again after shaping the rolls.
And while I did say earlier that you don’t require any special equipment for this recipe, I always recommend using a digital scale to measure your ingredients when baking bread.
- Mix the ingredients.
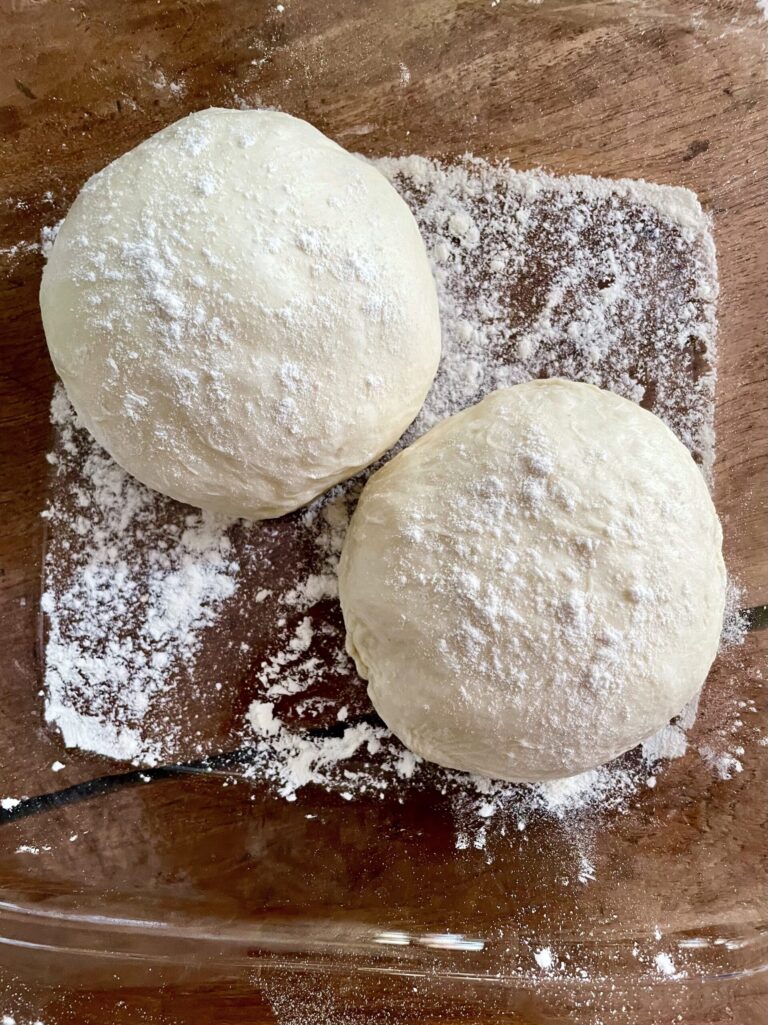
- Cover and let rise for 2 hours until the dough has doubled in volume.
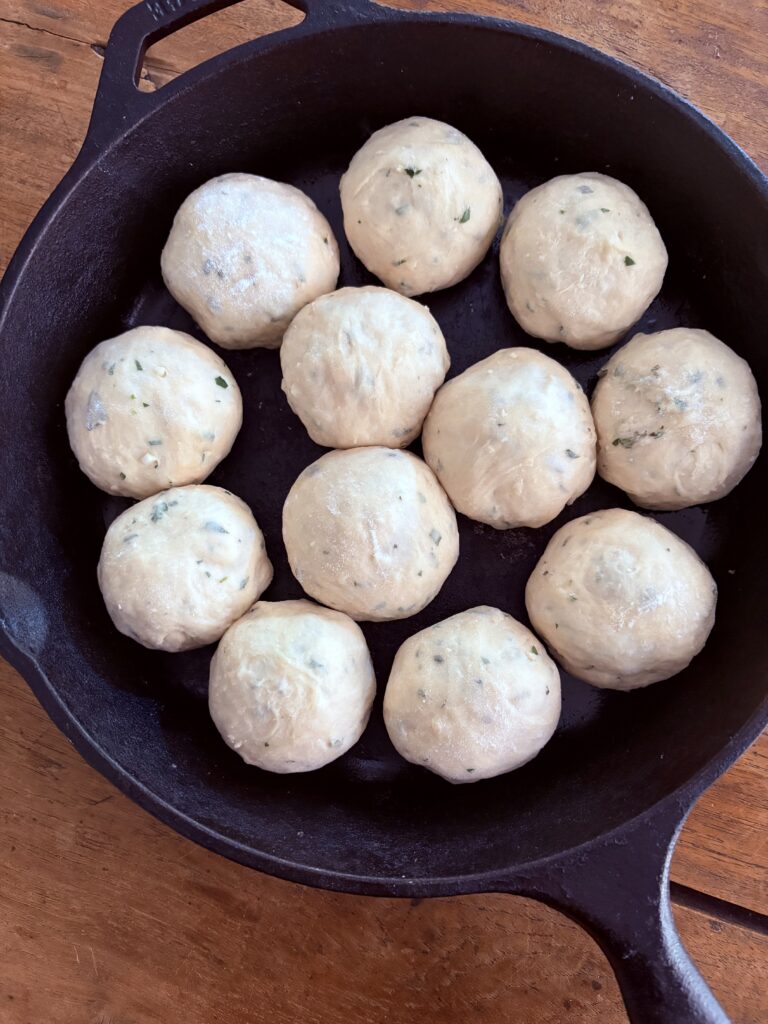
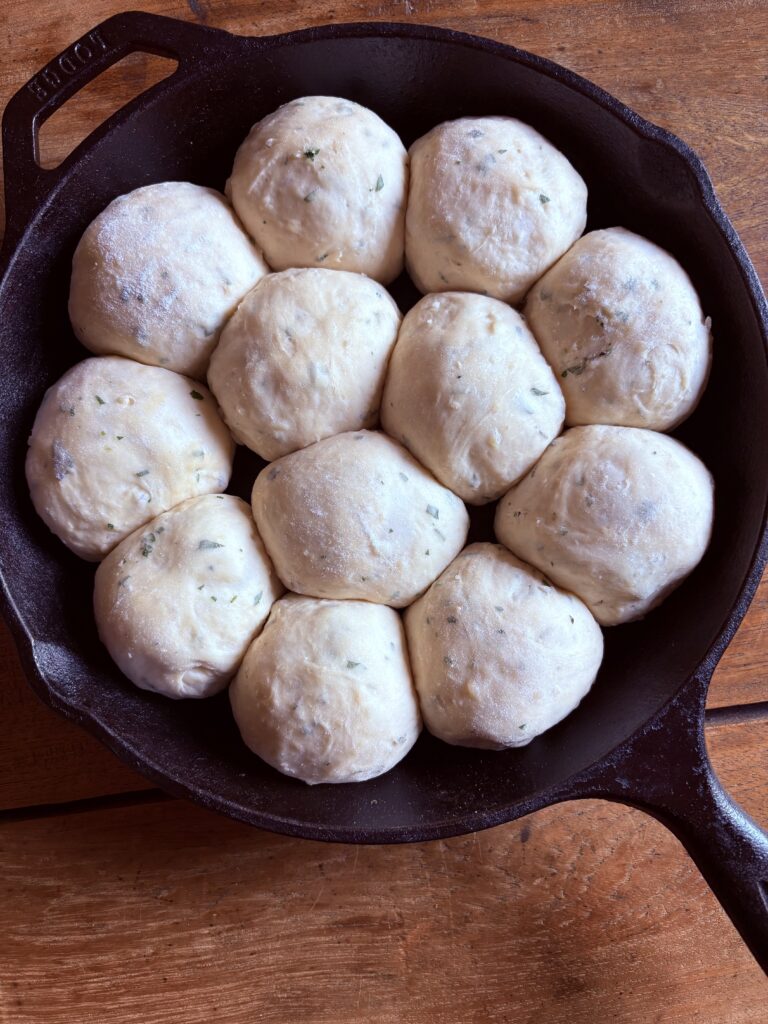
- Shape the rolls, place them in a cast iron skillet or 9×13-inch baking dish and let rise again for 60 minutes until they’ve doubled in size or even filled the pan.
- Bake for 25-28 minutes.
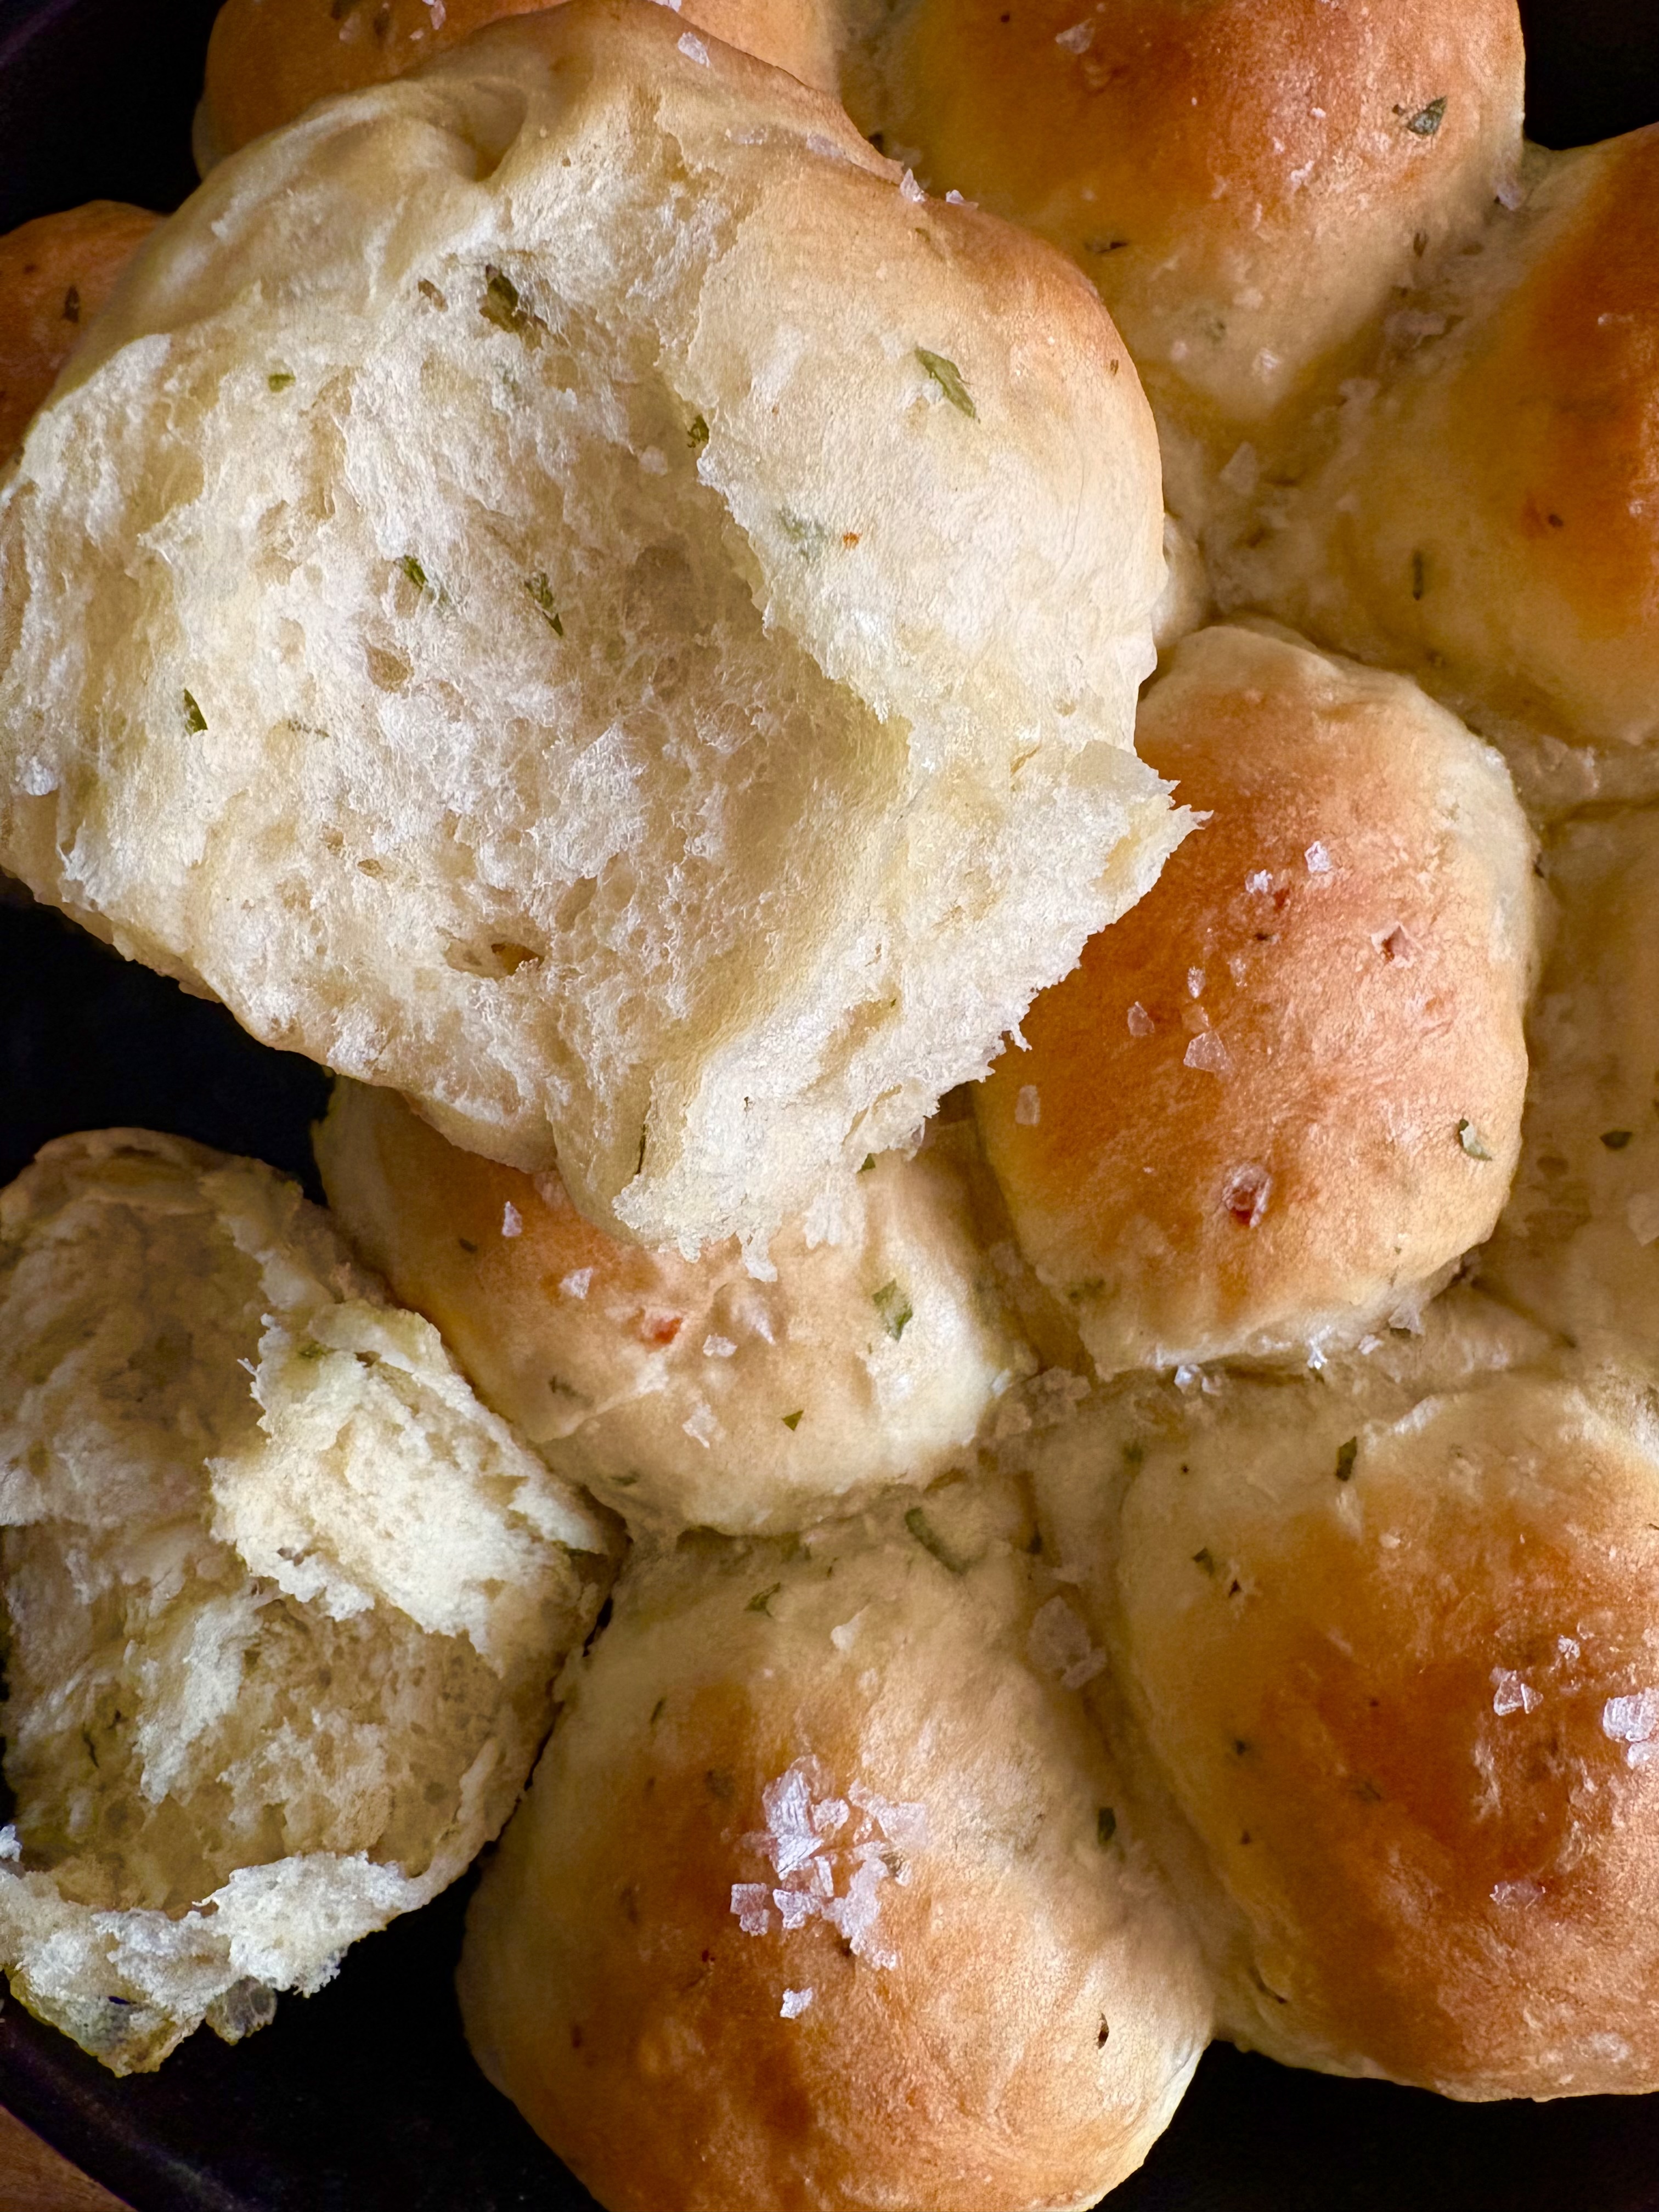
- Brush with melted butter, sprinkle with flaky salt and serve!

🍳 The skillet placement trick
To get that signature, bakery-style pull-apart look and a beautifully golden bottom crust, pay close attention to how you arrange your dough balls.
Whether you choose a well-seasoned cast-iron skillet or a baking dish, leave a tiny bit of breathing room between each shaped portion during the final rise.
As the dough puffs up on your counter, the individual rounds will gently merge together into one cohesive, pull-apart masterpiece.
The direct contact with the hot base of a skillet creates a wonderfully rich, crisp bottom edge that perfectly contrasts the pillowy soft interior.
FAQ’s
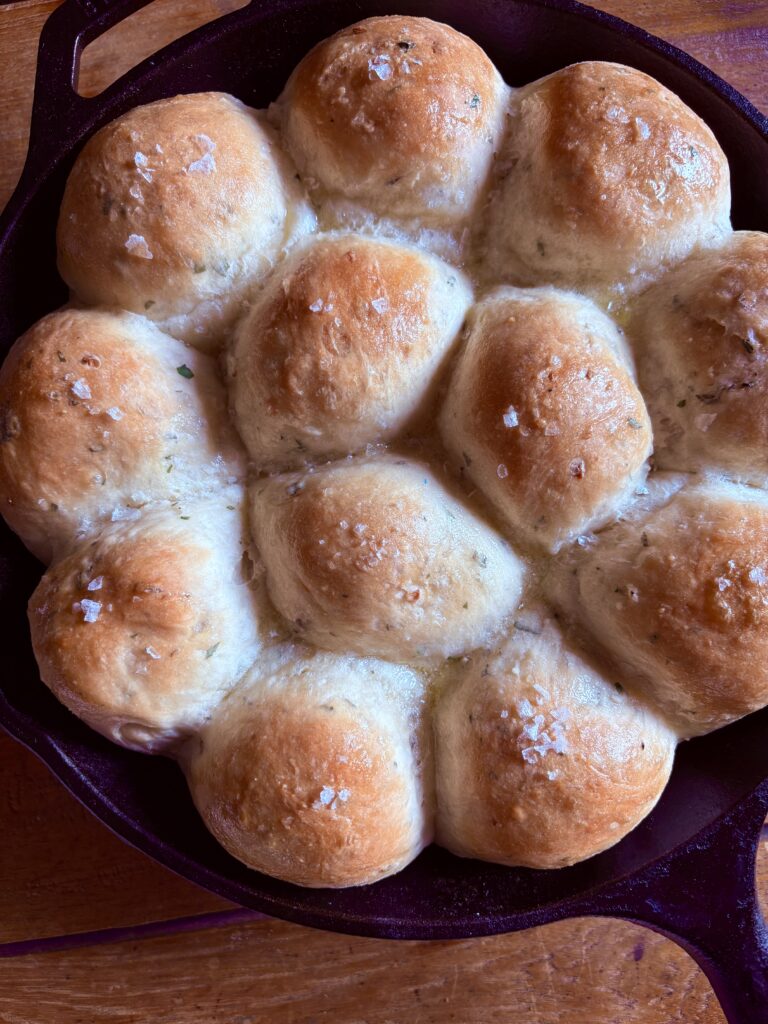
These Soft No-Knead Herb and Garlic Skillet Rolls will be the first thing to disappear at your next holiday gathering. Soft and buttery, they’re impossible to resist!
Try these Easy Small Batch Ciabatta Rolls or this Sweet Potato Sage Artisan Bread next.
Did you make this recipe?
If you tried this recipe, be sure to rate it and leave a comment below! You can also tag me with your creations on Instagram, save this recipe to your favourite Pinterest boards for later, or connect with our Facebook community if you prefer updates there.
Soft No-Knead Herb and Garlic Skillet Rolls
Ingredients
- 1 cup whole or plant-based milk of your choice
- 2 teaspoons active dry yeast
- 3 cups bread or all-purpose flour plus more for shaping
- 1 tablespoon granulated sugar
- 1 teaspoon kosher salt
- 1 tablespoon finely chopped parsley
- 1 tablespoon finely chopped rosemary
- 1 tablespoon finely chopped sage
- 1 egg room temperature and whisked
- ¼ cup butter, melted and cooled, plus 1 tablespoon for finishing (sub dairy free)
- 1 large garlic clove minced (about 2 teaspoons)
- Flaky or coarse salt to finish
Instructions
- Stir the yeast into the milk and let it sit for 10-15 minutes. In a large bowl, whisk together flour, parsley, rosemary, sage, sugar and salt and let sit for 10 minutes.
- Add milk, yeast, ¼ cup melted butter and egg to the bowl and use a rubber spatula to mix it together until combined. At this point the dough will be wet and sticky. Cover and let rise somewhere warm for 2 hours until it has doubled in volume.
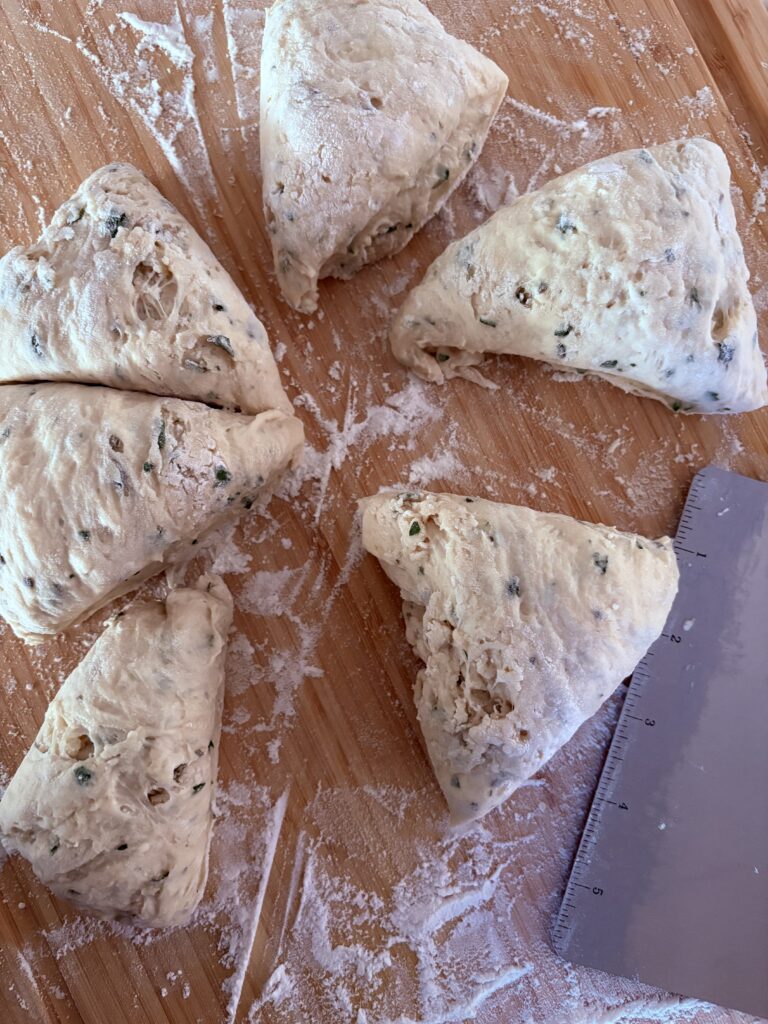
- Uncover and sprinkle dough with a generous amount of flour then, using your hand or a dough scraper, turn it out onto a floured surface. Using a dough or bench scraper, divide the dough into 2 halves, then divide each half into thirds for 6 pieces. Divide each section in two again so you’re left with 12 pieces. Next, using as much flour as you need, shape each piece into a ball, smoothing the top and pinching the sides under the roll to hide the seam. Place rolls in a lightly greased 10-inch cast iron skillet or 9×13-inch baking dish, spacing them evenly apart. (If using an already seasoned cast iron skillet, there’s no need to grease it.) (*If you’re not planning to bake them right away, this is when you should cover the rolls and place them in the refrigerator.) Cover and let rise for 60 minutes until the rolls have puffed up to double in size.
- When you’re ready to bake, adjust oven rack to the lower position and preheat oven to 350ºF (175ºC).
- Bake rolls for 25-28 minutes until golden. While the rolls are baking, melt the remaining tablespoon of butter and stir in minced garlic. Remove rolls from oven and brush the tops with melted garlic butter. Sprinkle with flaky salt and serve warm.